The Targeted Adjustment
tool lets you adjust various controls by clicking and dragging on the preview.
It is only available in Camera Raw 12.2.1 and lower.
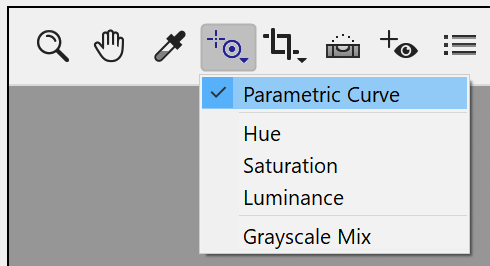
You can select it by clicking on its icon in the tool bar at the top left corner. If you hold down the left mouse button for more than a second a context menu pops up. With this context menu you can select which setting will be affected by this tool. You can either adjust the sliders of the parametric curve on the Tone Curves tab sheet or the sliders on the HSL/Grayscale tab sheet.
Selecting an option on the tool context menu automatically displays the tab sheets whose controls will be adjusted by the tool. When selecting the Grayscale Mix menu item, the Convert to Greyscale check box is automatically activated, which gives the image a black and white look, which can now be adjusted with the tool. On the other hand selecting the Hue, Saturation or Luminance menu items automatically remove the black and white effects.
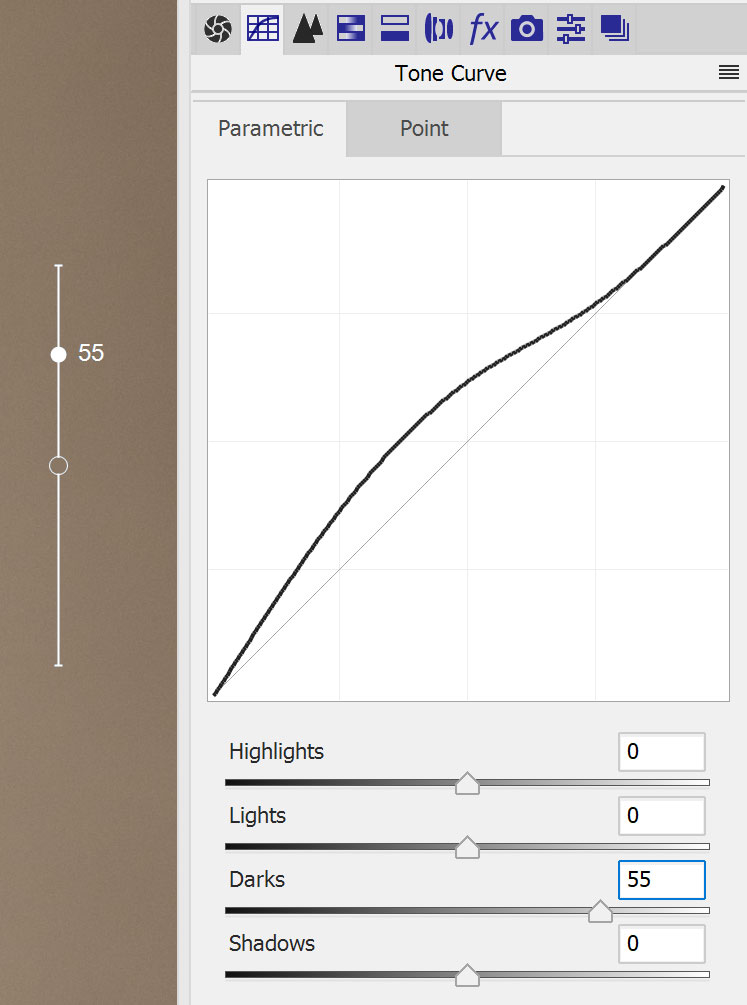
To start with this tool click a tone or color area on the preview that you want to adjust and hold down the left mouse button. In the above screen shot a rather dark area was clícked, which automatically made the tool adjust the Darks slider on the Parametric tab sheet. If you click on a lighter area, either the Highlights or the Lights slider will be activated. For the other tool settings the corresponding color slider is automatically selected and adjusted according to the clicked color.
As a result of the pressed down mouse button a small bar is displayed on the preview where you clicked. With the left mouse button still held down, move the mouse up or down to automatically adjust the slider. The outlined circle on the displayed bar indicates the last slider value whereas the filled cicle indicates the current slider value, which moves together with the mouse.