Camera Raw only offers three tab sheets or panels at the right-hand side of the dialog in Photoshop Elements. CameraXXL adds seven new tab icons to the Camera Raw dialog. As a result you can see one or two black tab icons with the original controls and 7 blue tab icons with the controls of CameraXXL. The icons of the CameraXXL tab sheets and tools are colored dark blue while the Camera Raw icons are black. If you already had a look at Camera Raw in Photoshop, you will find the controls of CameraXXL familiar.
The CameraXXL
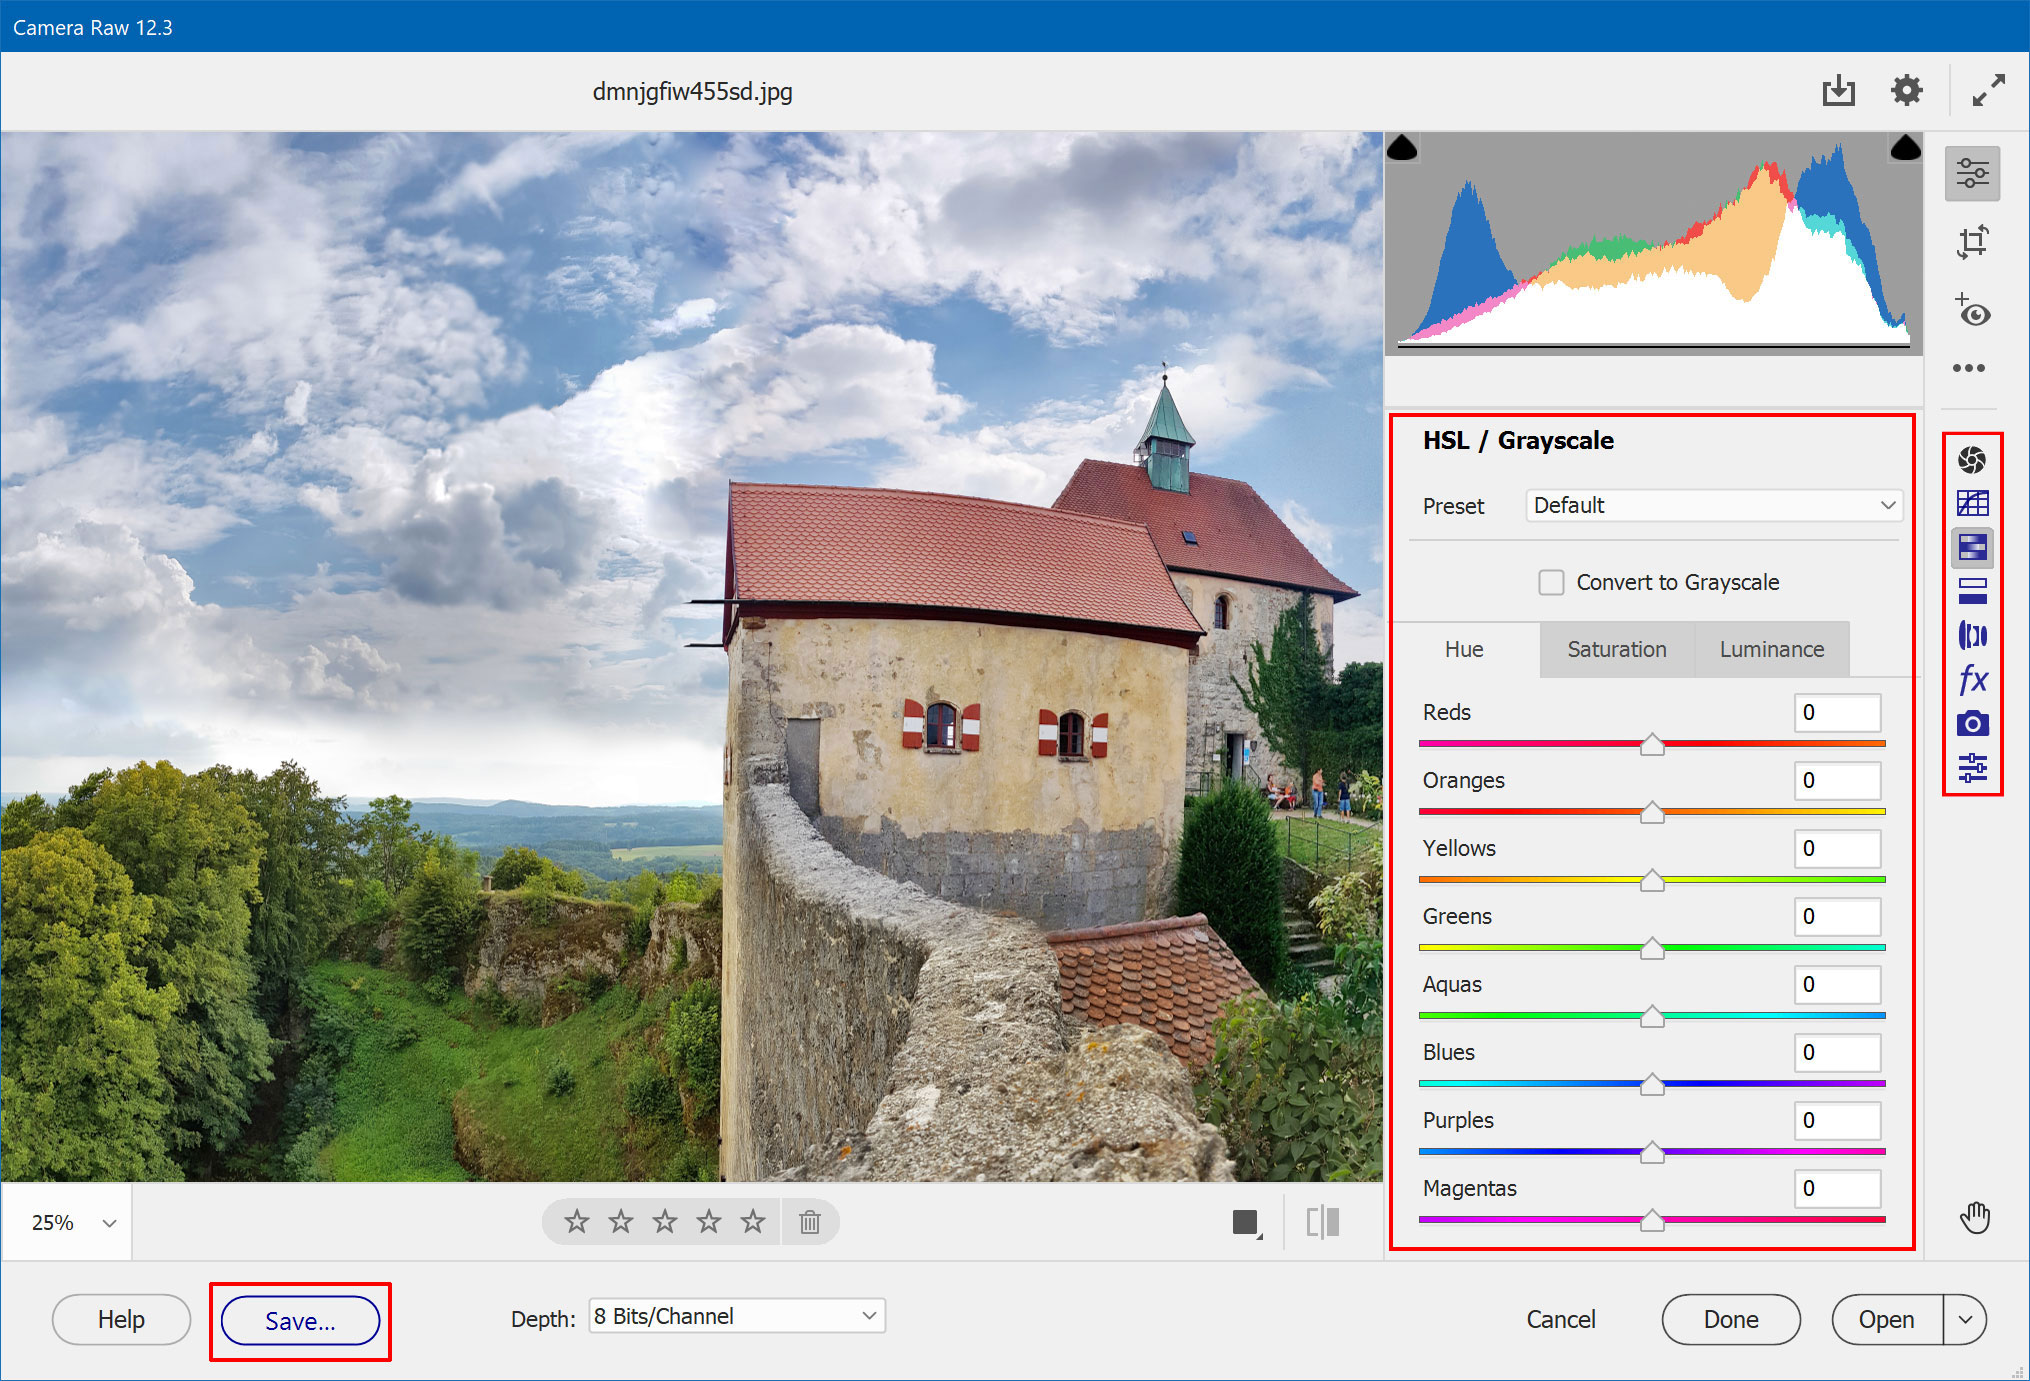
icons are located on the right hand-side in Adobe Camera Raw 12.3 (and
higher)

In Adobe Camera
Raw 12.2.1 (and lower) the tool icon is located at the top and the other
icons are added as tab sheets at the right hand-side.
Some other controls of the Camera Raw dialog also interact with CameraXXL. The Reset button (Hold down the Alt key to turn the Cancel button into it!) resets the CameraXXL settings as well. If you click the Help button you are asked if you want to display the CameraXXL manual or the Camera Raw help pages. Additionally the menu items of the menu, which appears when you click the menu icon at the right hand side of the tab sheets, trigger the same functionality for CameraXXL too. The new tool that is also added by CameraXXL is discussed later on the Targeted Adjustment Tool page.
Tone Curves is the name of the second tab sheet. There are two sub tab sheets
available under Tone Curves. The first one is called Parametric and lets
you
adjust a tone curve with the help of four sliders. It is more or less a novice
version or quick edit variation of the Curves tool known from Photoshop
or ElementsXXL.
The Point tab sheet offers a full-features version of a Curves diagram.
Parametric

The four sliders at the bottom control the intensity of the brightness/contrast adjustment. In addition to Shadows and Highlight sliders you can also change so called Darks and Lights, which adjust a larger amount of tones and overlap in the midtones. So both sliders adjust the midtones. The positive range of the Lights slider and negative range of the Darks slider produce a similar effect like the middle handle in the Levels filter of Photoshop Elements.
Point

The Point tab sheet offers a full-featured curves diagram for creating your own curves for the RGB, Red, Green and Blue channels of the image. So you can design up to four curves, one for each of the channels. The RGB channel alters the brightness of the image whereas the other channel curves change the color. The Channel combo box lets you switch between these four channels.
The Curve combo box at the top offers many presets for artistic effects, a Linear option for resetting the curve and a Custom option for switching back to your self-defined curve.
You can a new curve point by clicking and dragging the existing curve, which is a diagonal line by default. To delete a curve point press the Del key or drag it outside of the diagram box. A curve can consist of 16 points, so not counting the start and end points, you can add up to 14 points. Any curve point below the diagonal base line decreases the brightness and curve points above it increase brightness. To increase contrast you need to create an S-shaped curve with at least two new curve points.
Going from left to right the first two quadrants could be called shadows, the last two quadrants are the highlights and the two middle quadrants influence the midtones. So to only affect the shadows you would have to create a curve point in the left-most quadrants and make sure that the curve follows the diagonal base line in the right-most quadrants, e.g. by setting another curve point in the middle of the diagram. Same for the highlights but vice versa. For midtone adjustments you have to make the curve follow the base line in the first and last quadrant and only place points in the middle quadrants.
The Input and Output text boxes let you manually change the coordinates of the currently selected curve point. Values between 0 and 255 are allowed. This is usually only necessary for precise curve point placements.