Plugins for Photoshop, Elements, Lightroom, PSP & others
Plugins for Photoshop, Elements, Lightroom, PSP & others
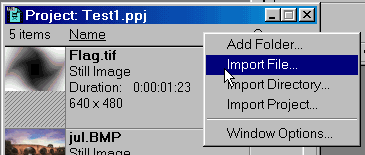
The Texturize transition is a plugins that is already delivered with Premiere. You will find it in Premiere's Transition Window.
3. Then you just need to drag the Texturize transition from the Transitions window into Track T (Premiere 5: Transition track) between the video clip and the gradient clip.
4. If you want to combine this three track arrangement into one track, you have to produce a virtual clip as described in the manual (Premiere 5 Manual: page 197). That way you can still apply another transition to the virtual clip.
A disadvantage of the Texturize transition is that it hasn't any controls to alter the intensity of the light effect that the gradient creates.
These light effects can be used to simulate sunshine or twilight. They can also give the impression as if the scene plays in a night or day dream. But the light effects can also be used to selectively enhance the brightness of a partially dark video shot.