|
If you like to have one of your favorite photos as a painted version,
then it is an unparalleled advantage if you are able to paint. The
handling of brush, pencil, spatula, color, canvas etc. should be
no problem for you. You are allowed to start now, I wish you good
luck with that.
But what can those people (who I also belong to) actually do
if they lack even the slightest skill to paint manually? You are
guessing correctly, we avail ourselves of a painting software,
which works pretty well.
In the meantime a variety of plugins has become available which
turn your photo into an artwork in your desired painting style
in no time. Among the huge variety to choose from I decided on
Dynamic-Auto-Painter PRO 5. It is not a plugin, but a standalone
version.
It is the latest version (current state: October 2016) with an
array of improvements and new painting styles with corresponding
presets.
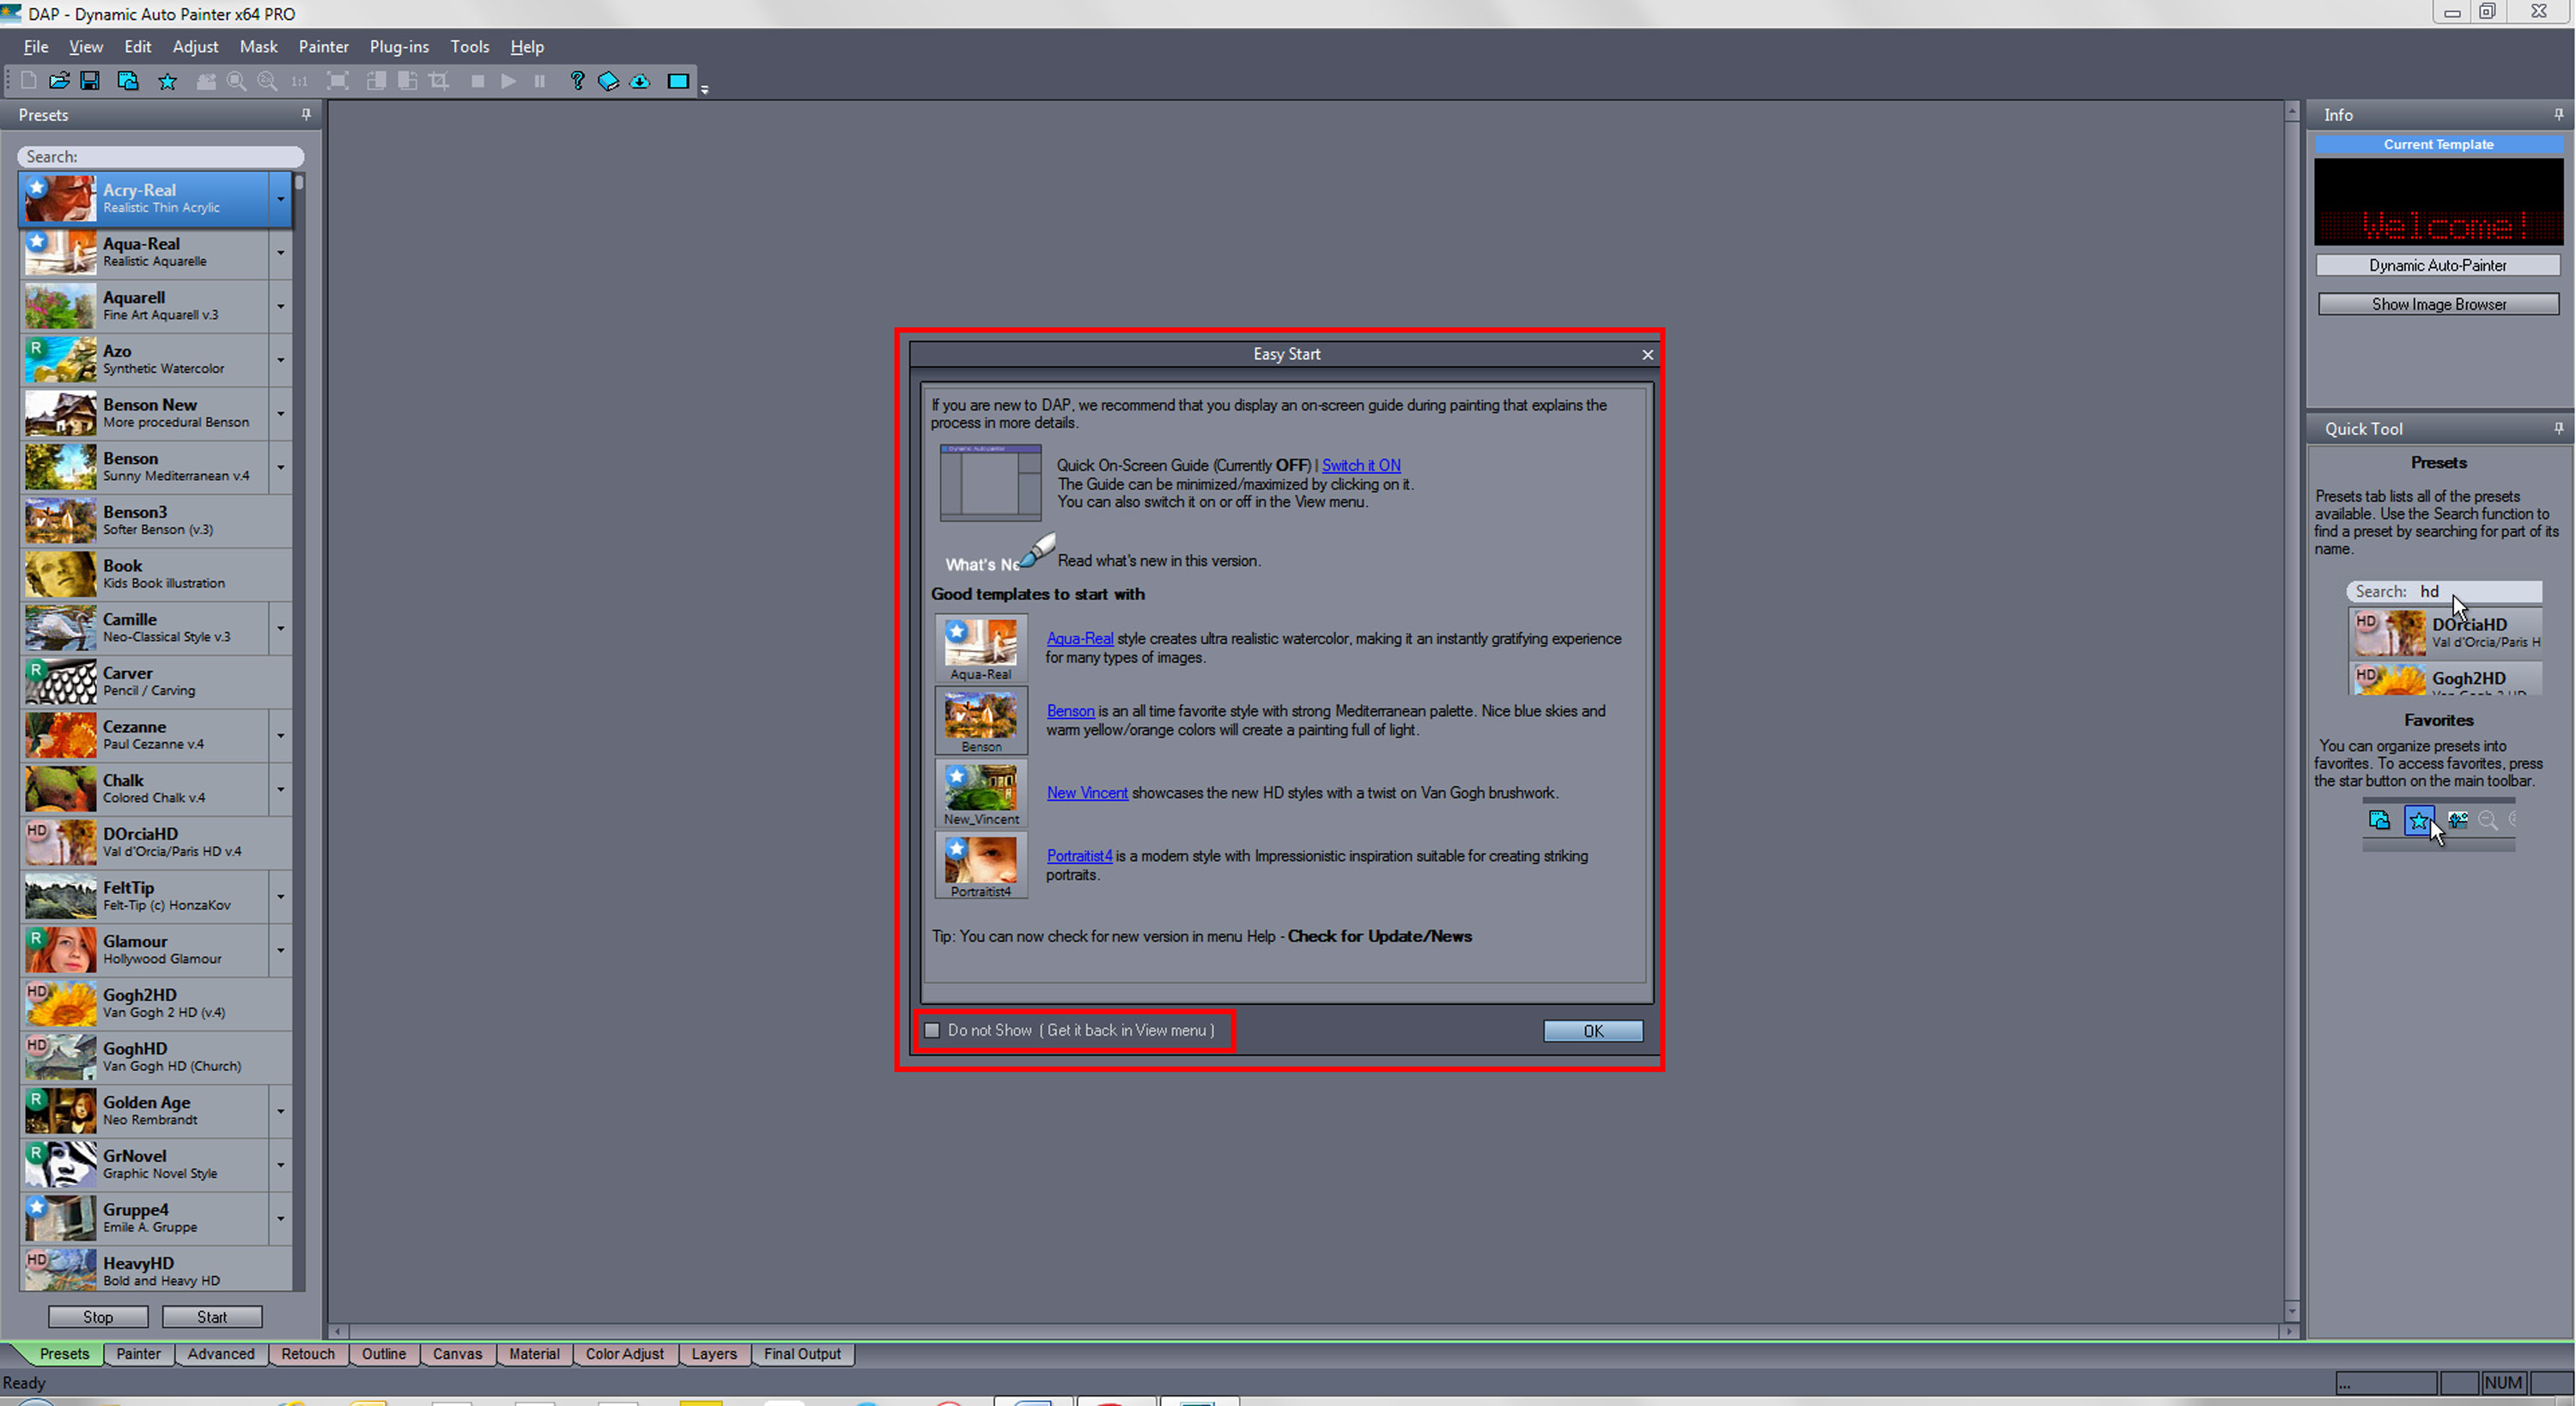
Opening the user interface for the first time

User interface with “Easy Start“ information
In the Easy Start window you will get the first notes on the way
to your goal. Of course you do not have to have it welcoming you
with every program start. So go ahead and send it to nirvana if
you wish.

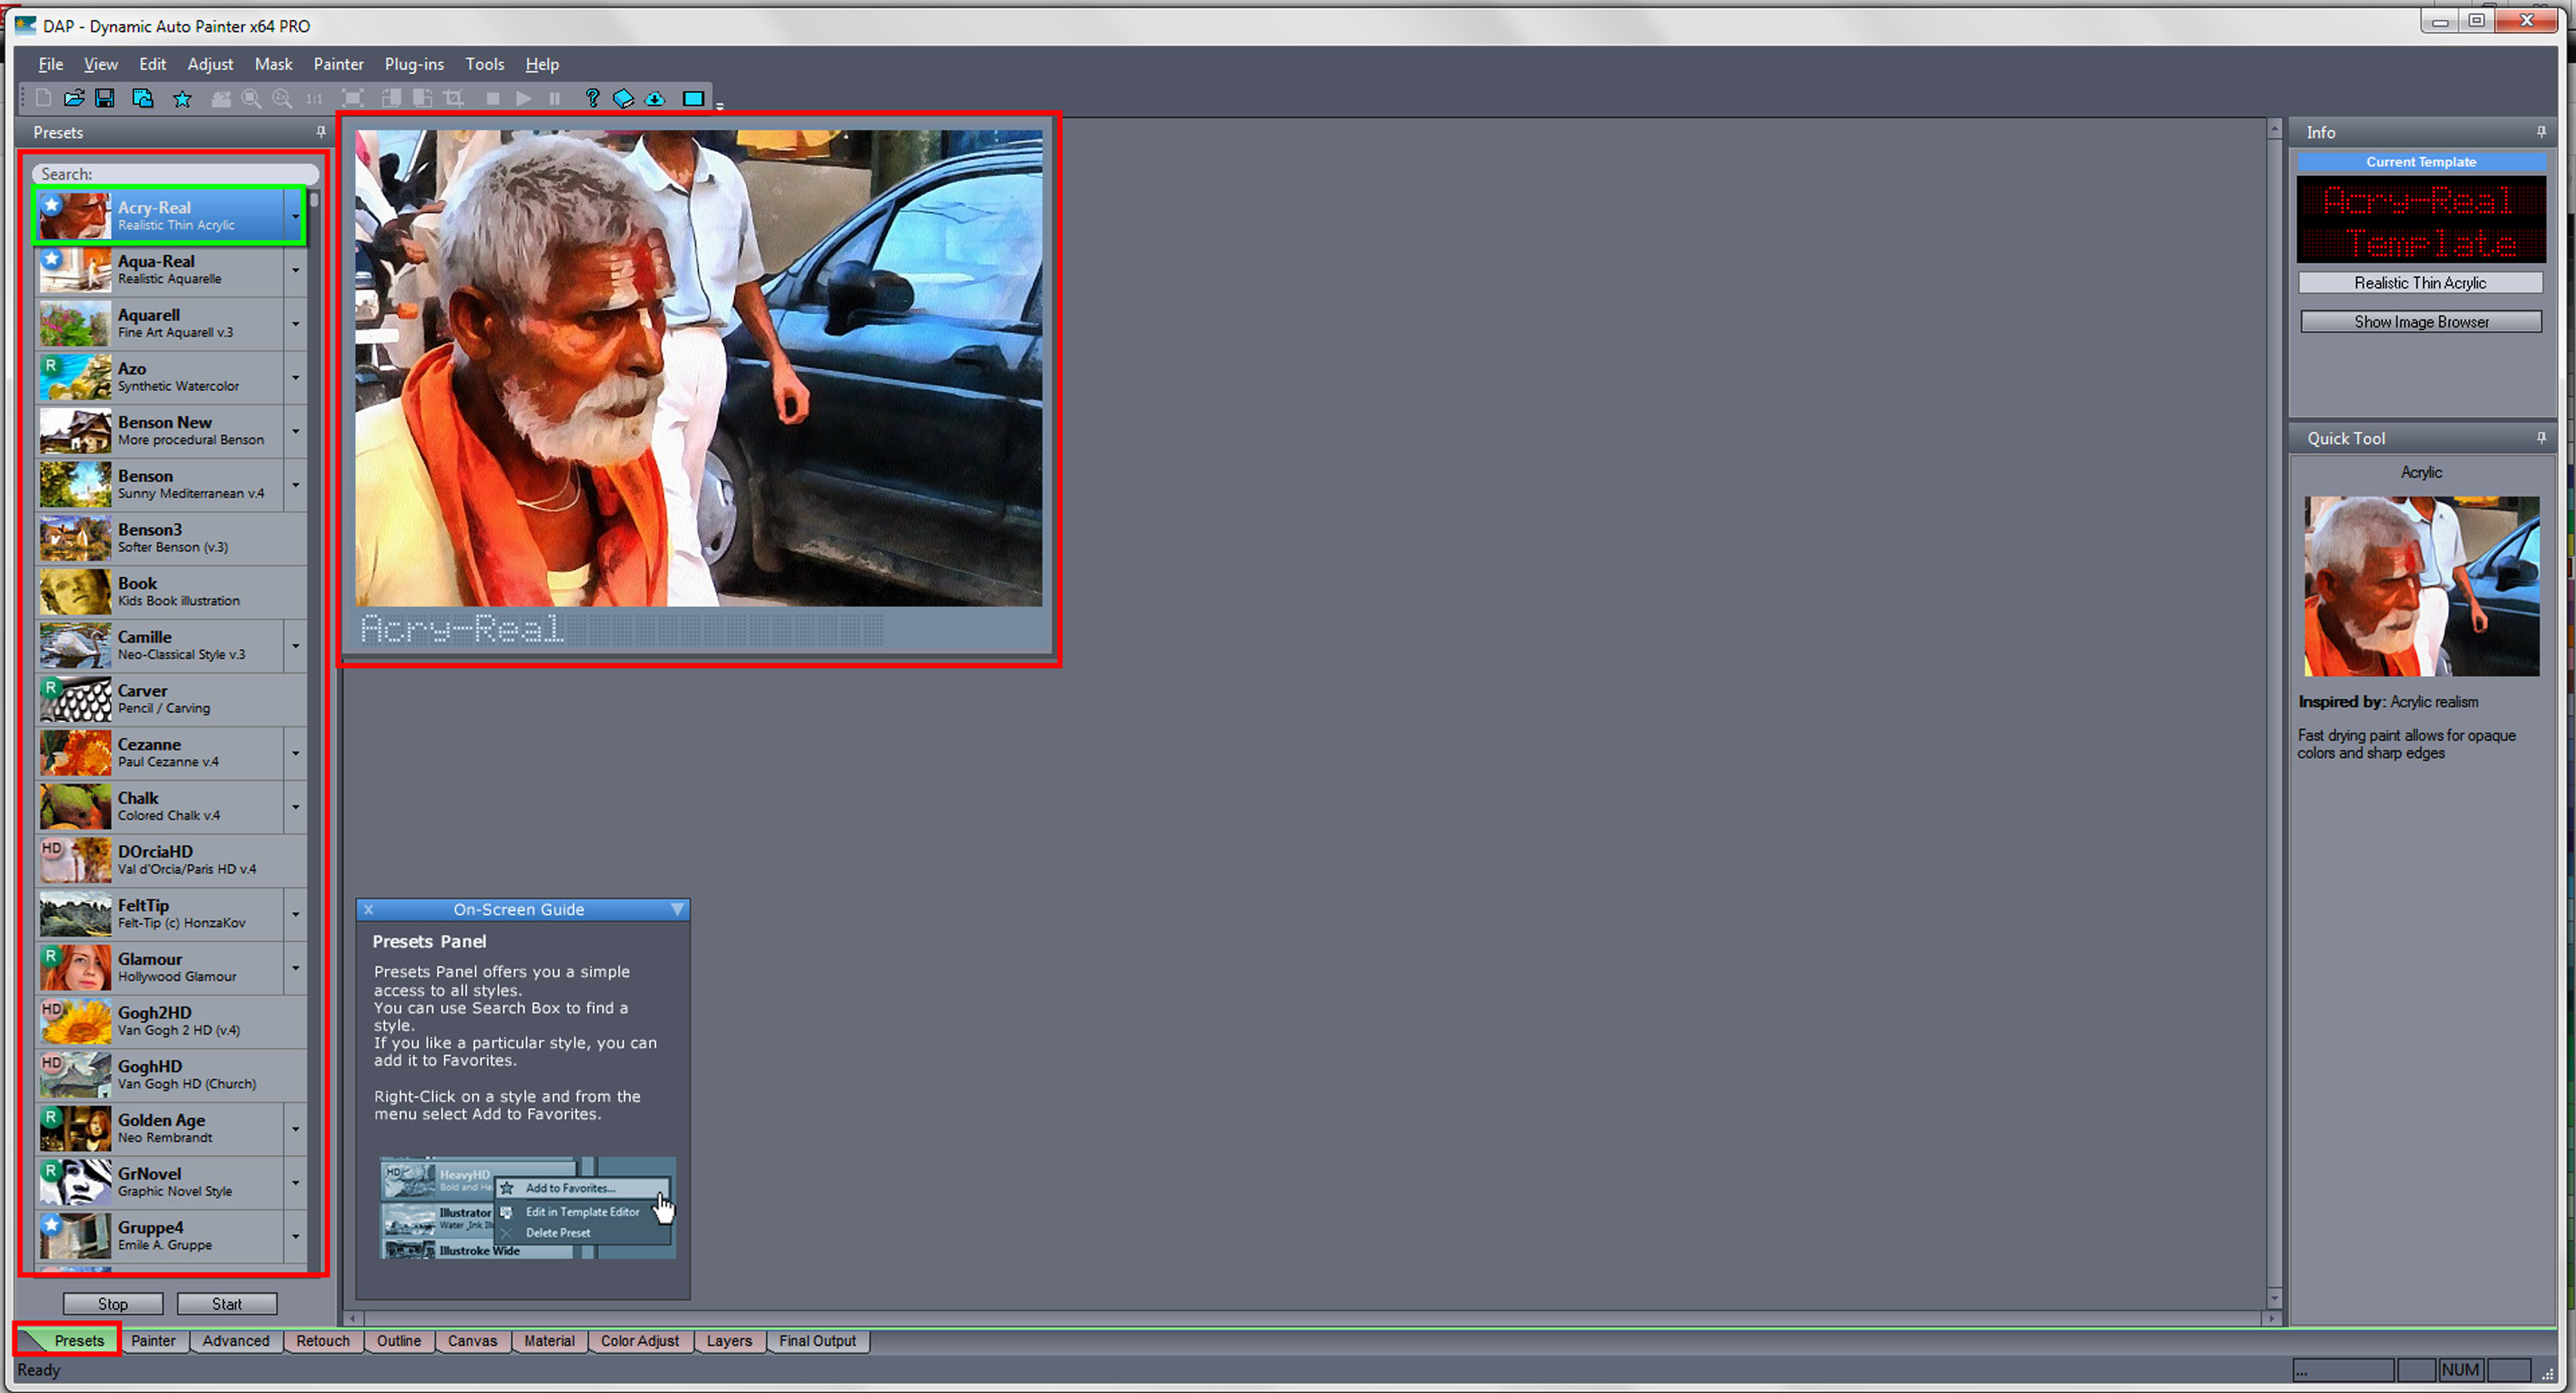
The „On-Screen Guide“ supports you when processing
If you are not yet completely familiar with the program, then
you will get helpful notes in the On-Sreen Guide for the present
situation.

Presets and a sample image for the selected painting style
On the left-hand side there are about 60 different presets to
choose from. Some of them can be expanded and surprise you with
slightly changed variations. You will already be guessing that
users who are not very keen on making decisions will have a lot
of fun here.
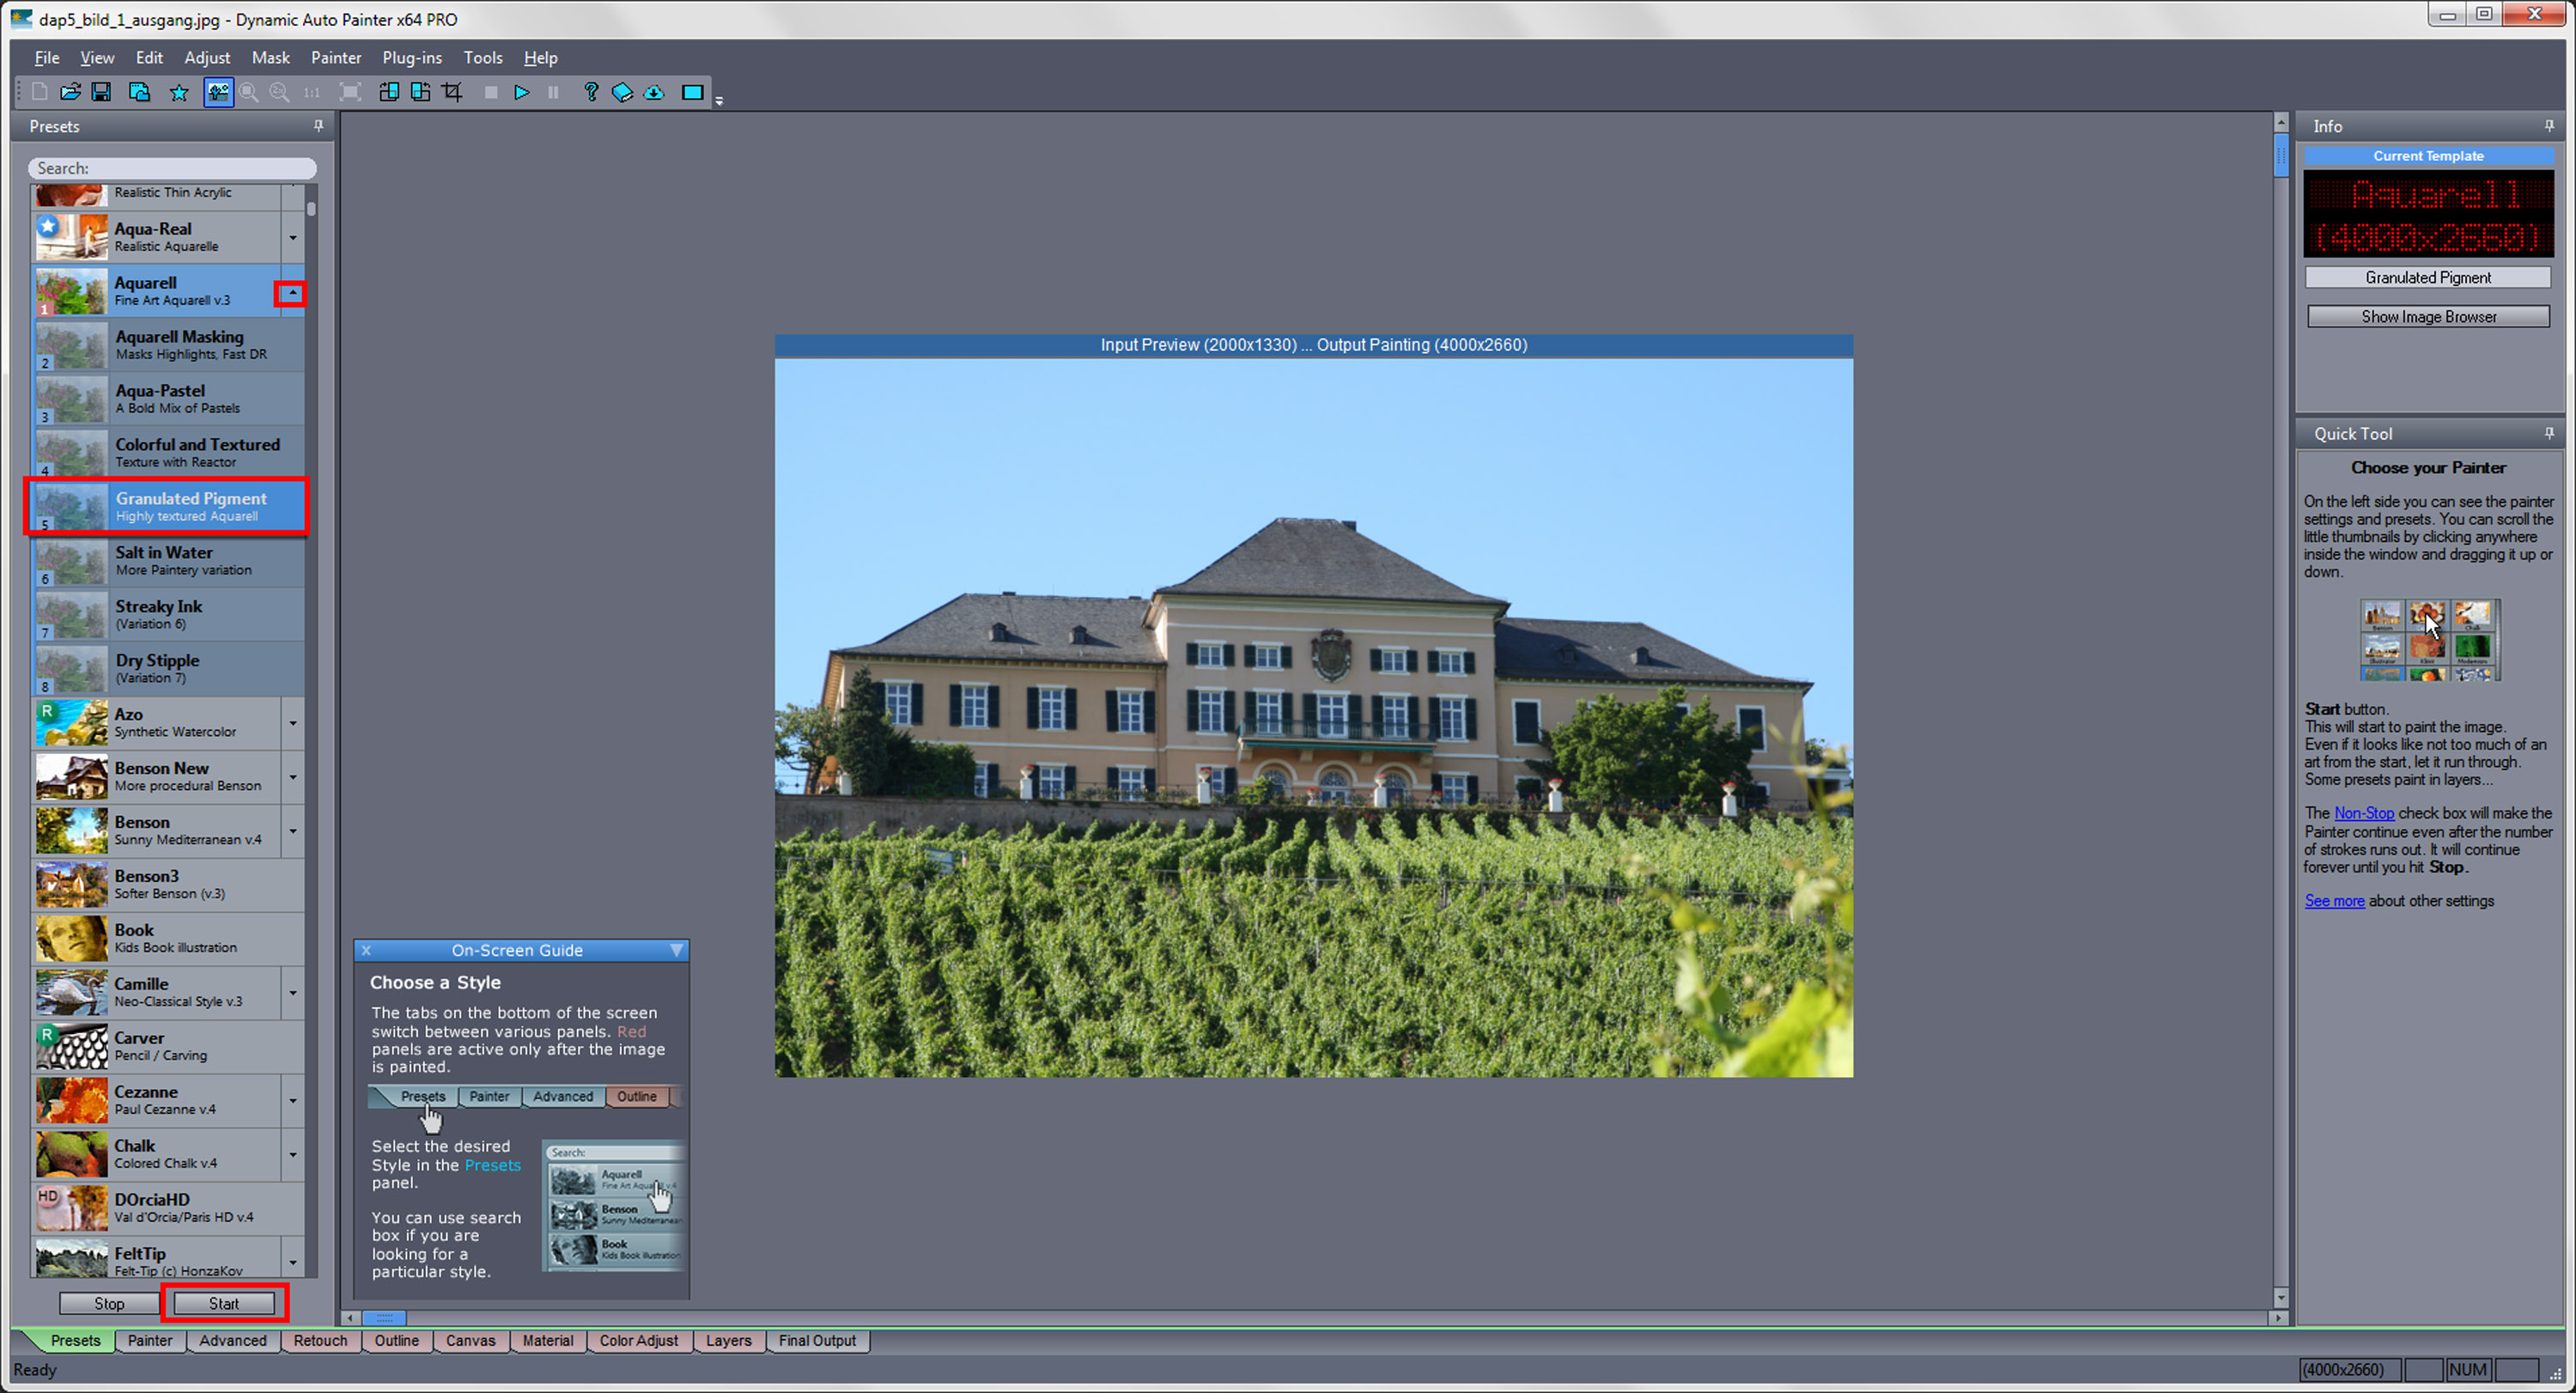
A practical exercise shows you some more
You have opened the program. What you need is an image that you
would like to create a small or a big artwork from. DAP PRO 5
does not care whether it is JPG or PSD, both are accepted.

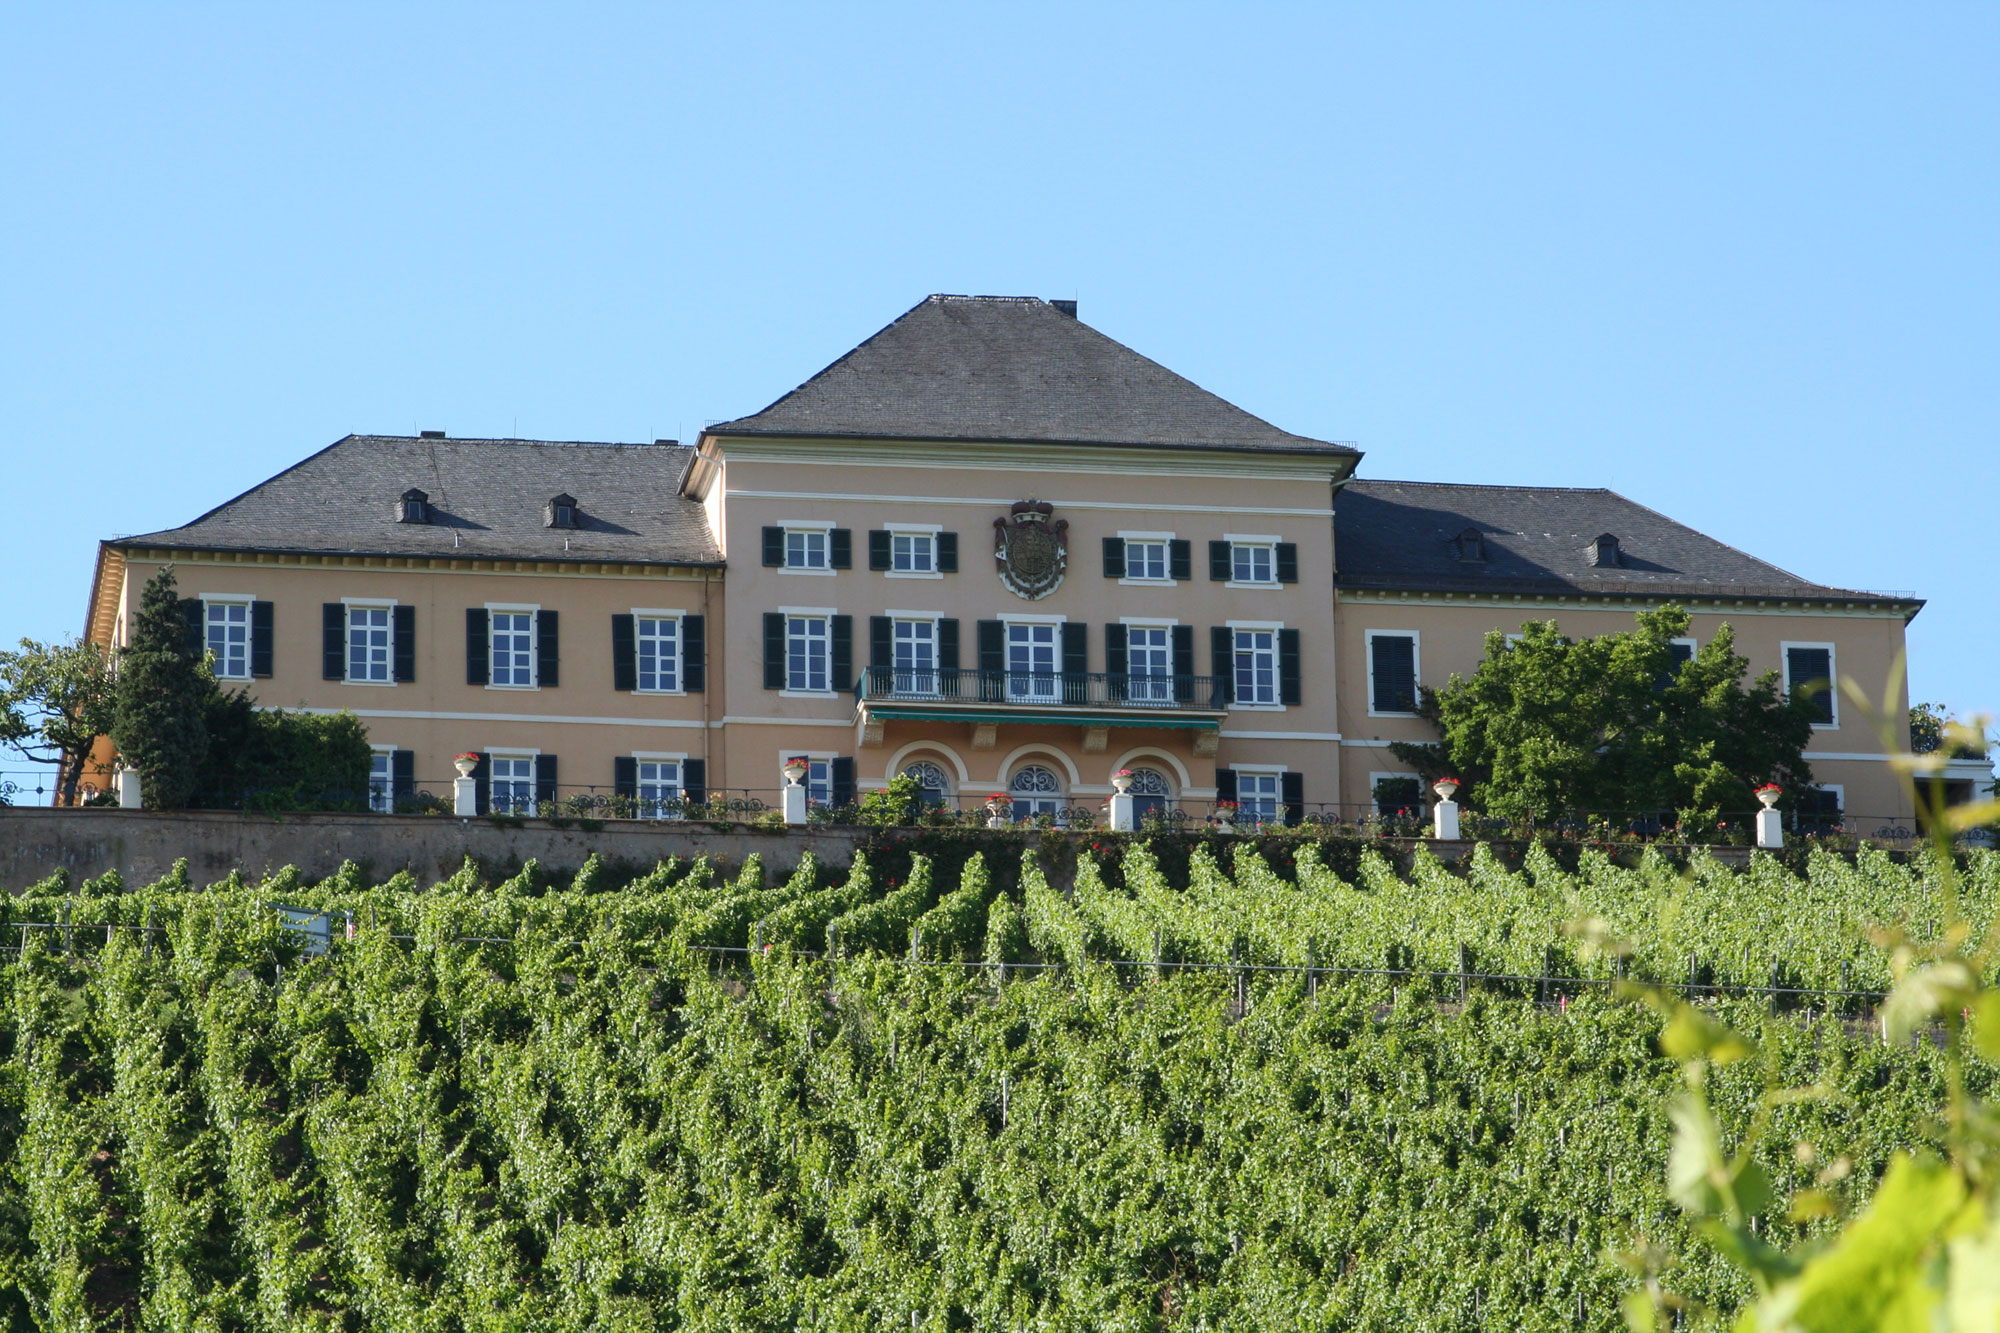
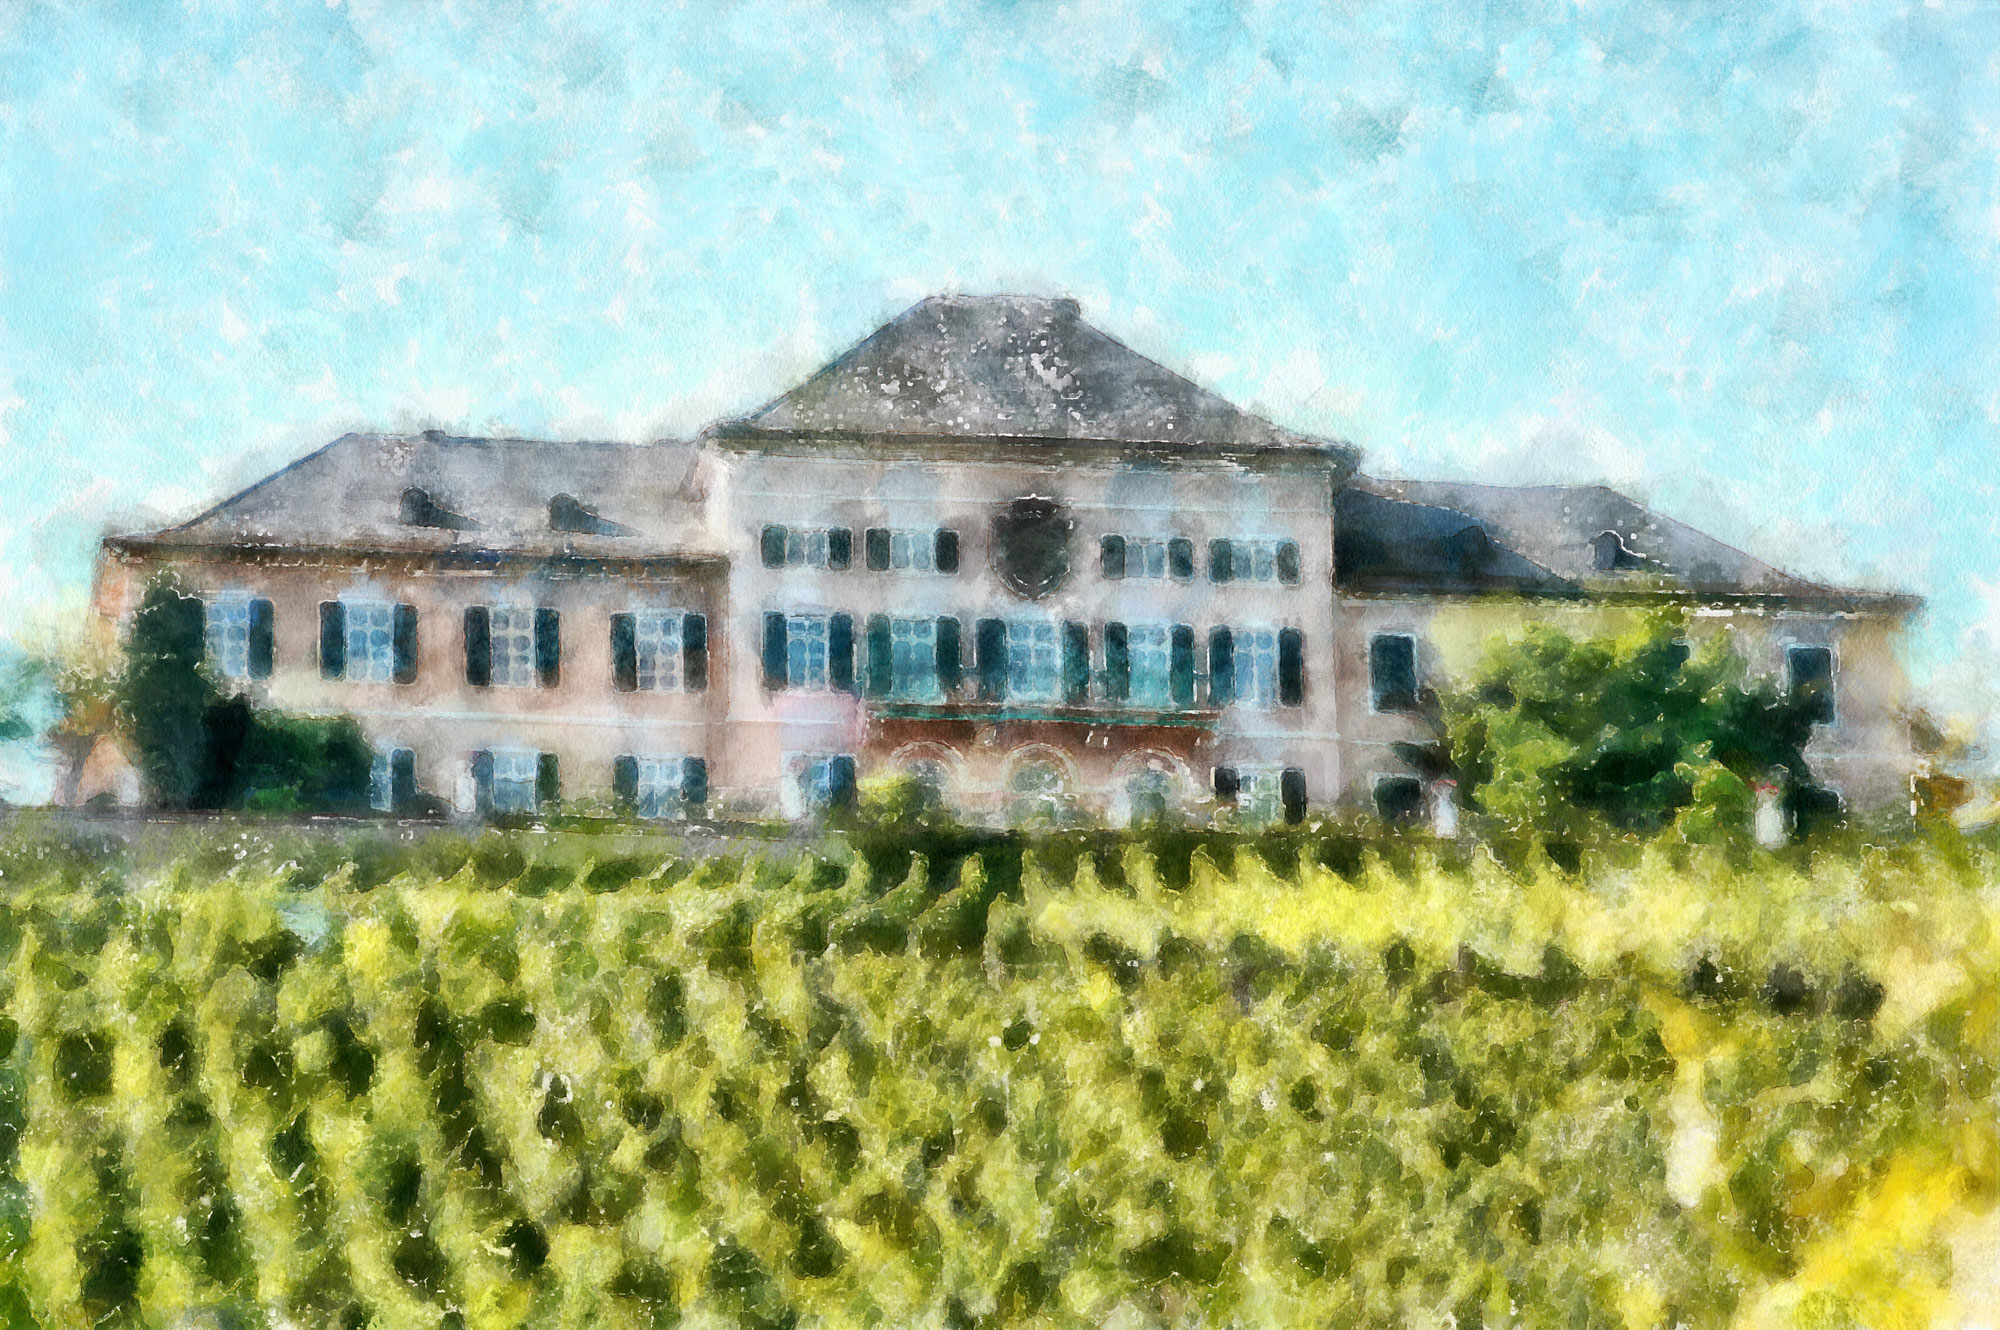
My weekend house with my own vineyard – photographer: Silvia
Kuhnlein – www.a-dezign.de
The „weekend house“ is a joke, I could not even afford
the tiles. In fact it is the Johannisberg castle in Rheingau, Germany,
certainly suitable as sample image.

You should make a mouseclick on each of the framed buttons
Please take a photo of your choice from your own stock, which
you would like to admire as a digital artwork afterwards.
As far as my sample image is concerned I opened the preset Aquarell
via the small black triangle and then selected the setting Granulated
Pigment. Please note that not every painting style is equally
suited for all scenes. Important: Now you have just click on Start,
otherwise absolutely nothing will happen!

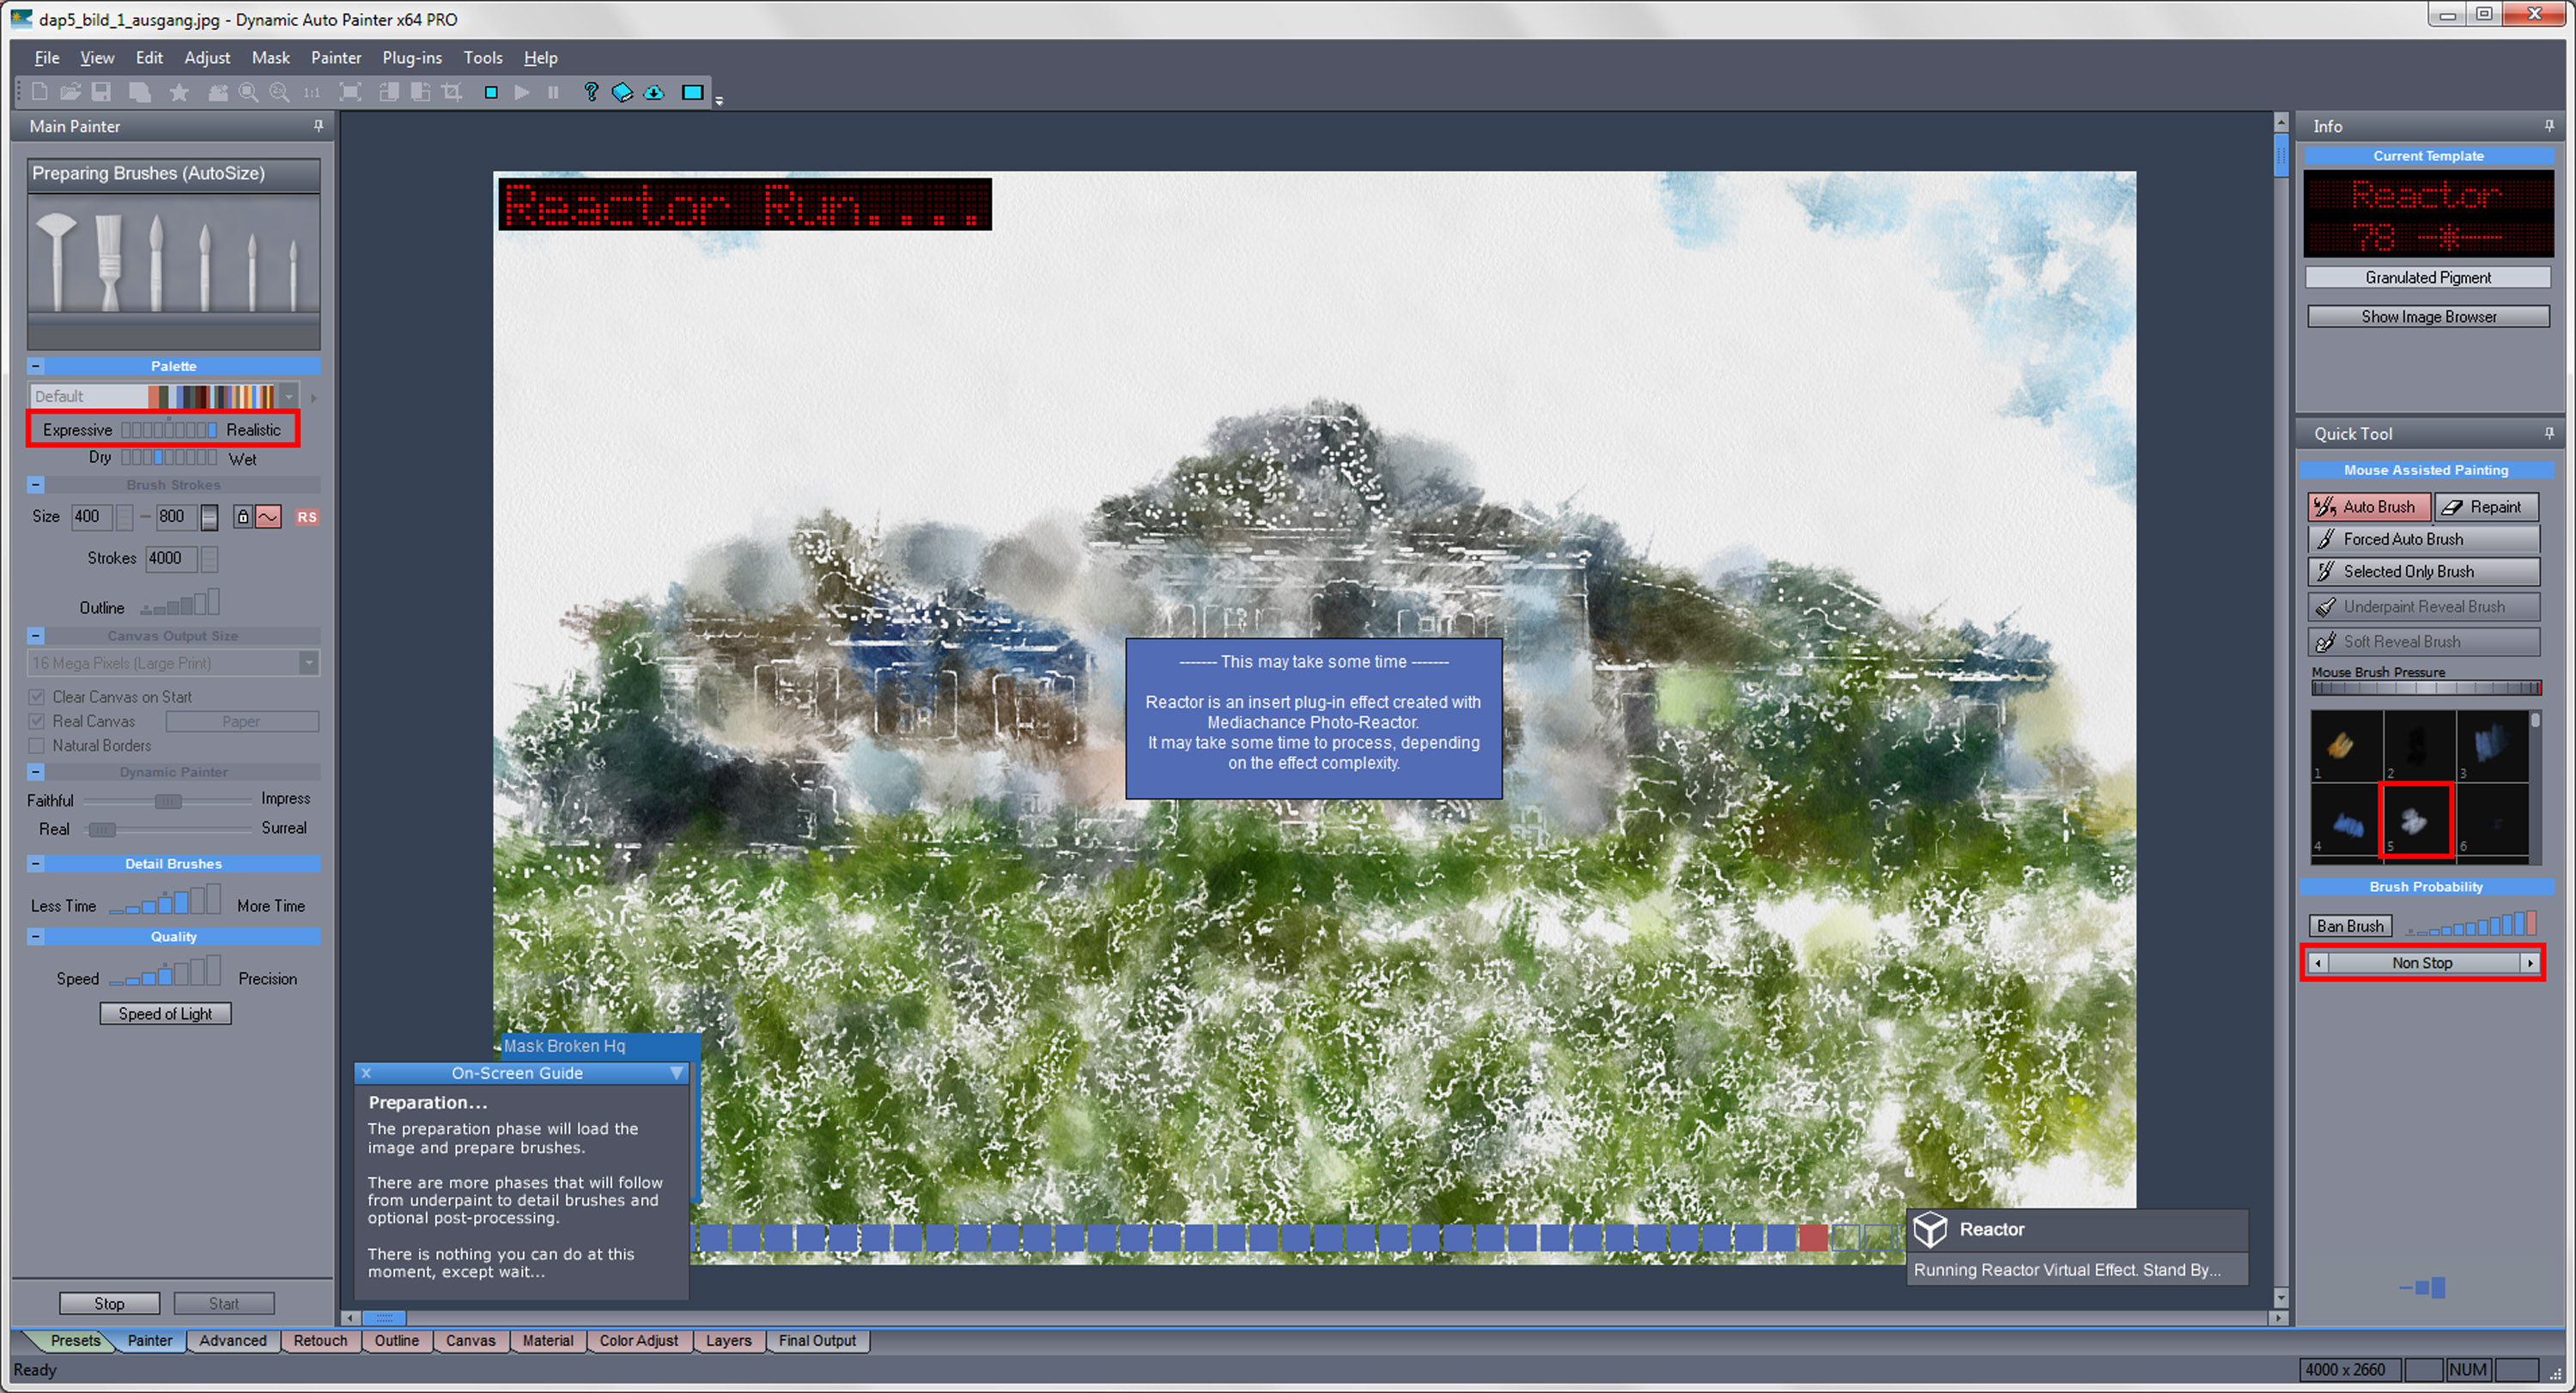
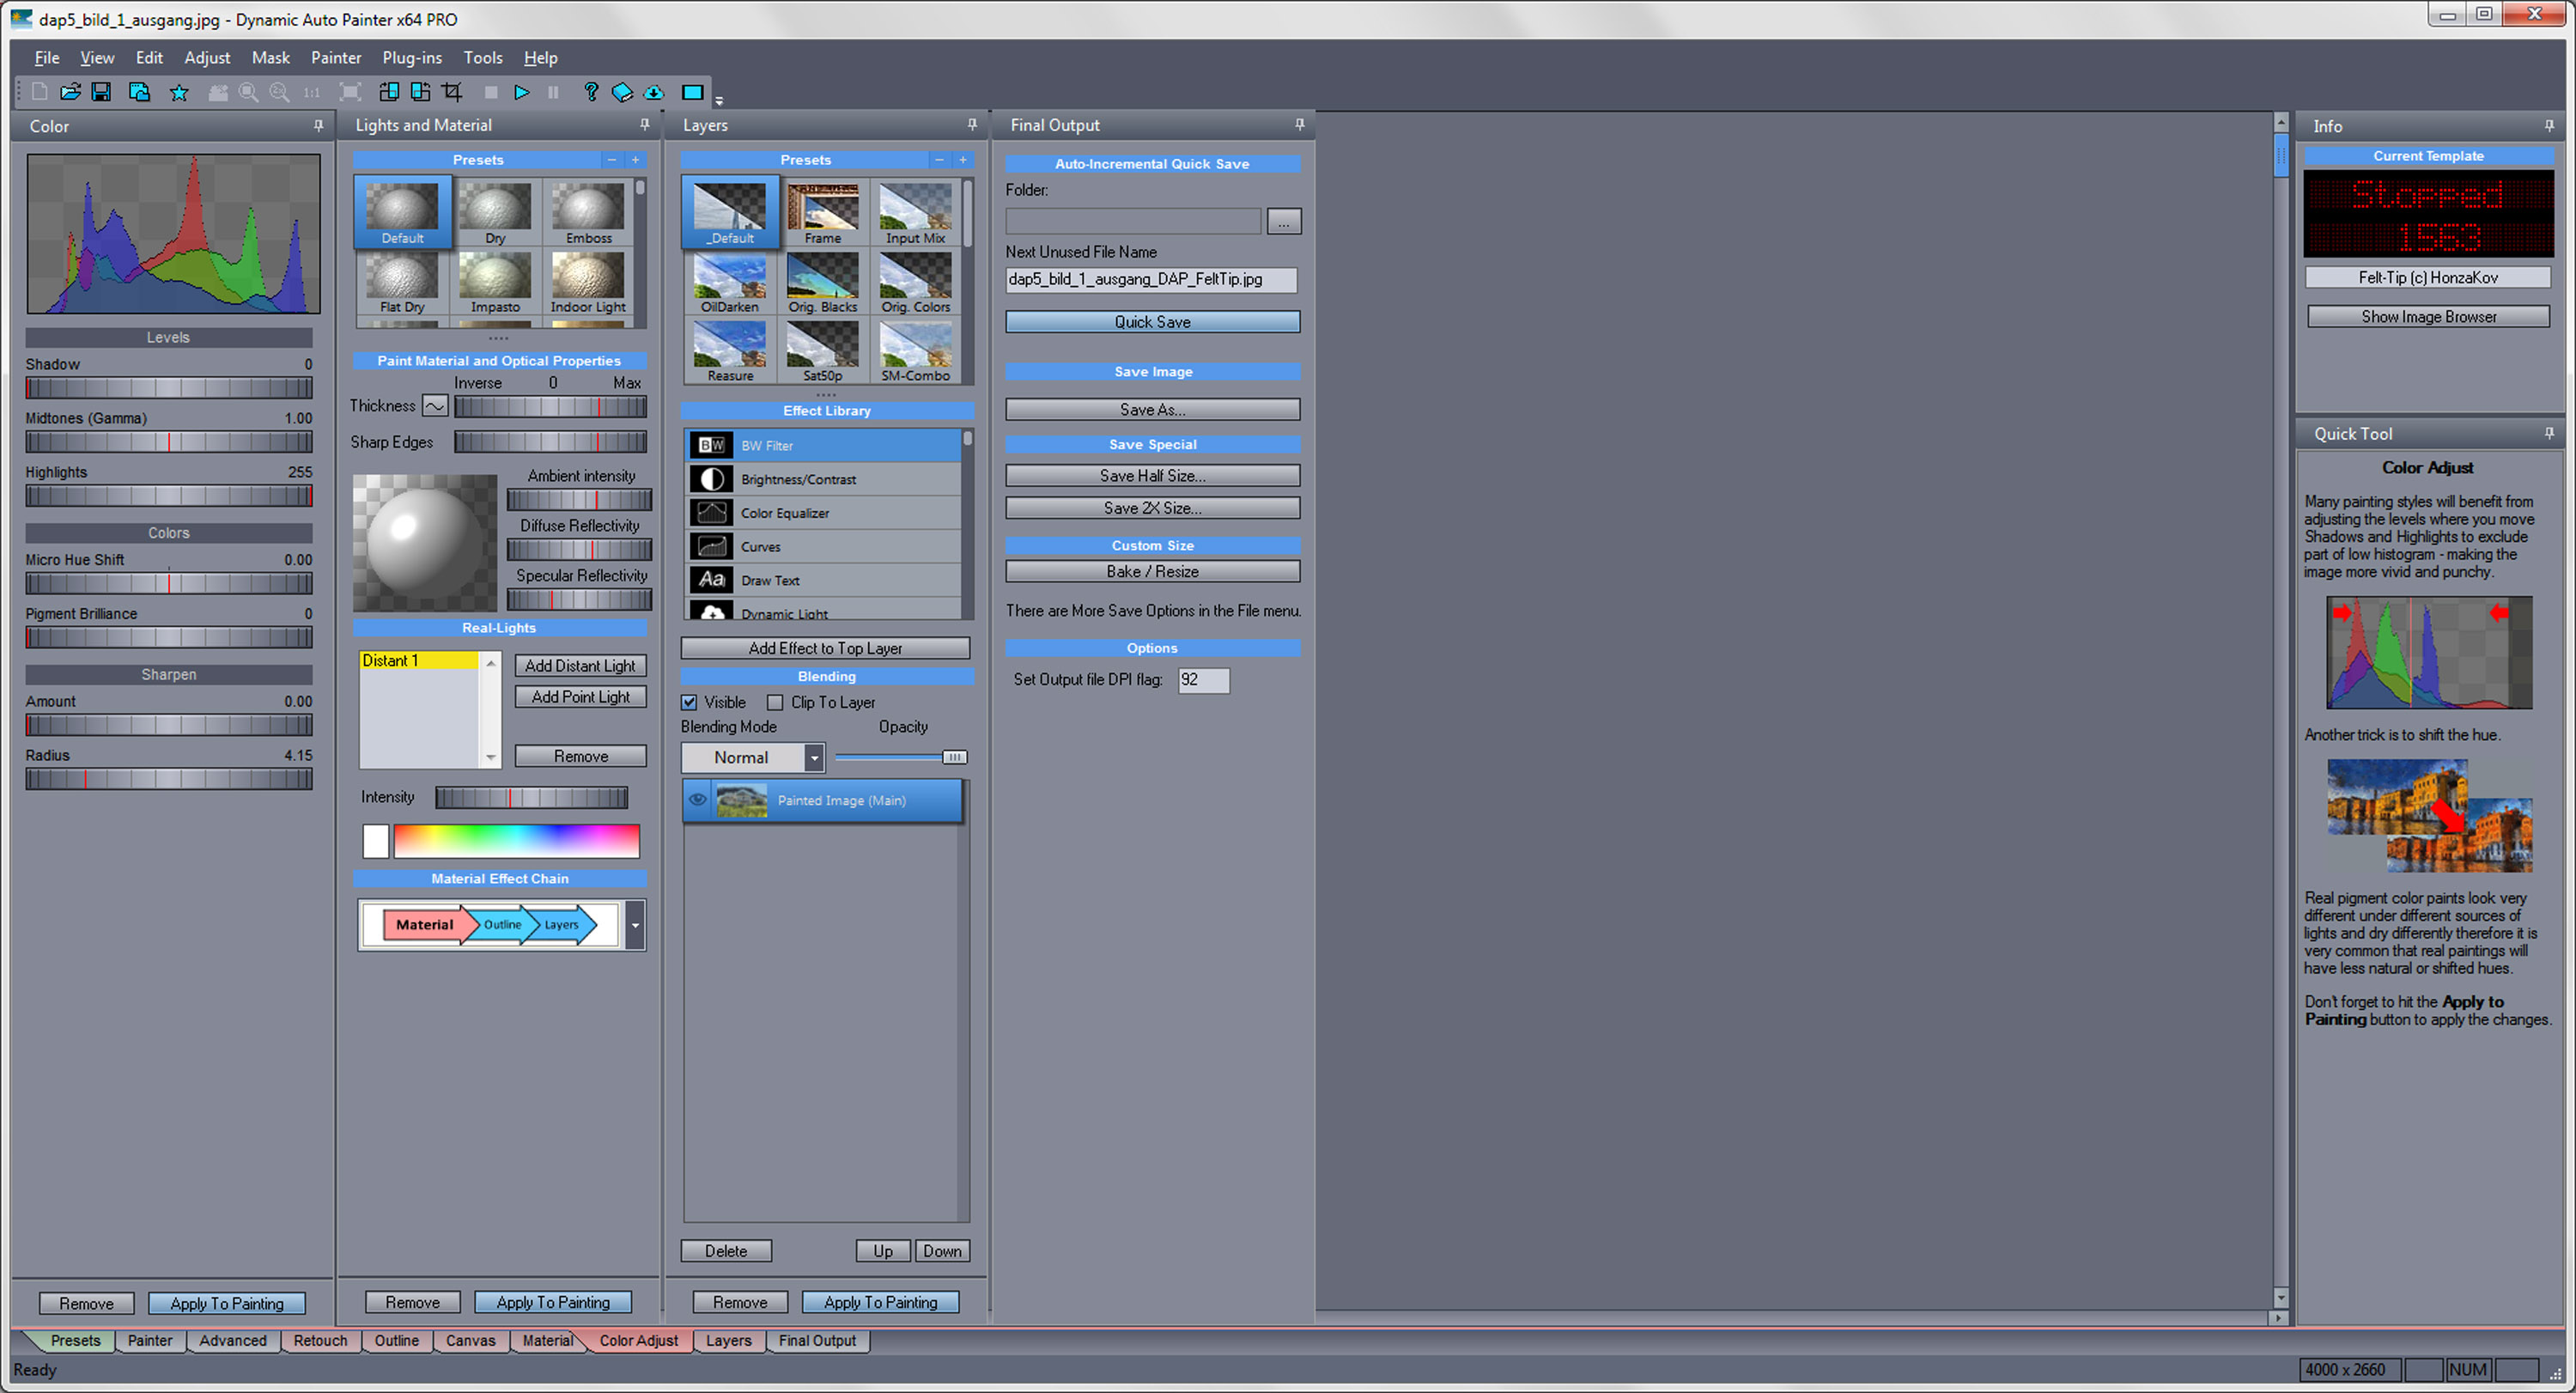
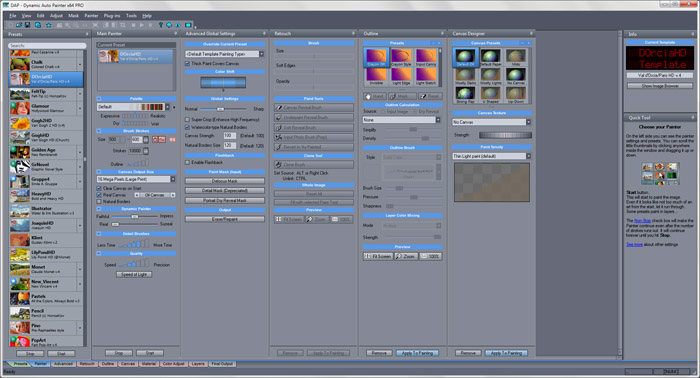
DAP PRO 5 at work
After clicking on >Start you will be displayed the window Main
Painter on the left-hand side as well as the Quick Tool on the
right-hand side. At the same time DAP PRO 5 starts with the automatic
painting. It is taken for granted that the preset values can be
changed, but it is not really recommendable if you are not yet
familiar with the program.
At the beginning it is advisable to start with an image of your
choice and any desirable preset. After finishing the automatic
flow you just load the image once again via the menu item >File>Reload>Current
File and experiment somewhat with different settings. In doing
so you will get familiar with the possibilities of the program
very quickly.

My „weekend house“ as aquarel - Would be nice on canvas,
wouldn´t it?
Testing some more presets?
In Germany there is the saying: An image says more then a thousand
words. Especially with a painting software this is absolutely
true. It does not help a lot to list up all parameters that you
can even better realise your wishes with. All painting styles
produce slightly different results according to the individual
image. This is not a disadvantage, but an advantage that you should
use more often for your works.

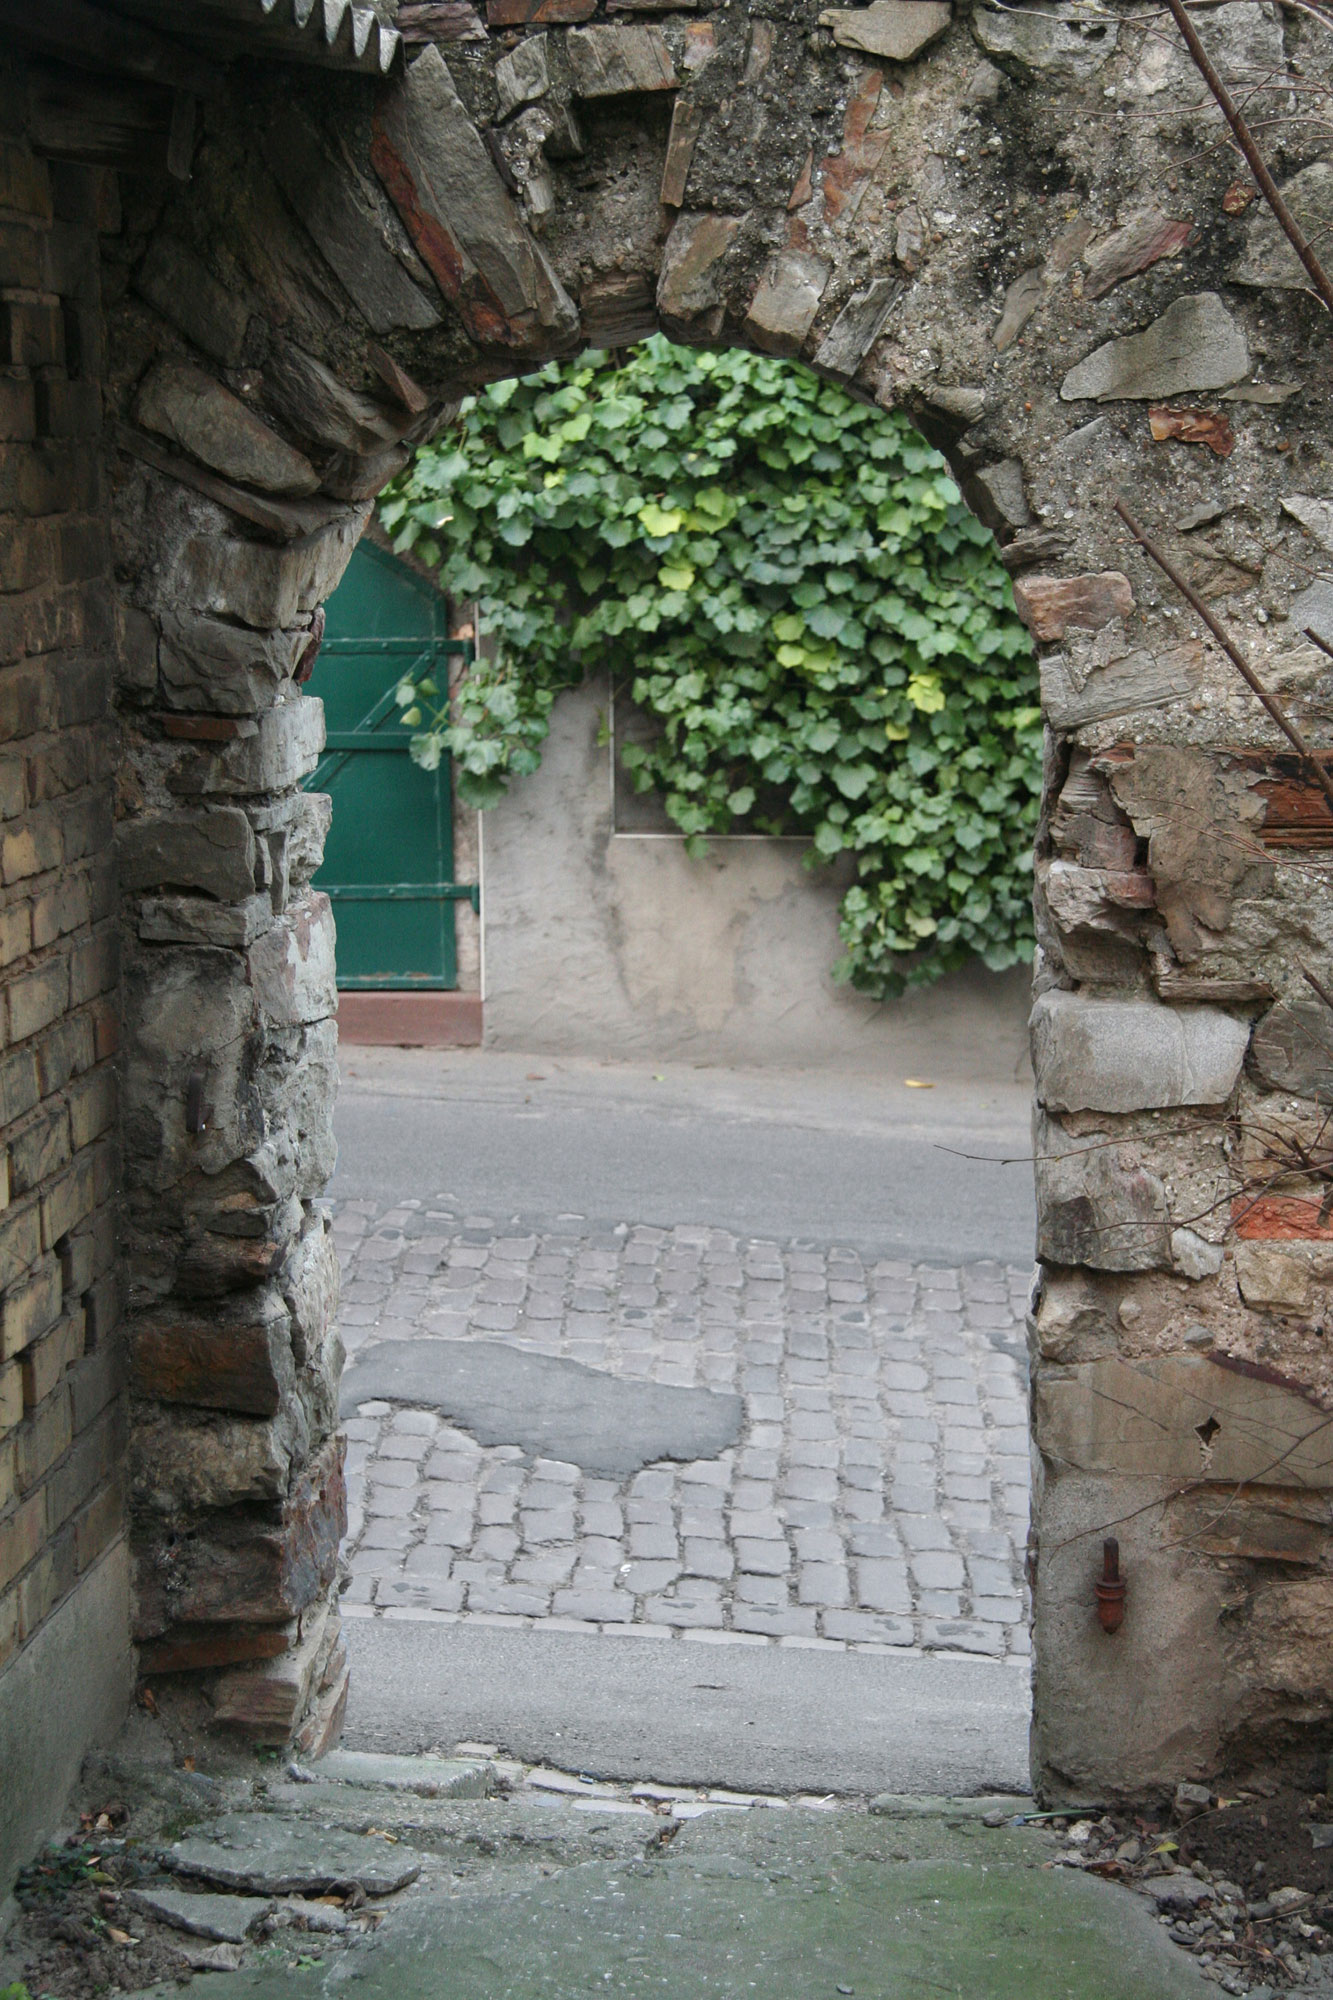
This is also meant to become a painted image – photographer:
Kay Michael Kuhnlein – www.a-dezign.de
For this photo I wish powerful colors and a painting style that
shows a distinct touch of realism.

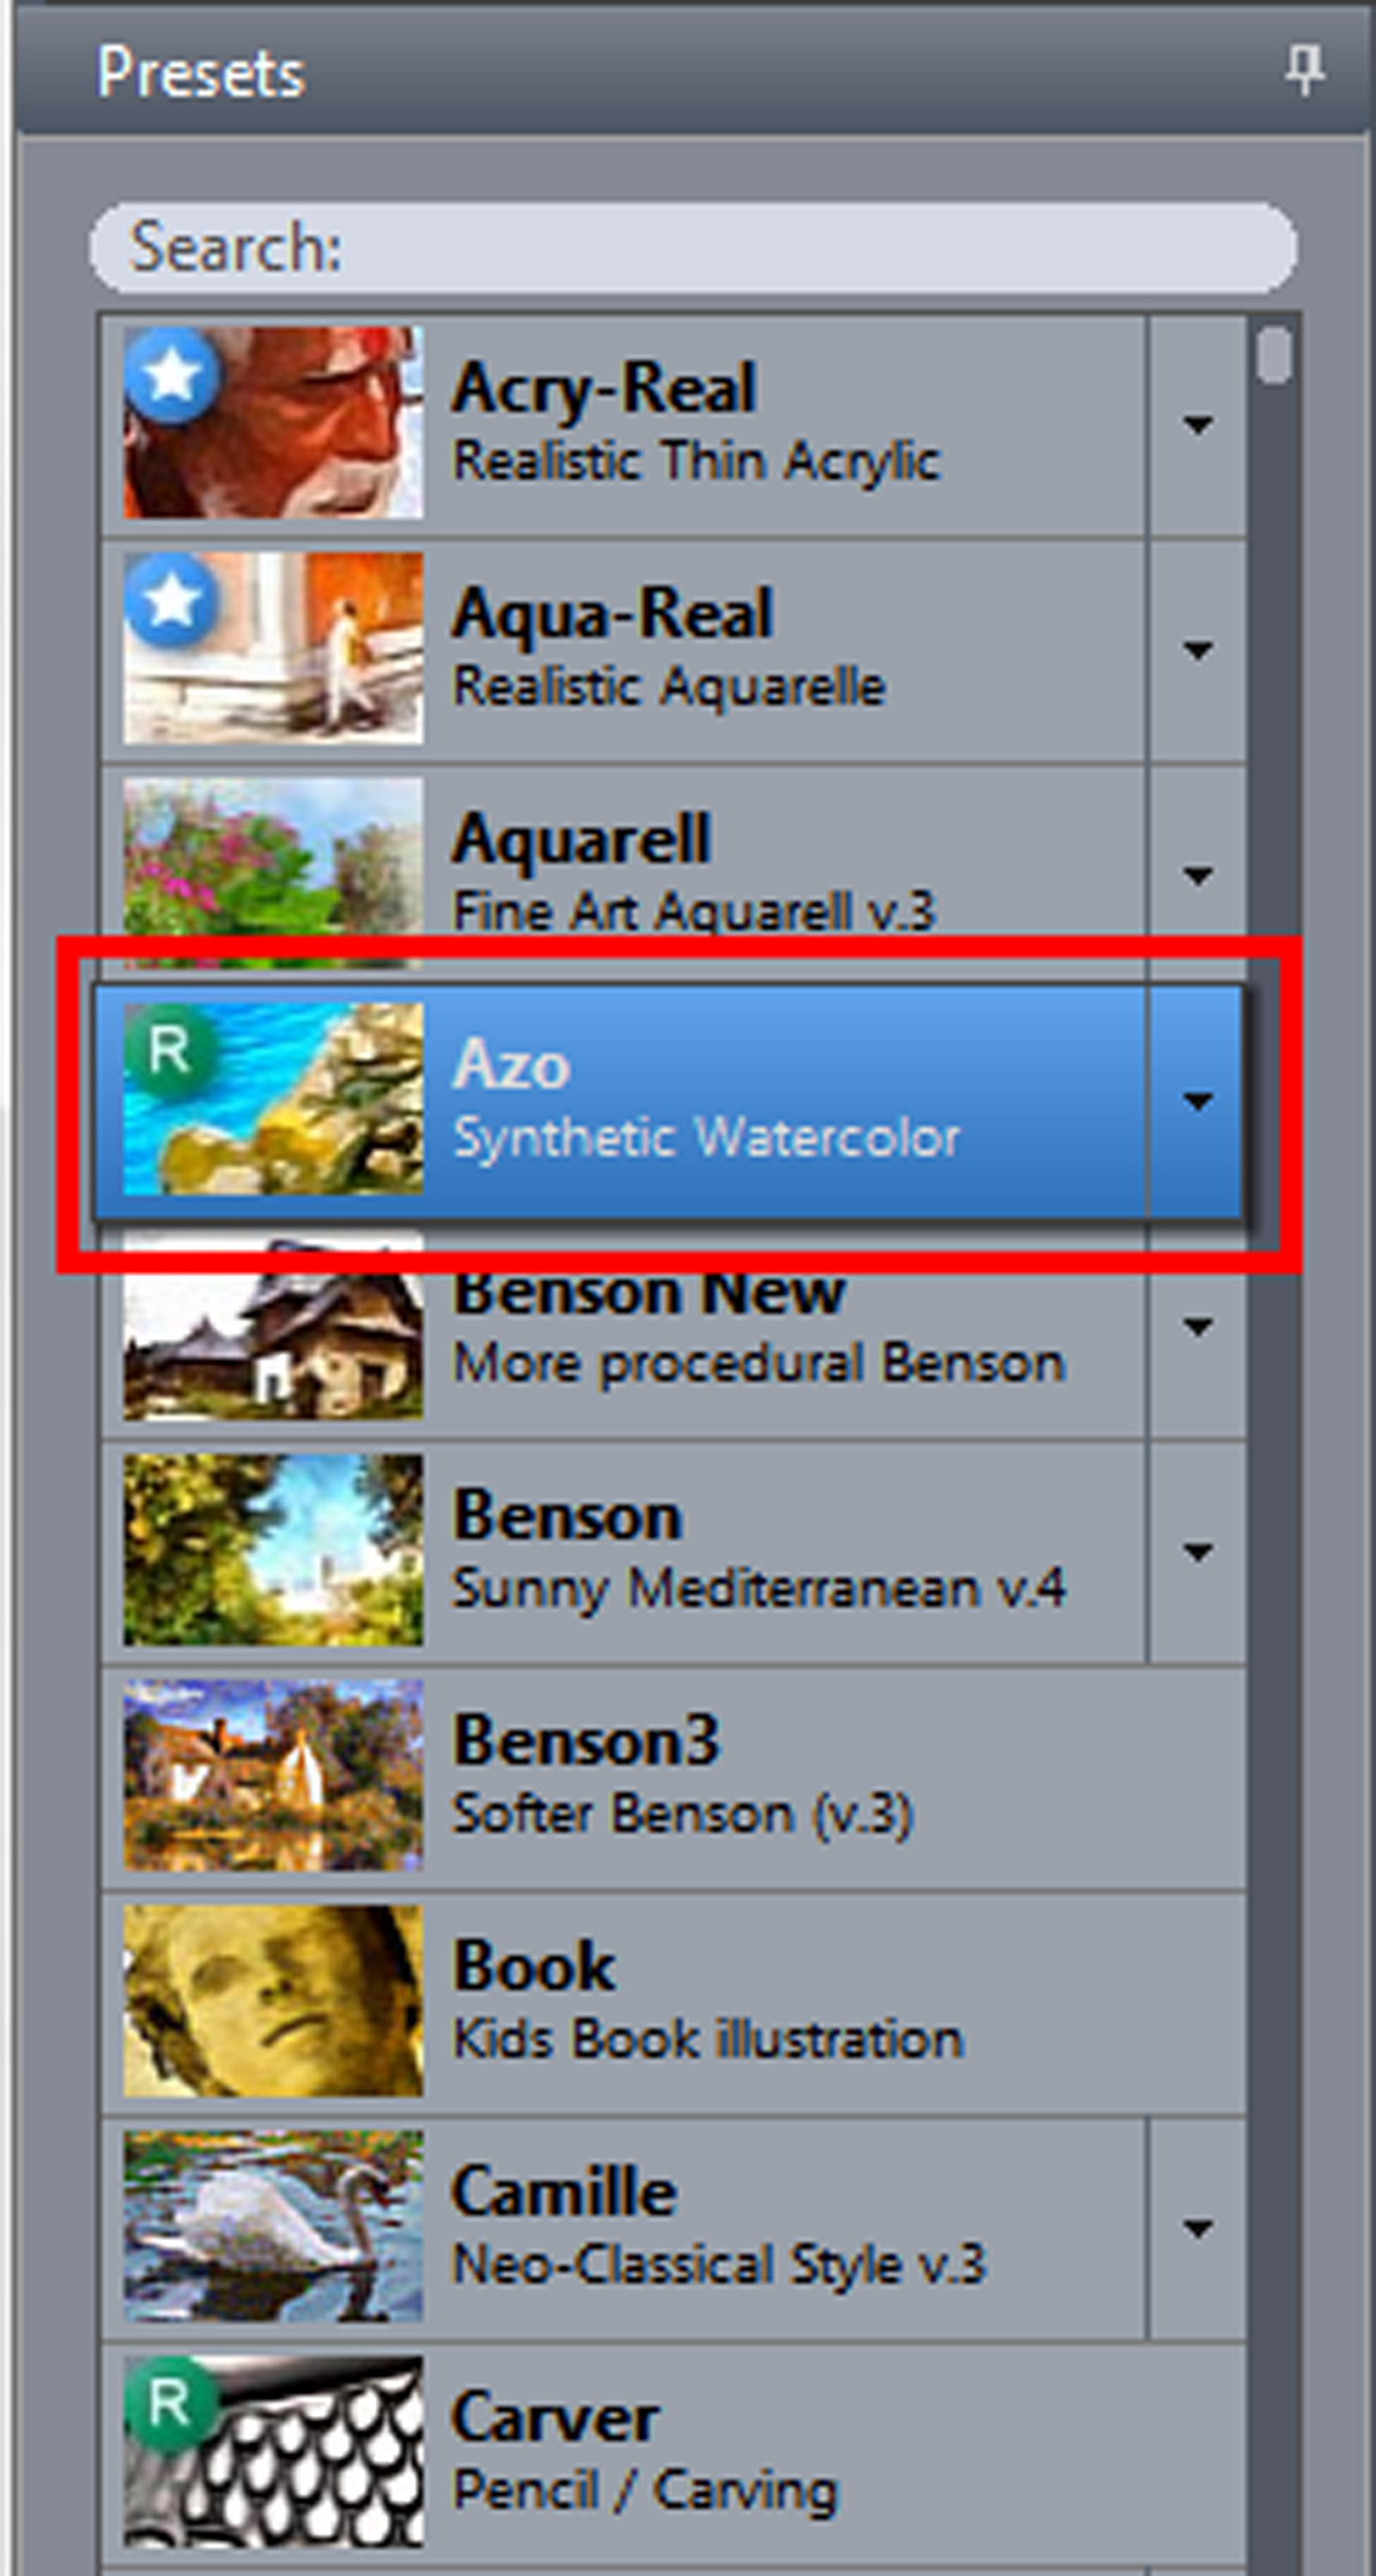
Preset „Azo“ is used
I checked the available presets a bit and then decided on the painting
style Azo. You will instantly see that within short time you will
get a presentable result.

Painting style „Azo“ – that is what I imagined,
I am very satisfied

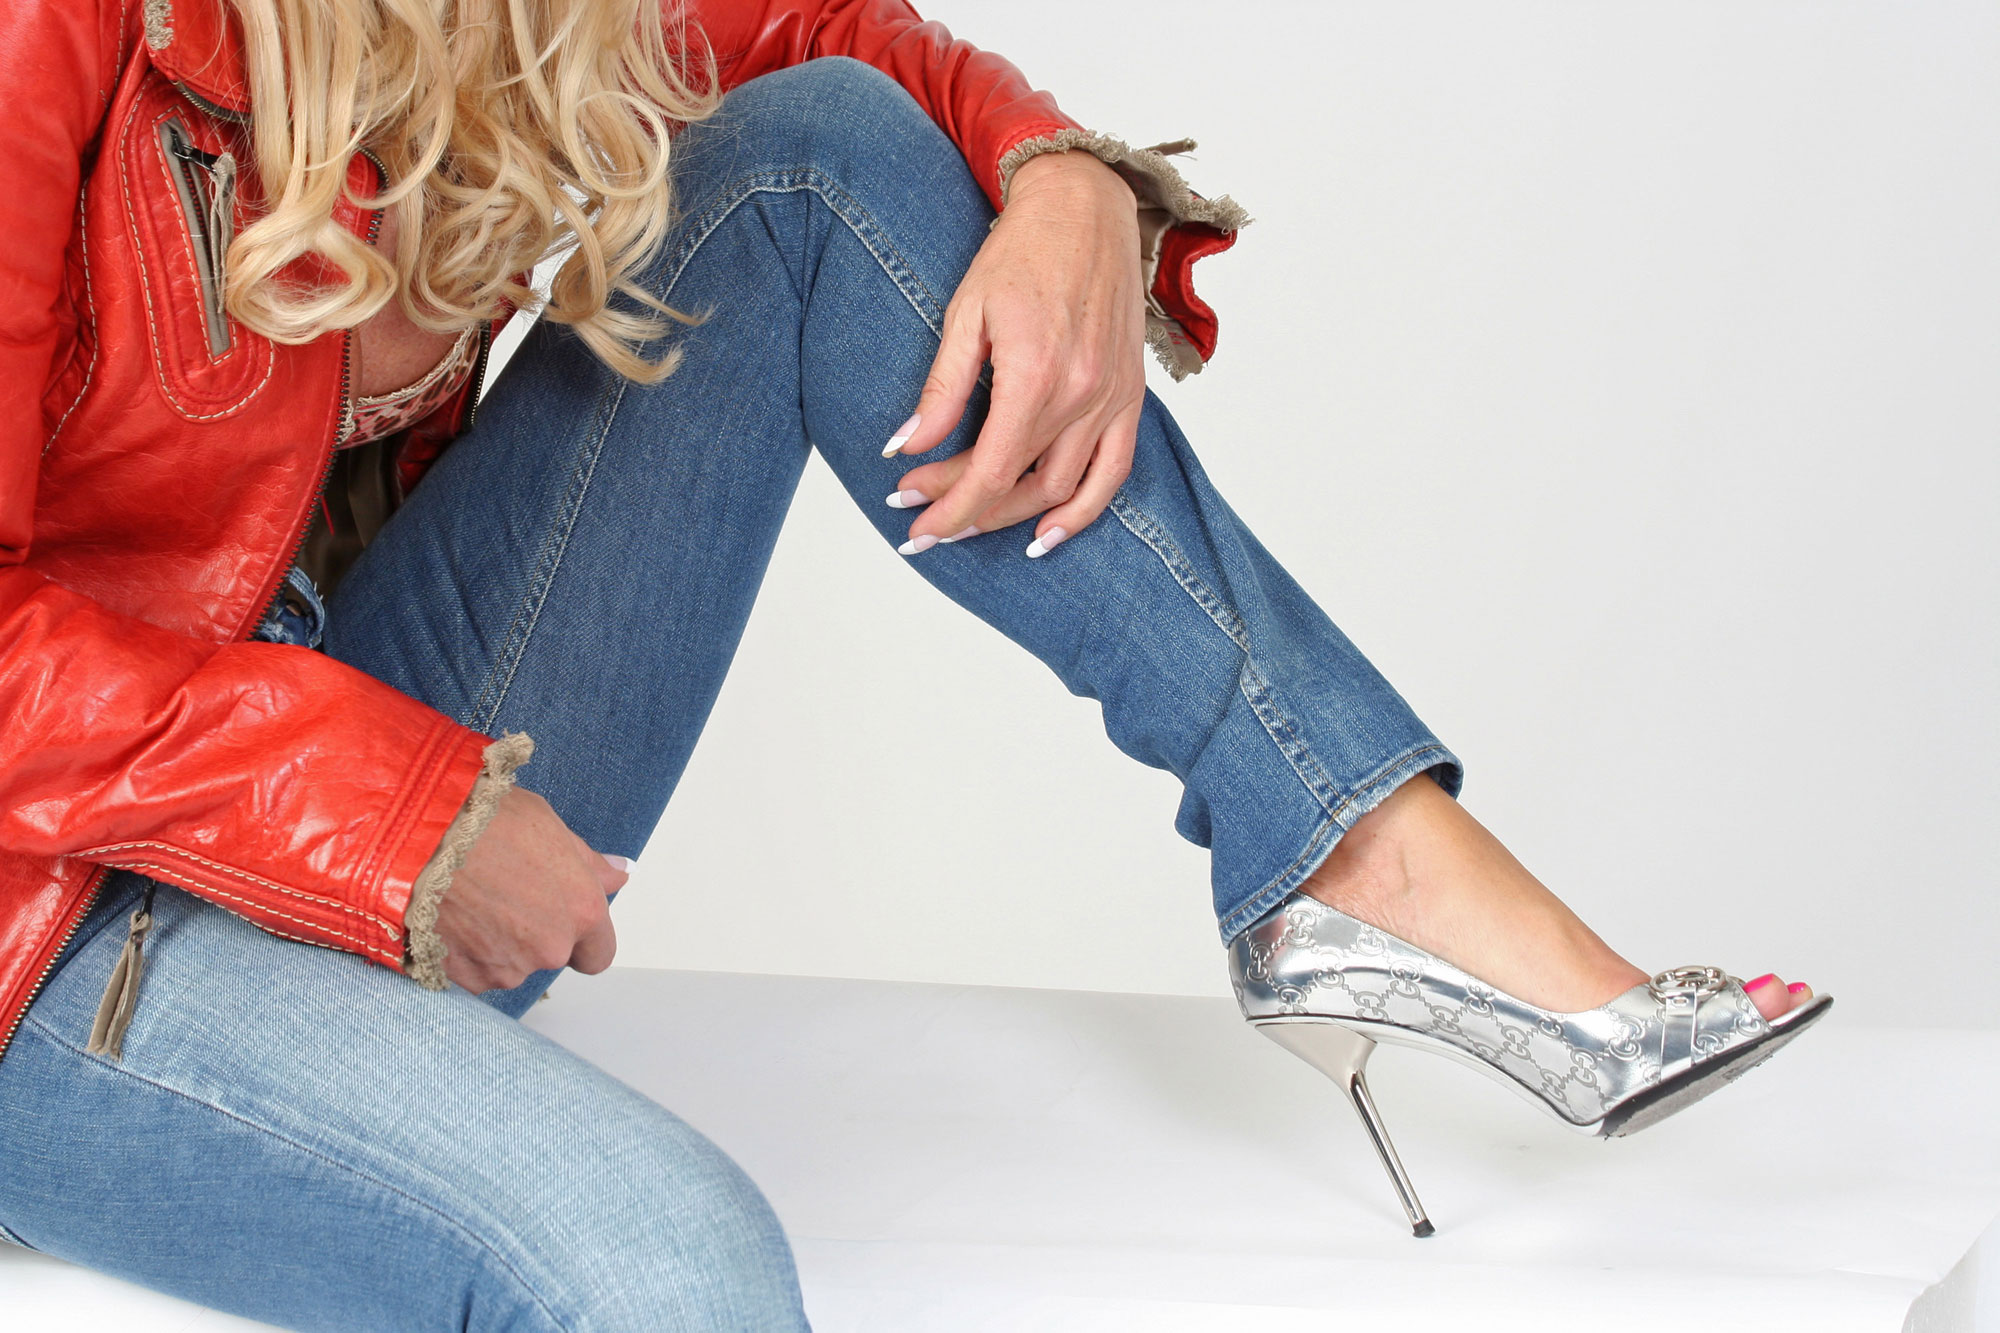
A pretty shoe – photographer: Silvia Kuhnlein –
www.a-dezign.de

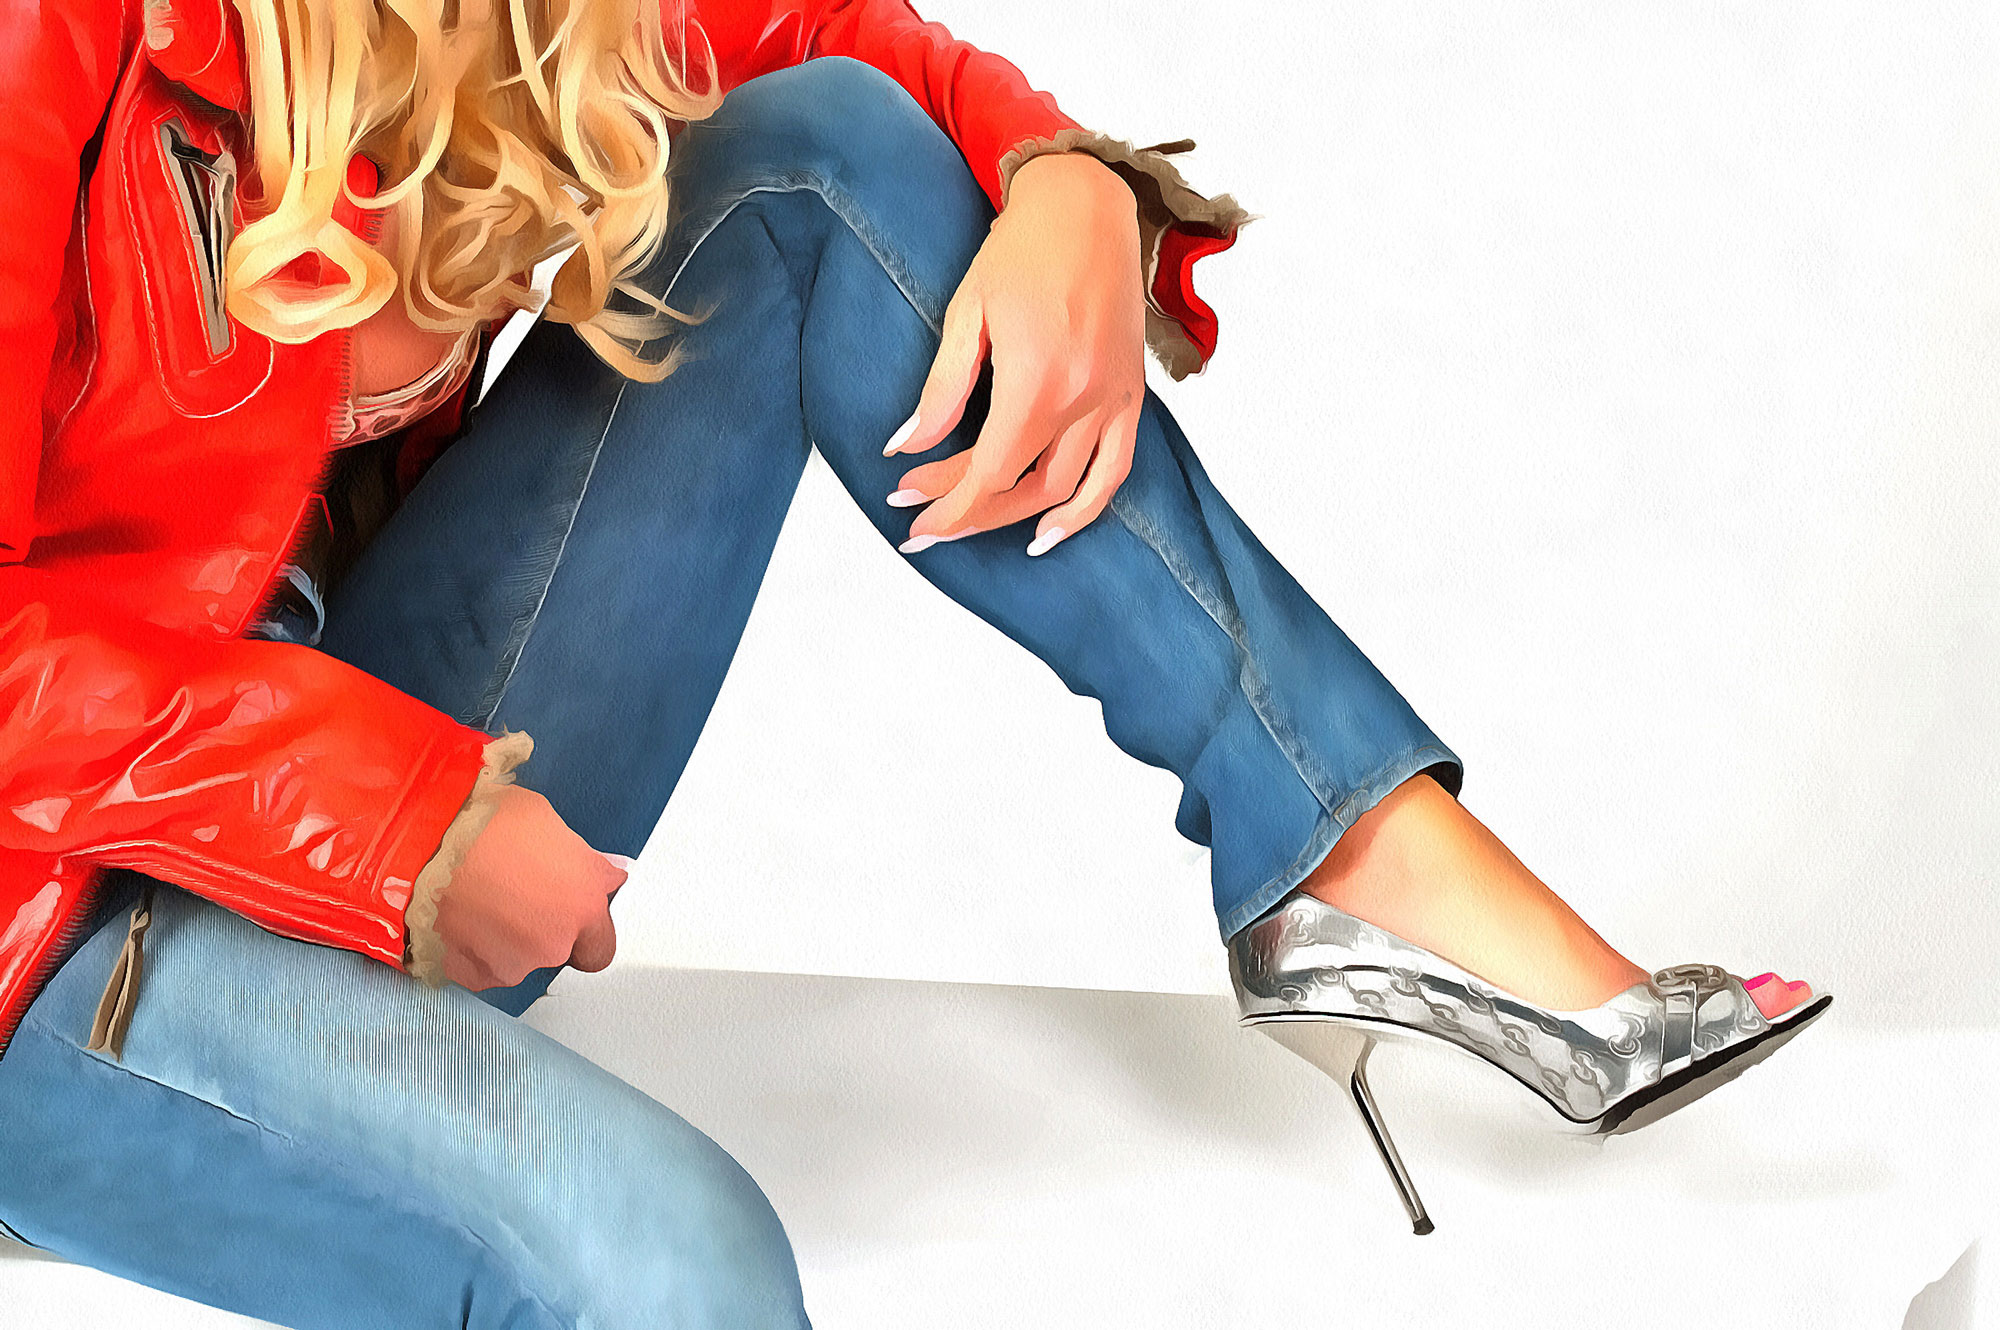
Due to „Re-Acrylic“ we get a nice image in the style:
photorealism
Whoever likes photorealism can avail himself of plenty of painting
styles that DAP PRO 5 provides. Here you will reach the goal in
most cases only by testing. As I already mentioned the original
photo is essentially involved with the final result. I am more
than satisfied with my example, you may probably think so as well.

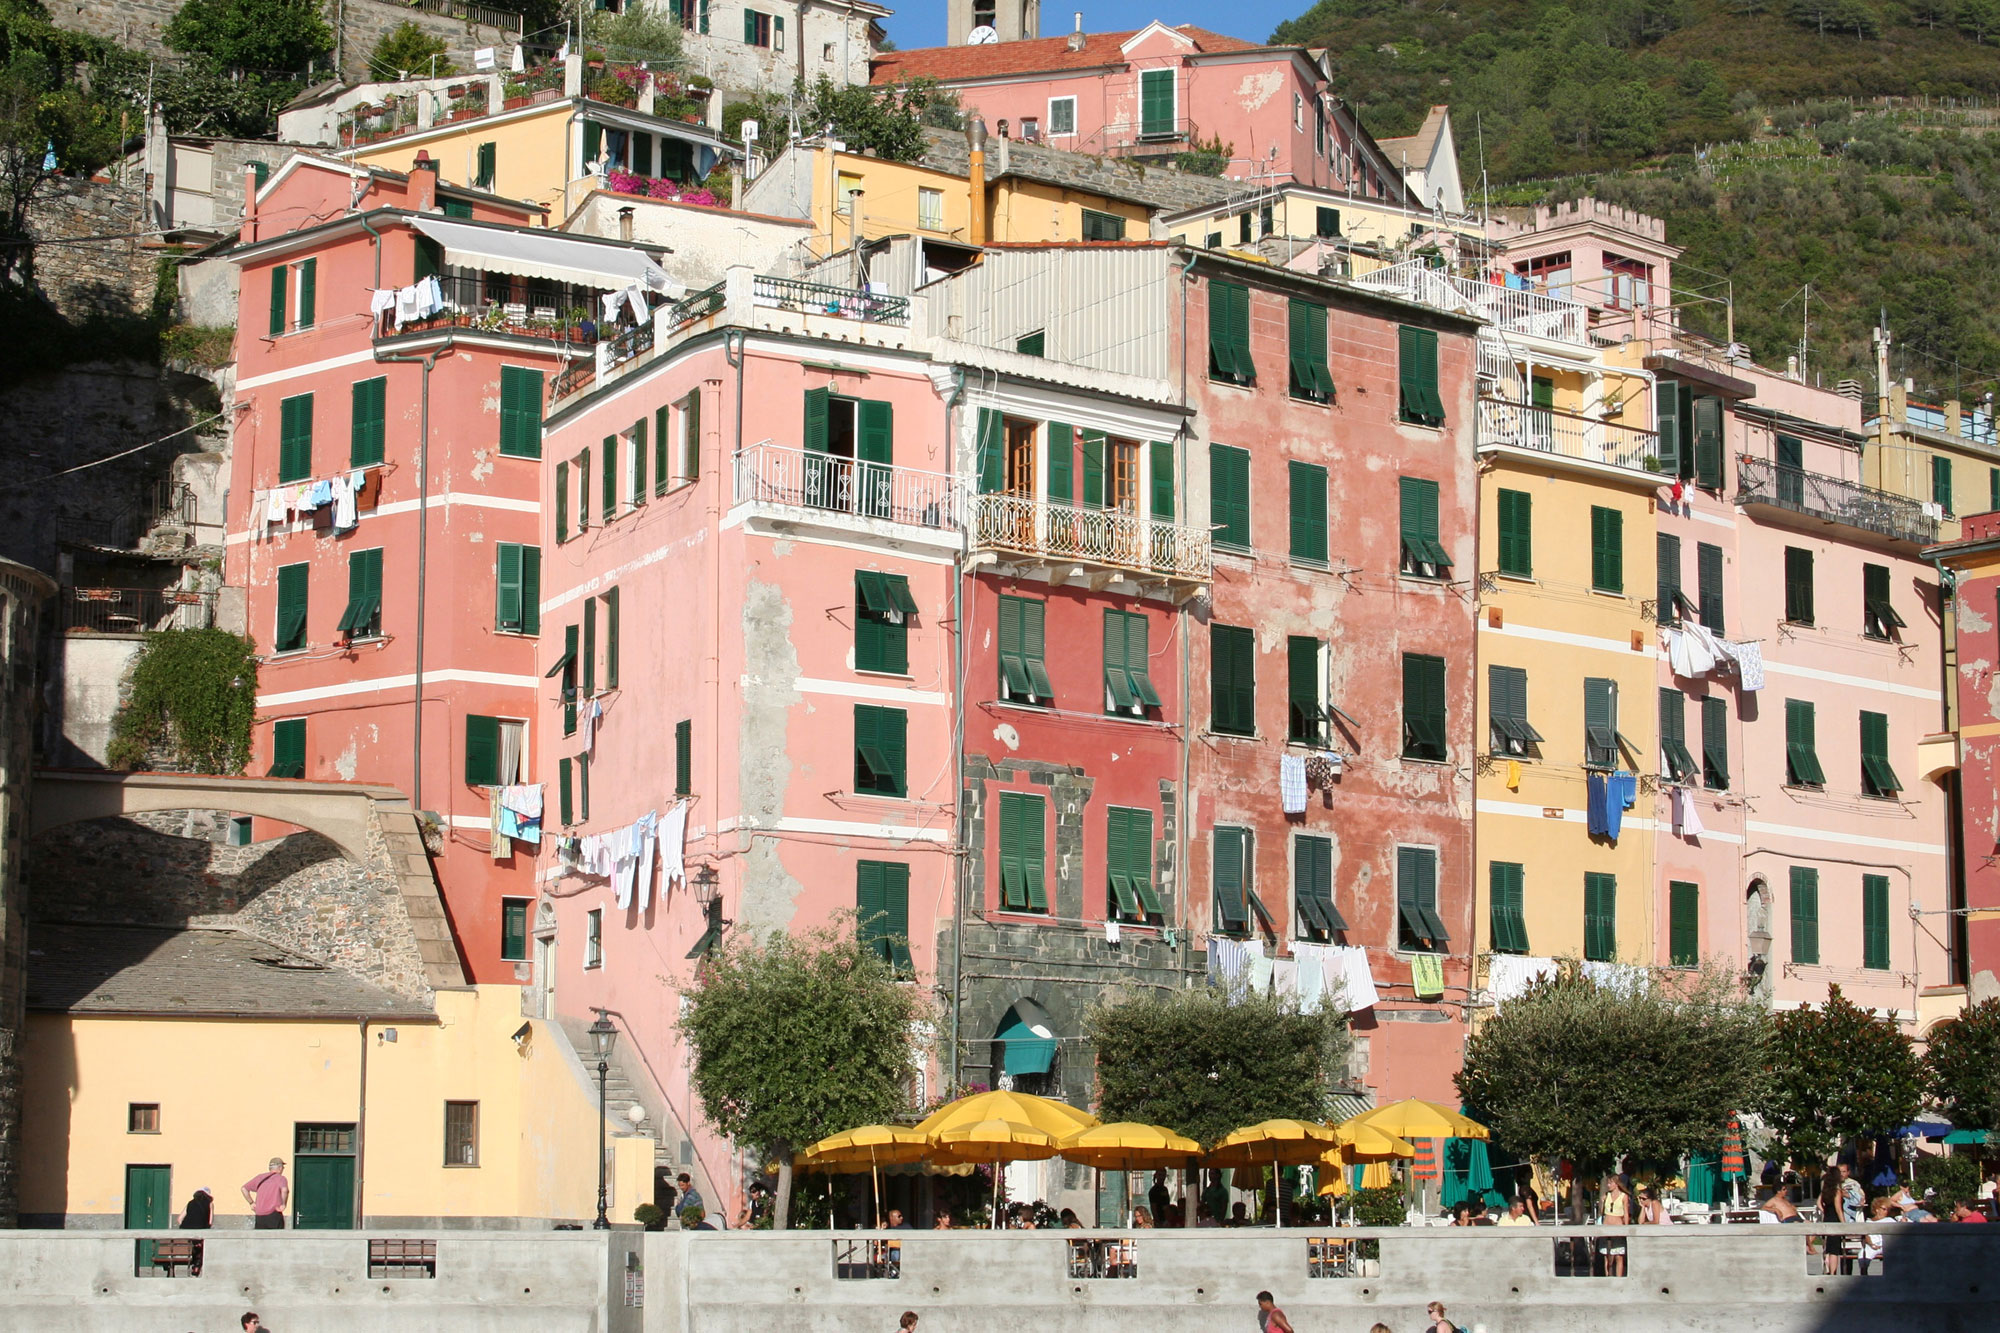
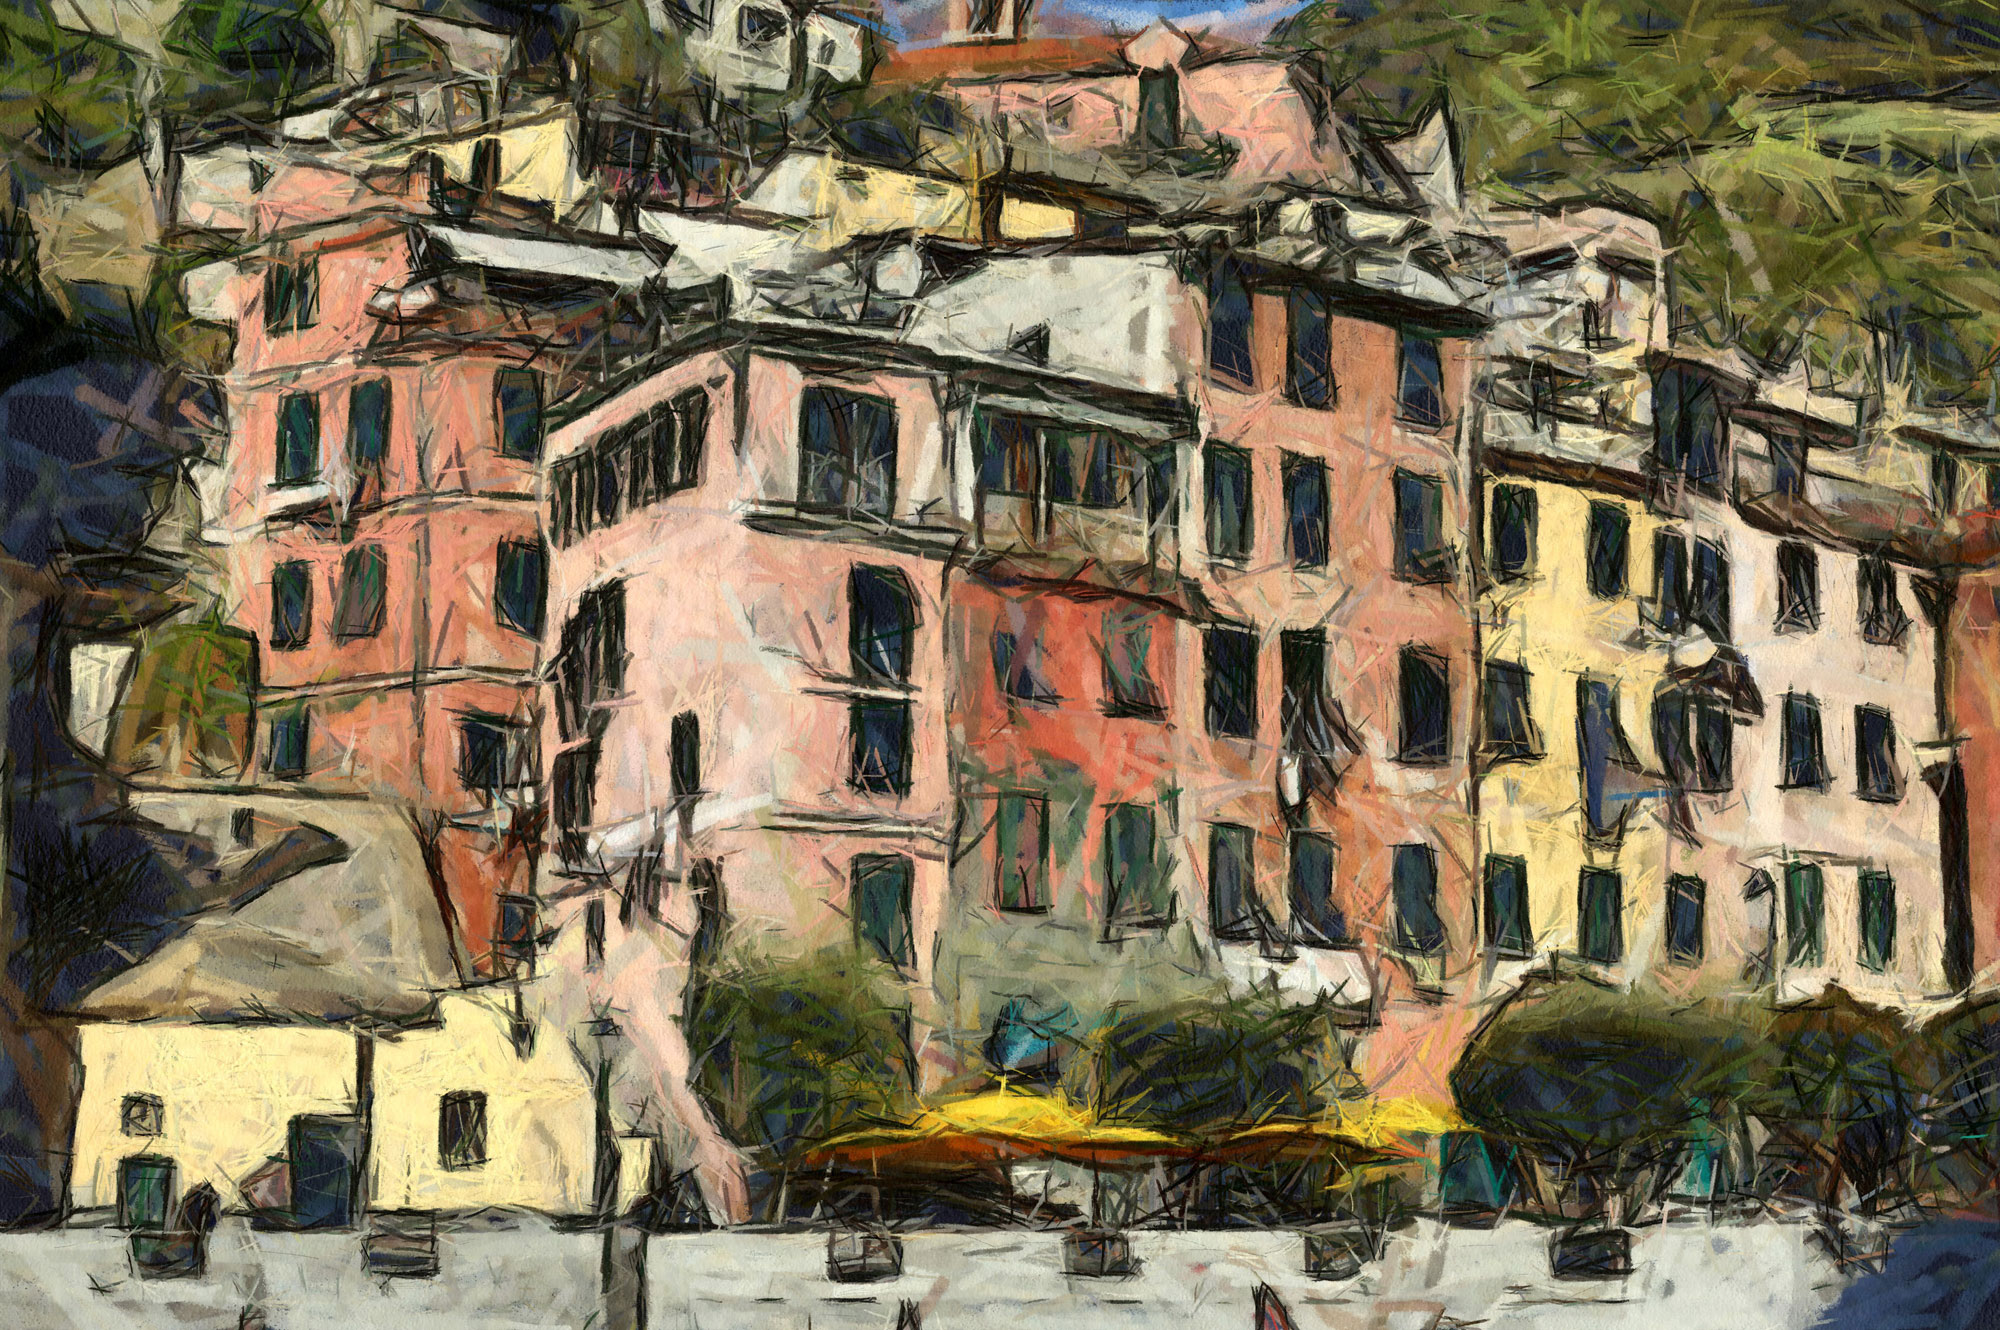
Whoever has already been there will instantly recognize:
Cincque Terre in Italy – photographer: Silvia Kuhnlein –
www.a-dezign.de
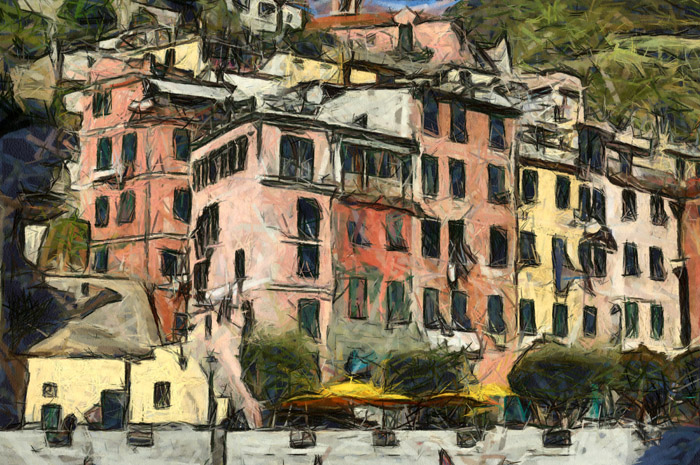
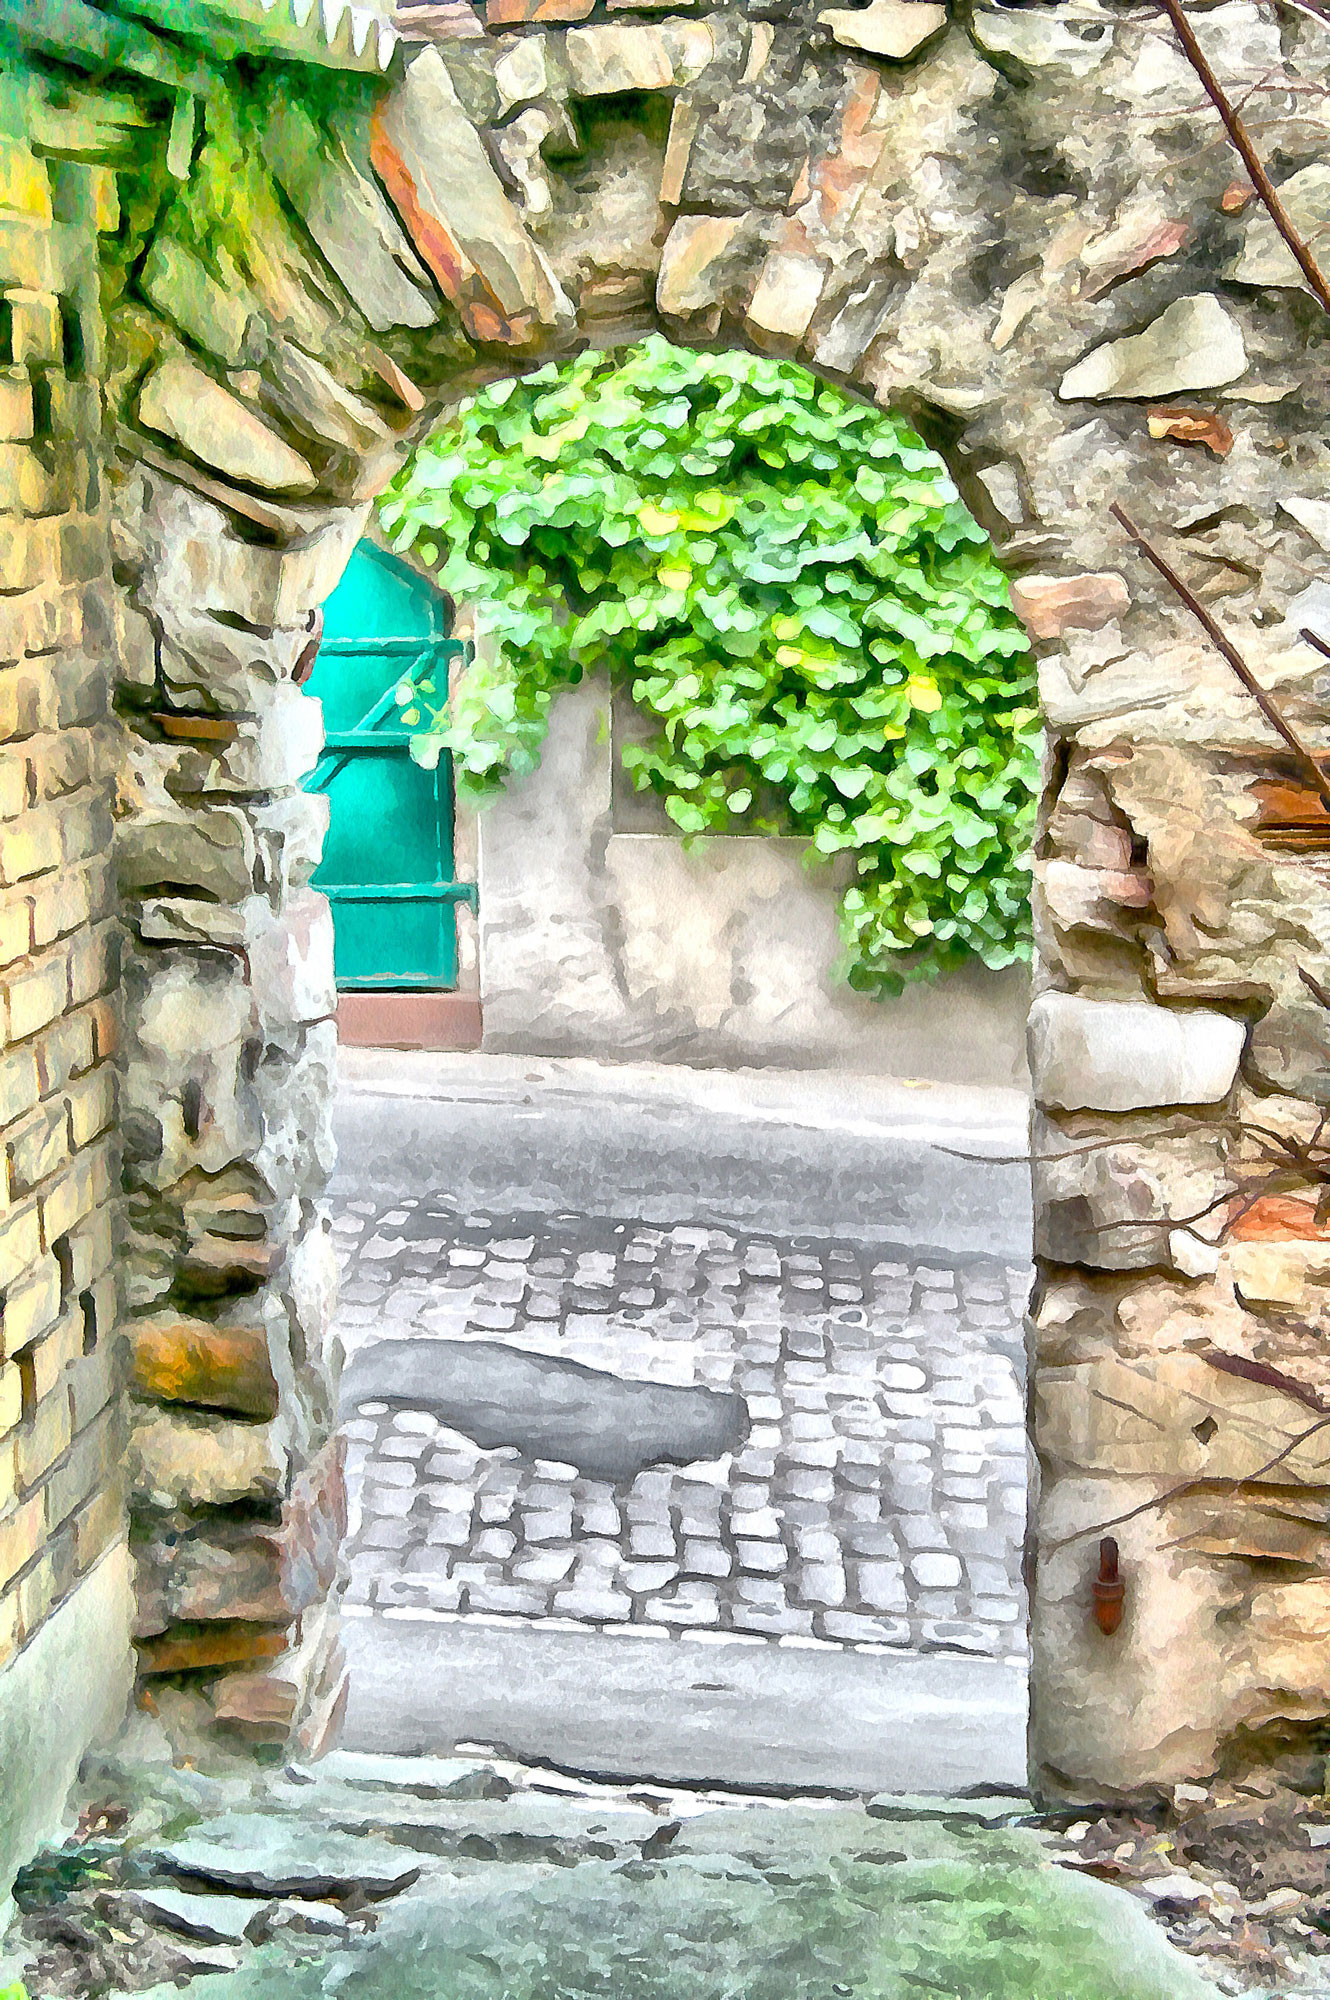
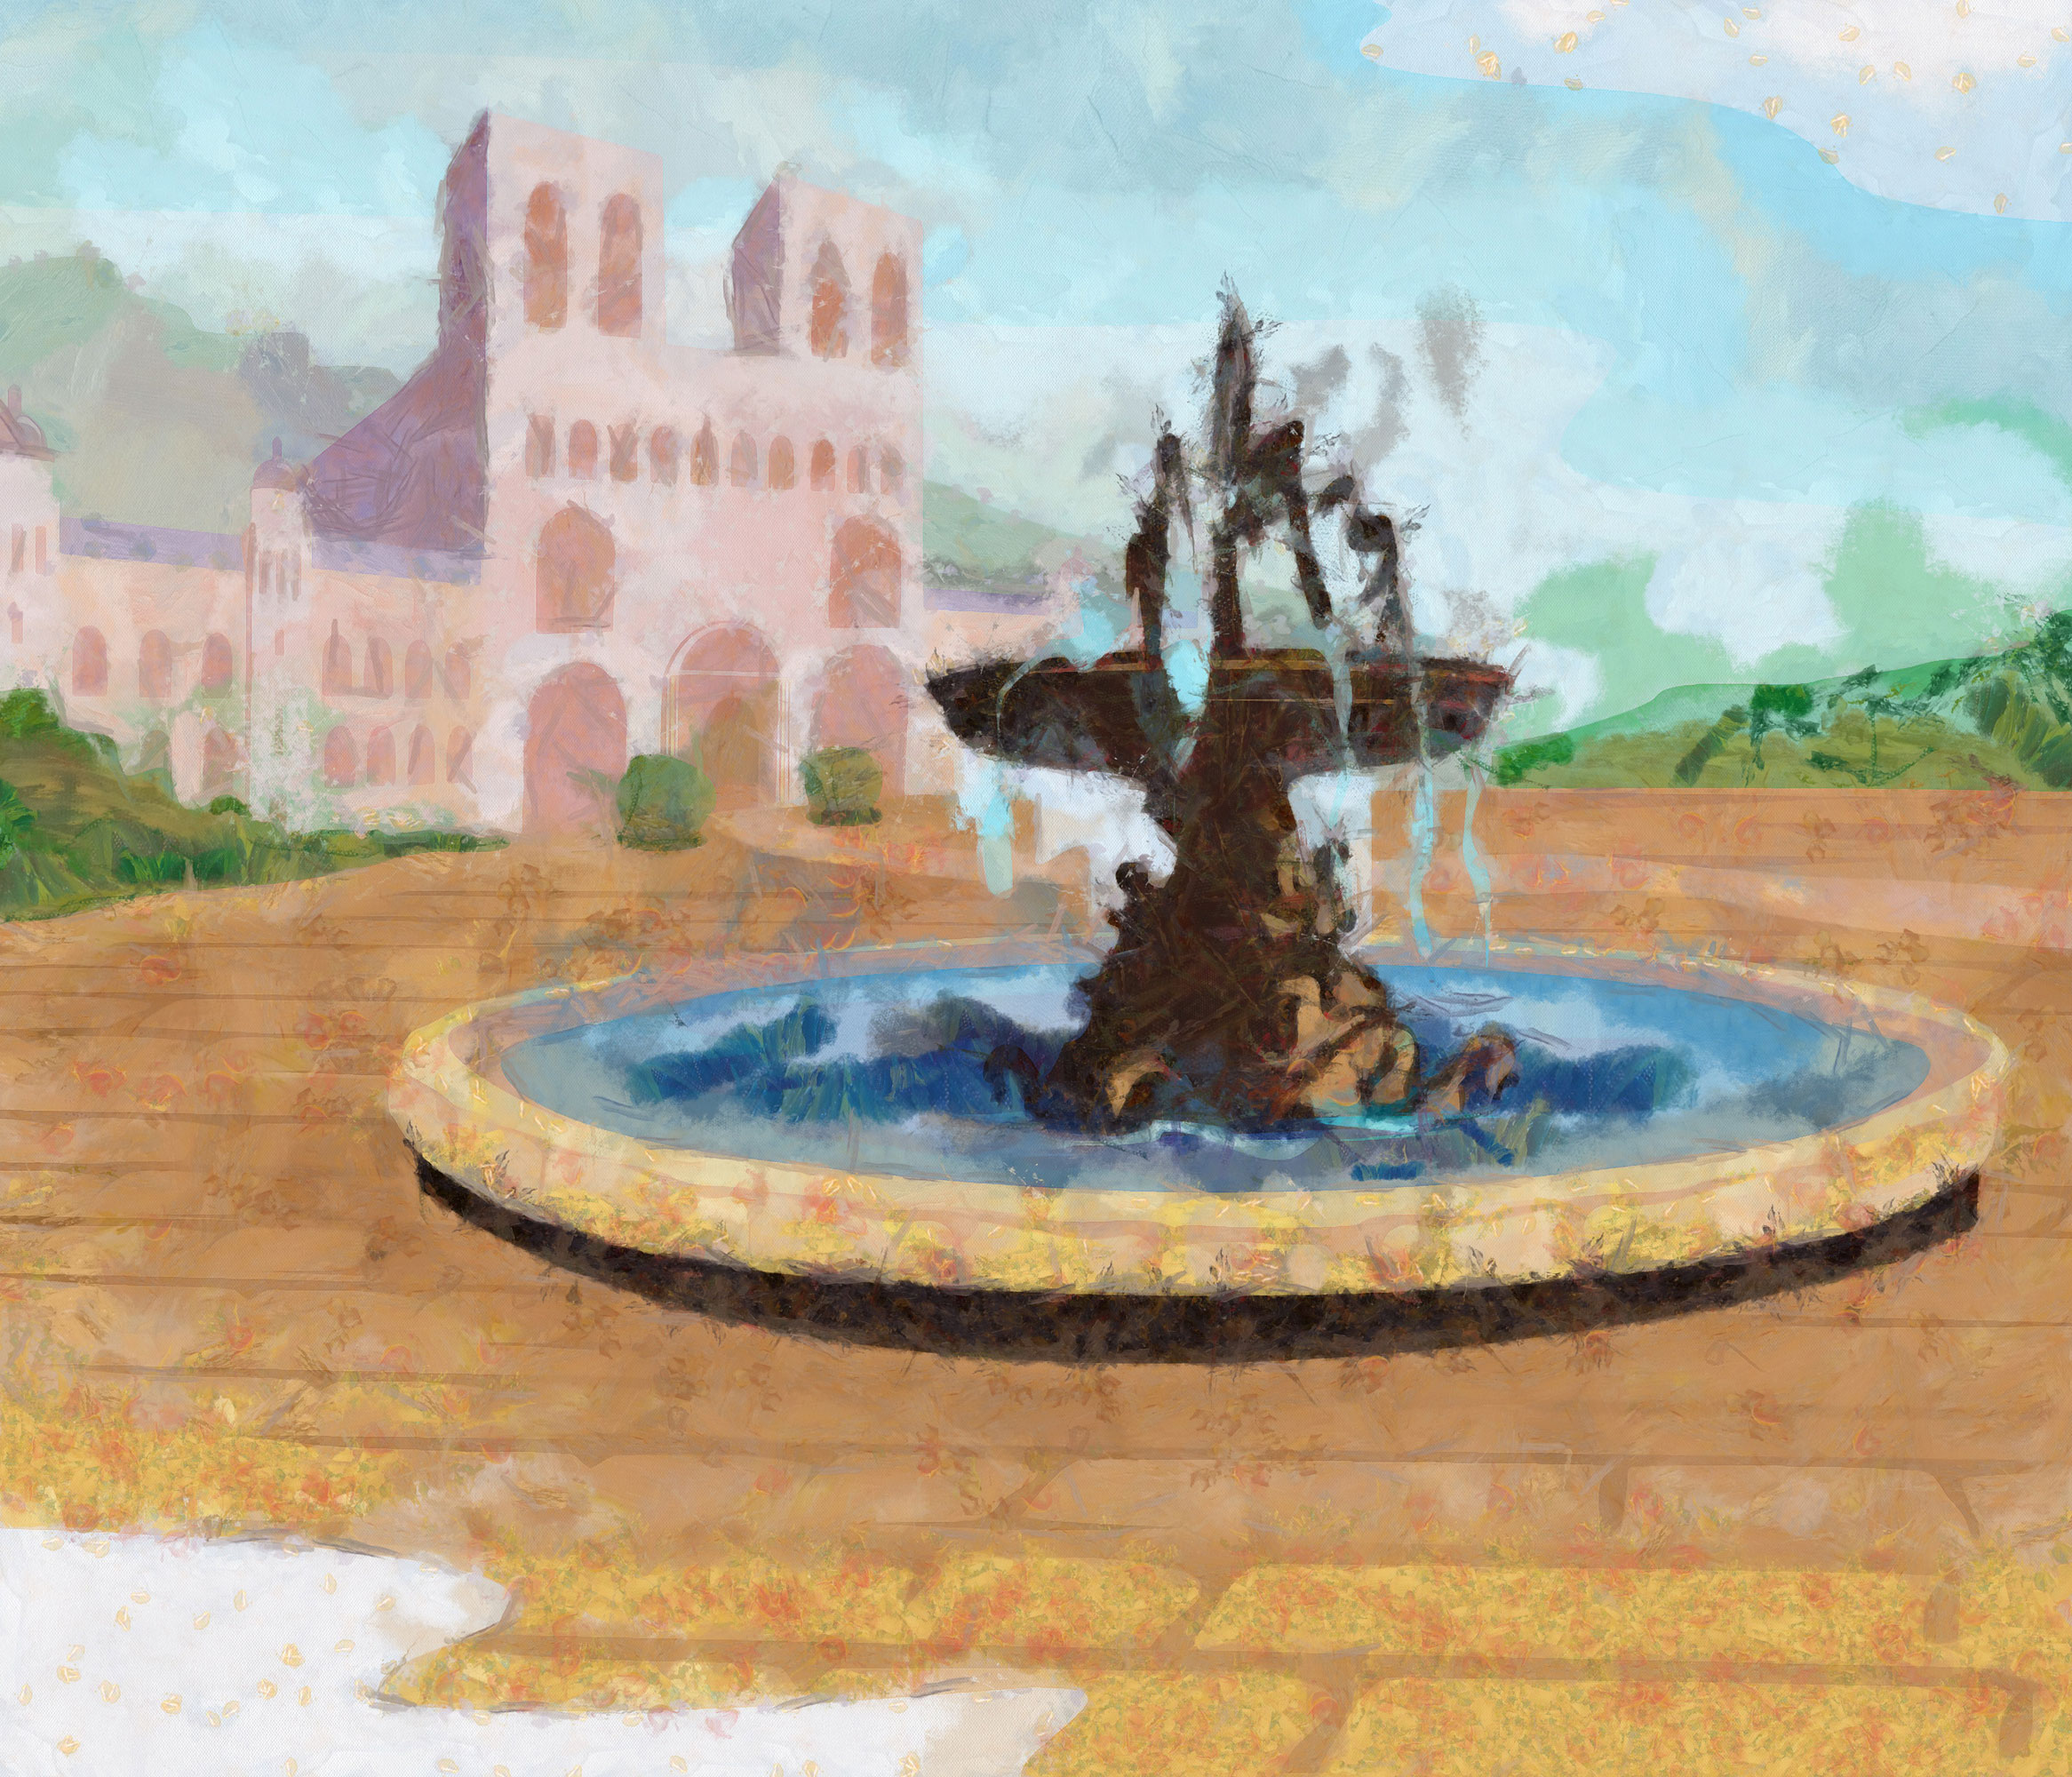
It is okay, isn´t it? The preset: „Felt
Tip“ produces the special painting style
Of course there is an array of presets that are also suitable for
the scene, but finally the personal taste is crucial. You will recognize
that there is no lack of useful painting styles, there are enough
available.
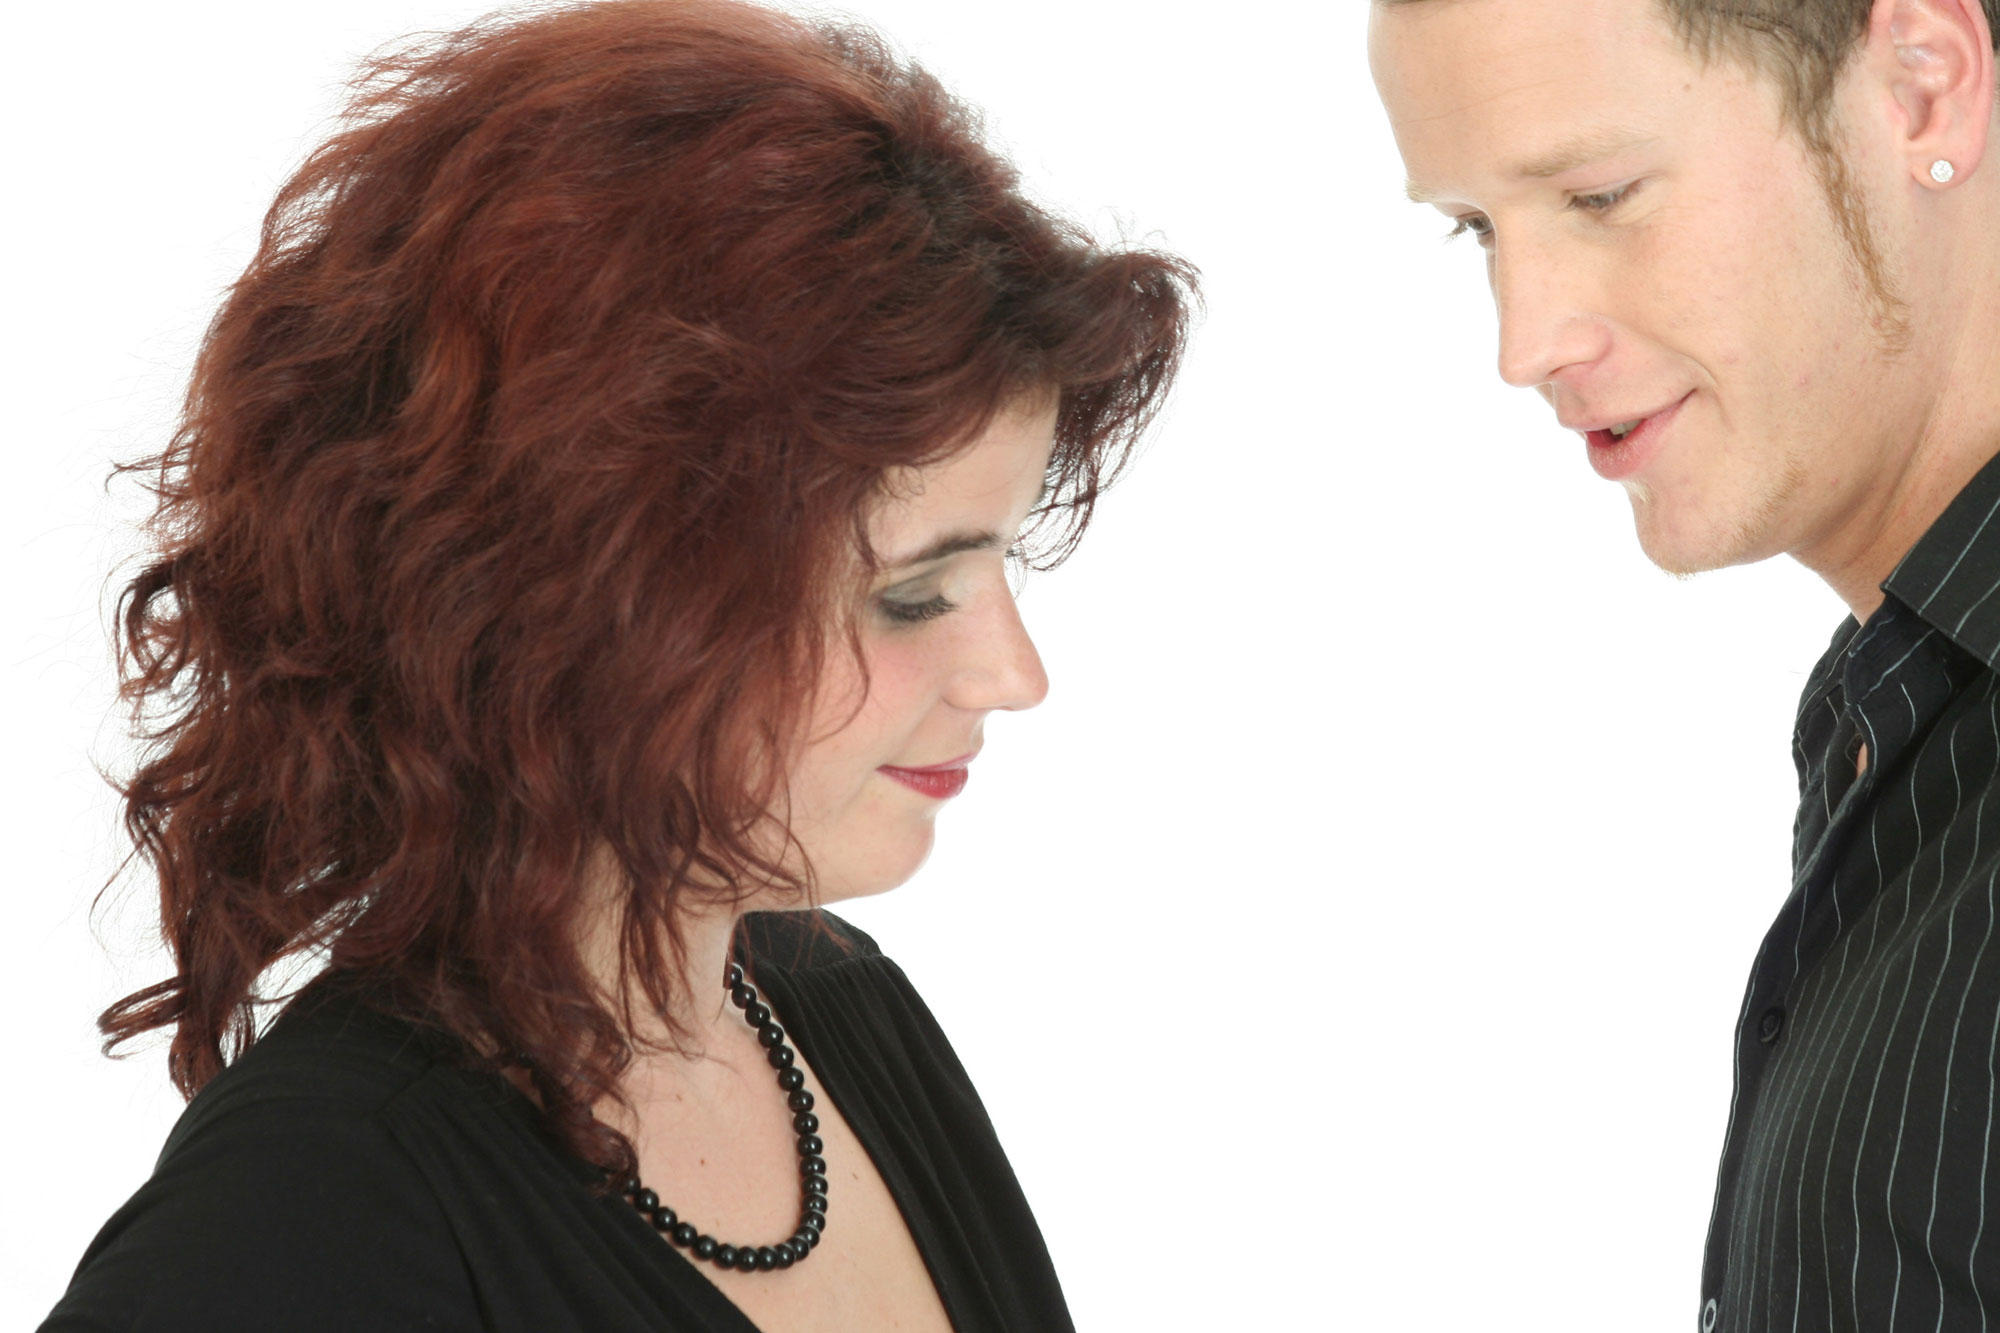
Portrait?
It is often the case that the portrait or half portrait is a
weak point of painting software. To be frank: the result is not
really mind-blowing. So what is more recommendable than testing
such an example with DAP PRO 5? Let`s see what the software is
able to perfom in this area.

Are both flirting or aren´t they? – photographer:
Silvia Kuhnlein – www.a-dezign.de

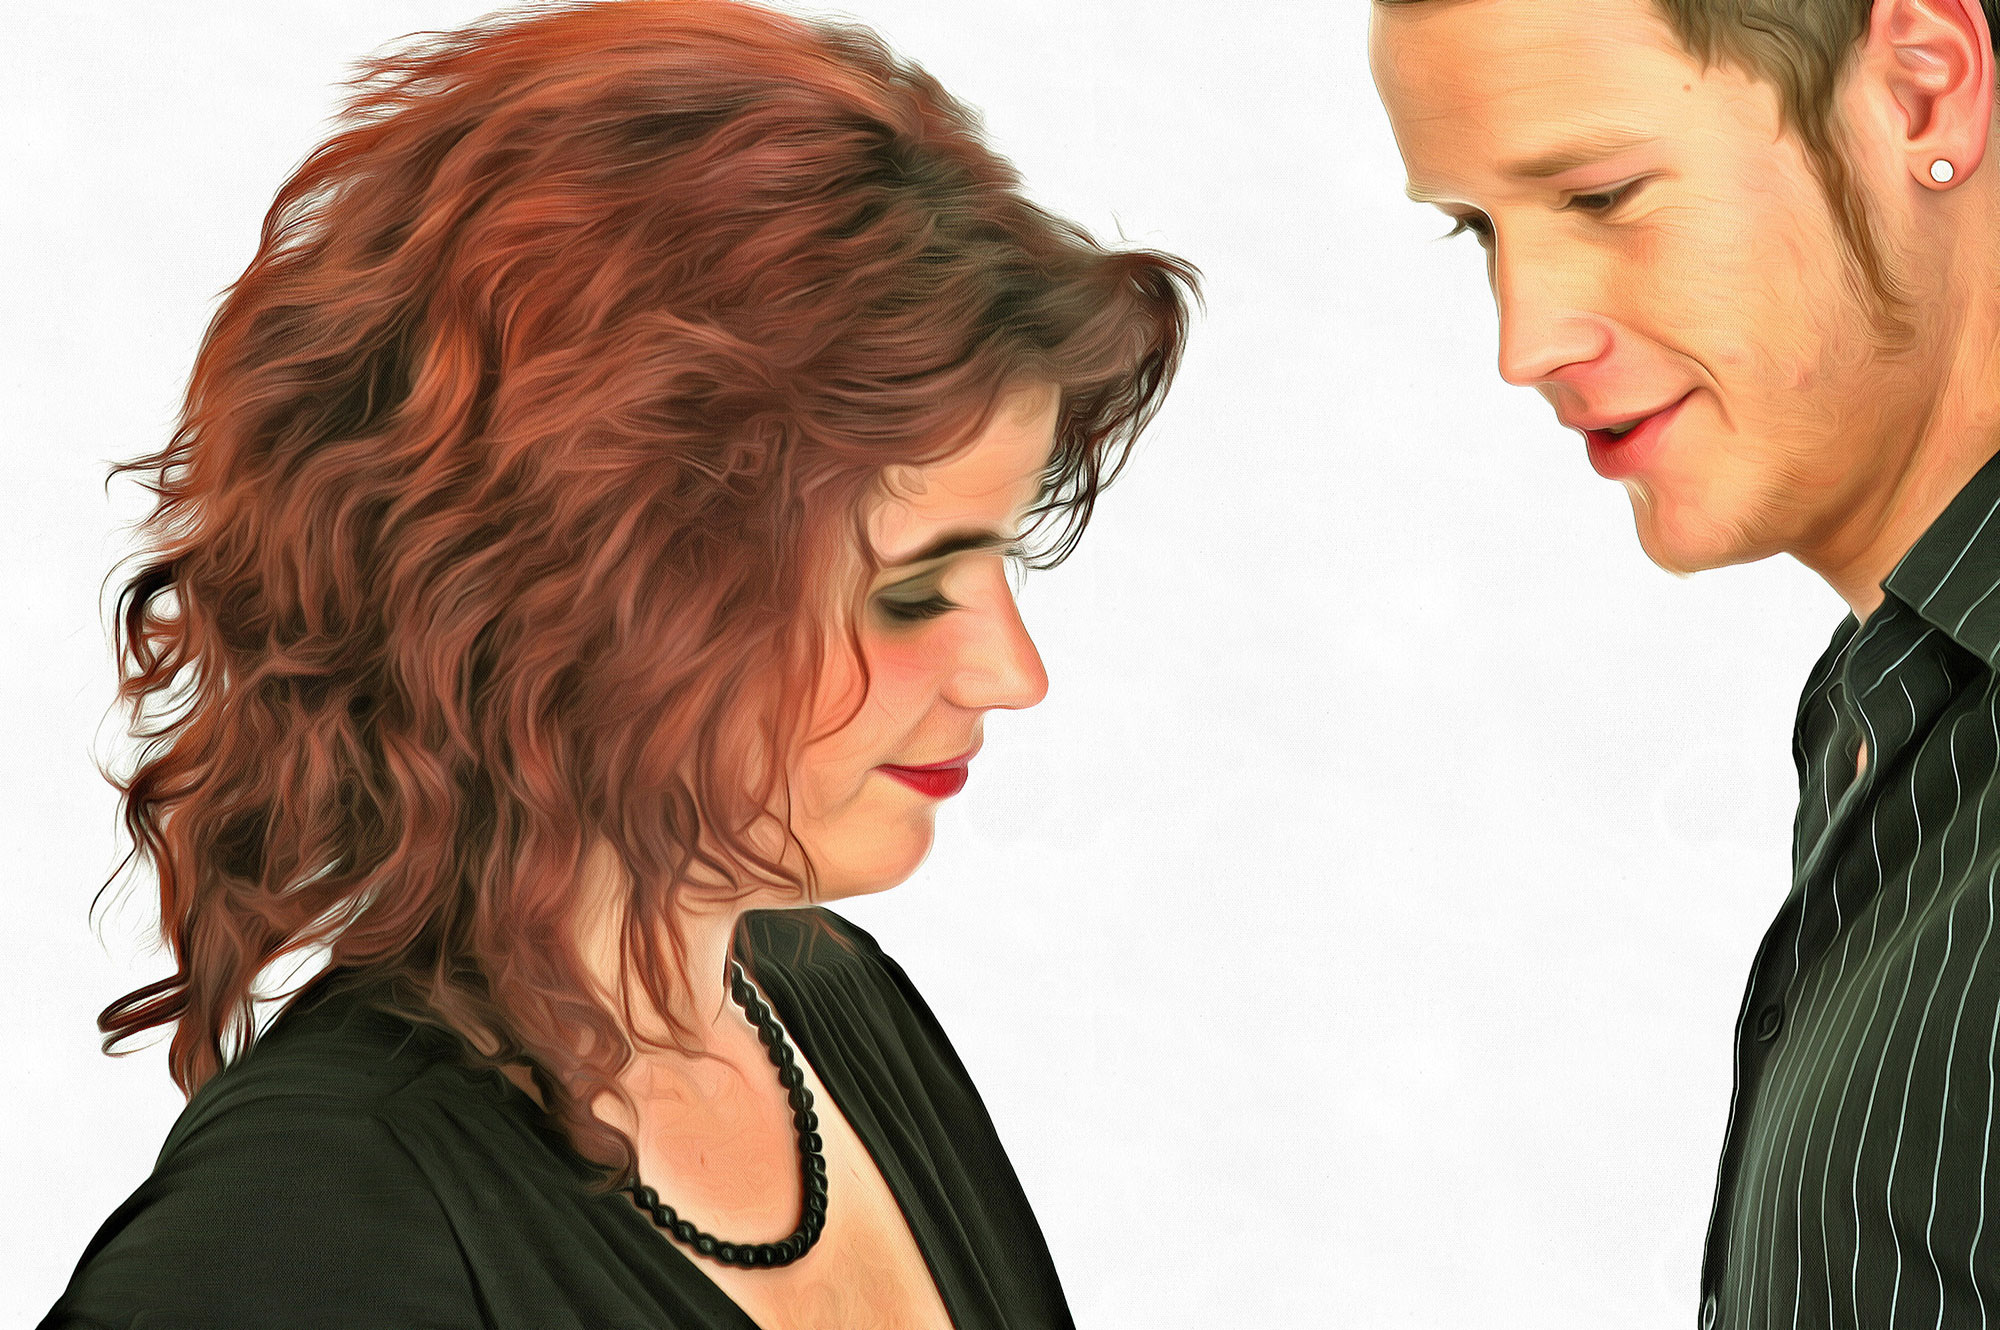
„Glamour-Hollywood-Glamour“ was performing here
With such photos you should mostly adhere to the motto „a
bit less is more“, that is why the result is able to convince
me. You cannot see any distortions or similar side effects.
From Abstract to Abstract
When experimenting with DAP PRO 5 you may probably get the idea
to not always choose a classical photo as the original image.
Maybe you just try an already processed, abstract image.

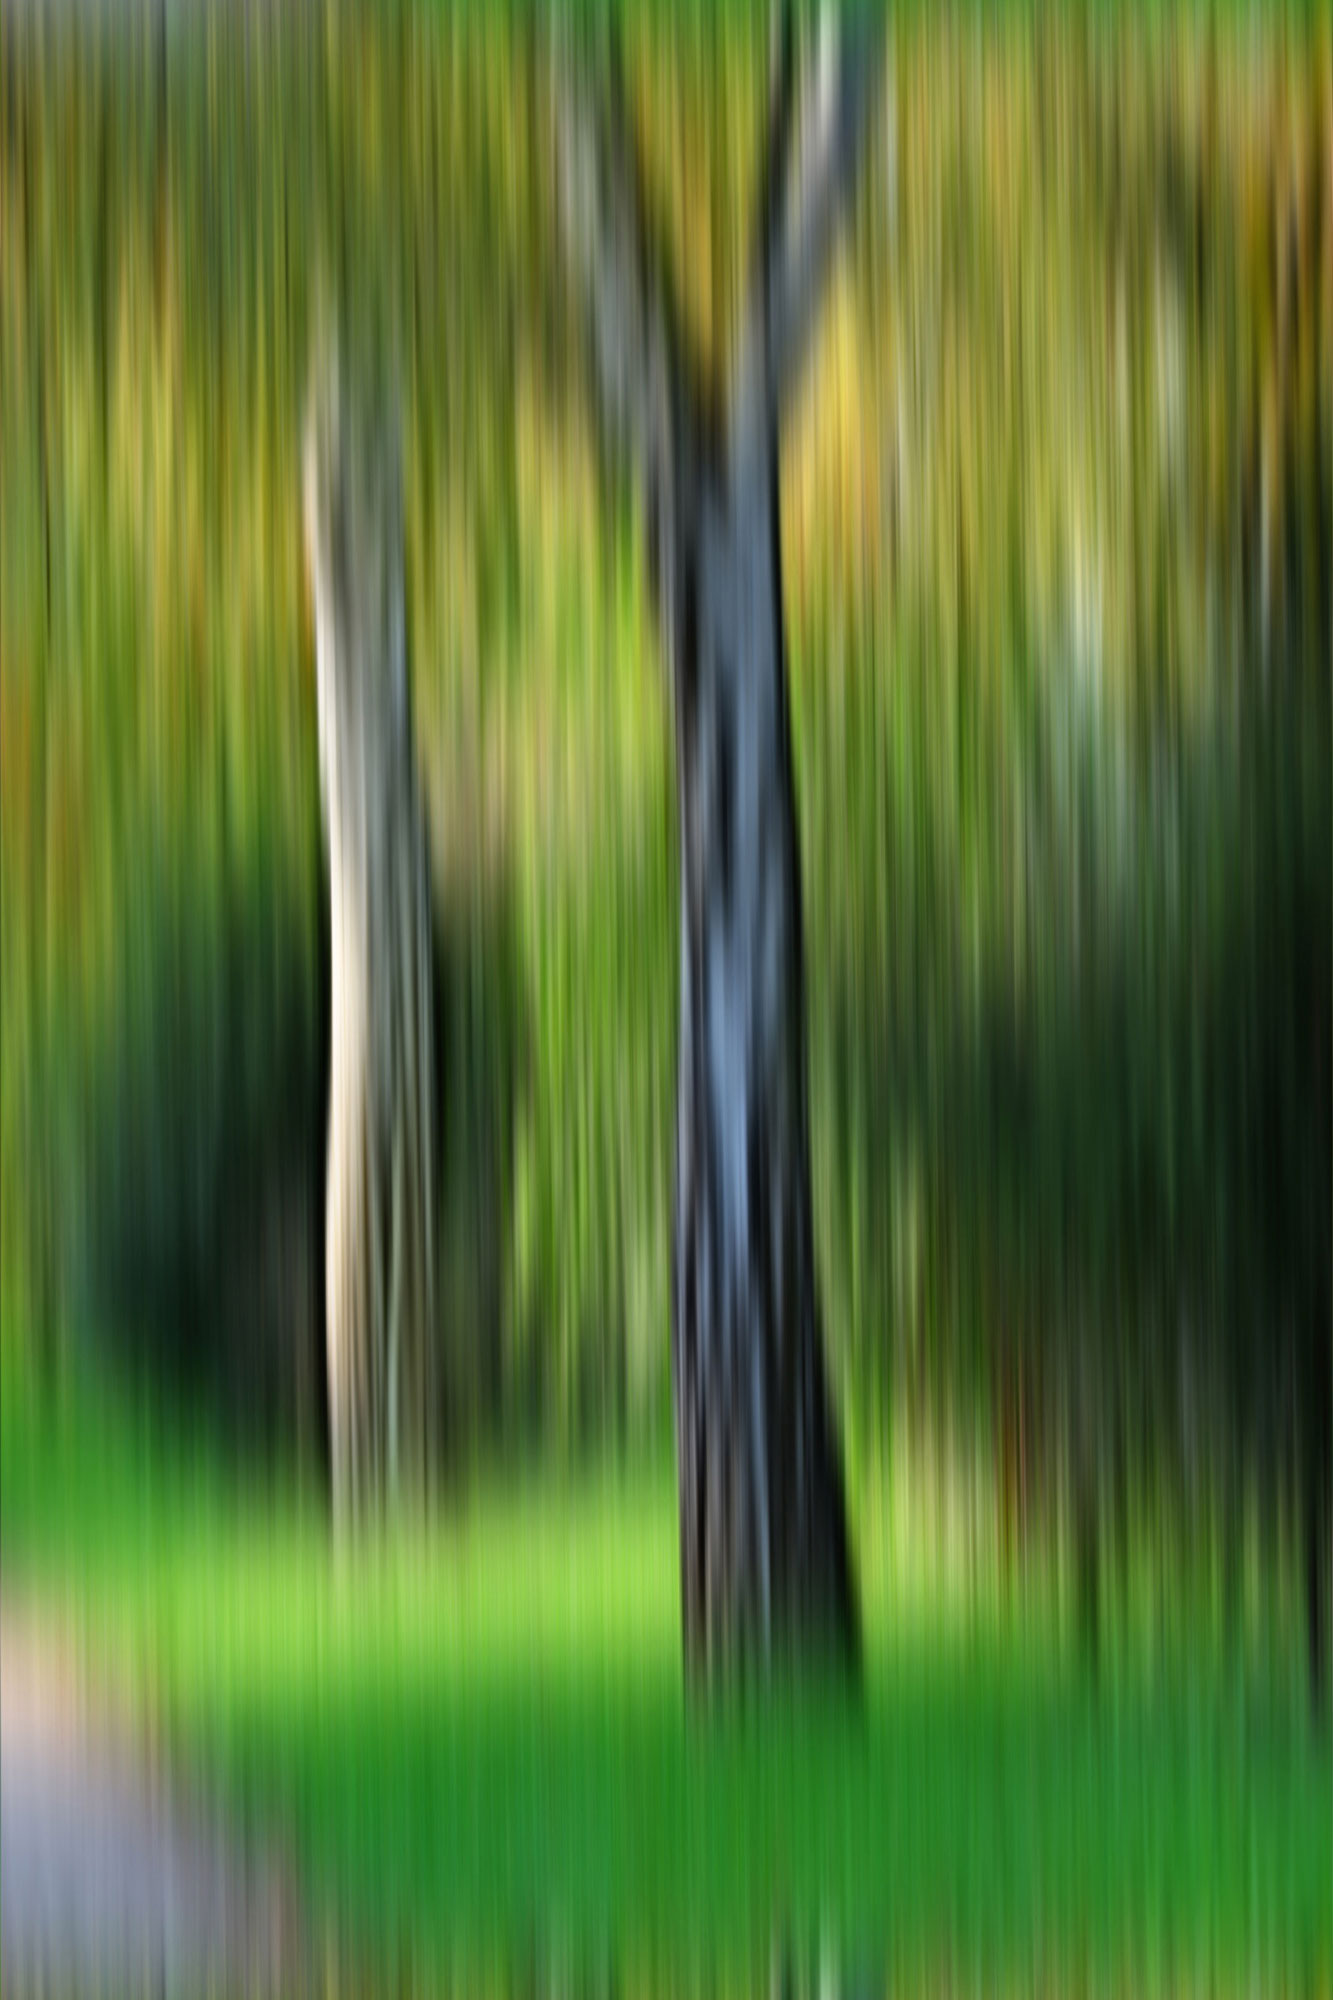
A completely unspectacular photo only later became an eye catcher
thanks to the stripe effect -
– photographer: Silvia Kuhnlein – Kunstwerk: Kay Michael
Kuhnlein www.a-dezign.de
The photo got a stripe effect including soft focus with the already
somewhat older software „Kai’s Power Tool 5“.
With regard to the numerous painting styles of DAP PRO 5 there
should actually be something included that makes the image keep
its abstract art type, but with an altered art style.

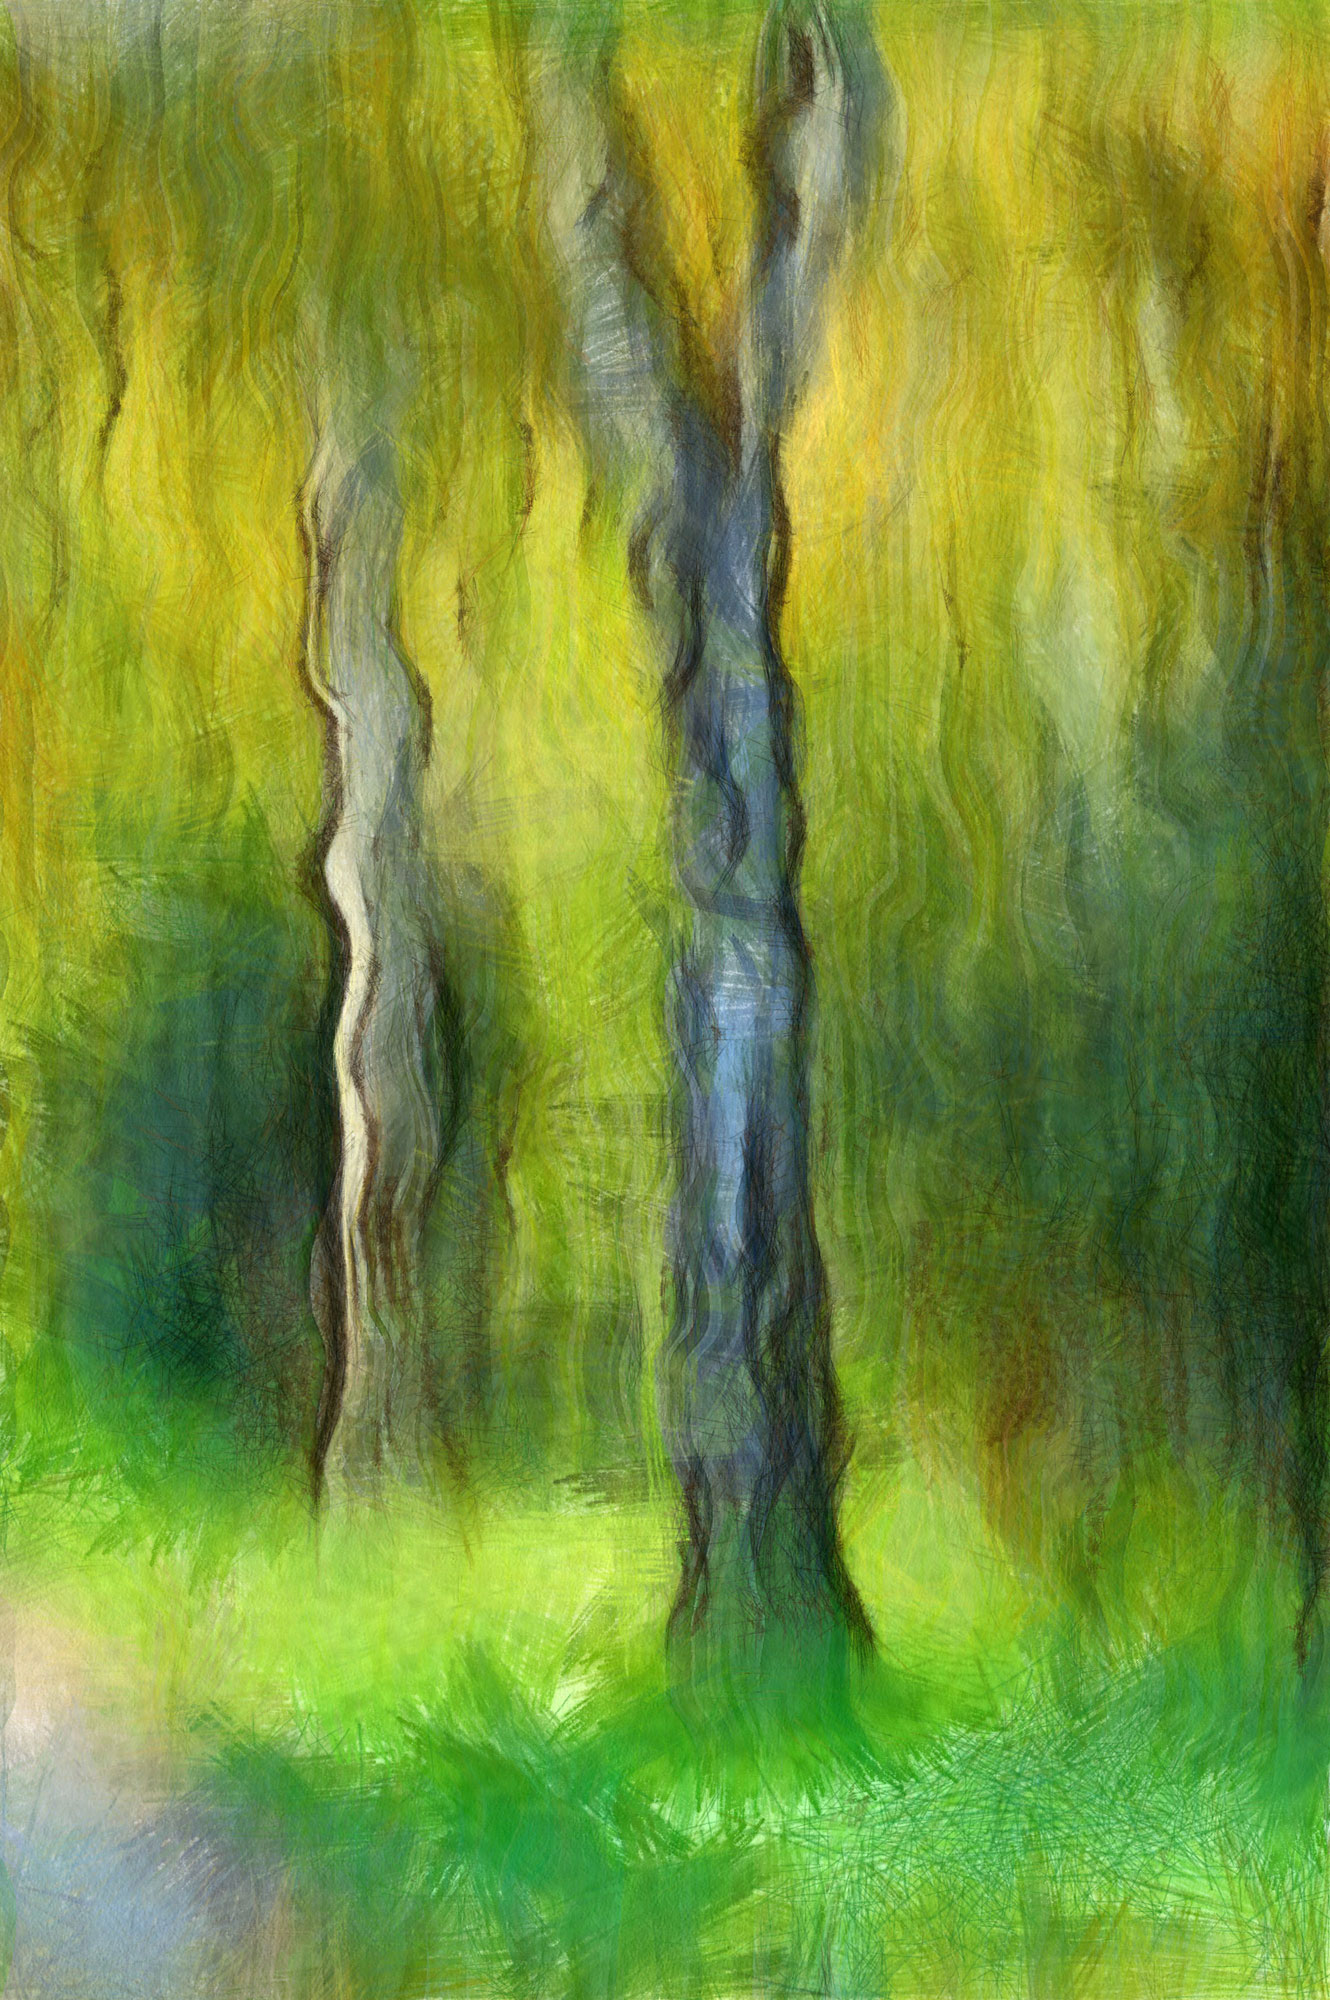
Still abstract, but an entirely different art style with the
preset „Pencil“

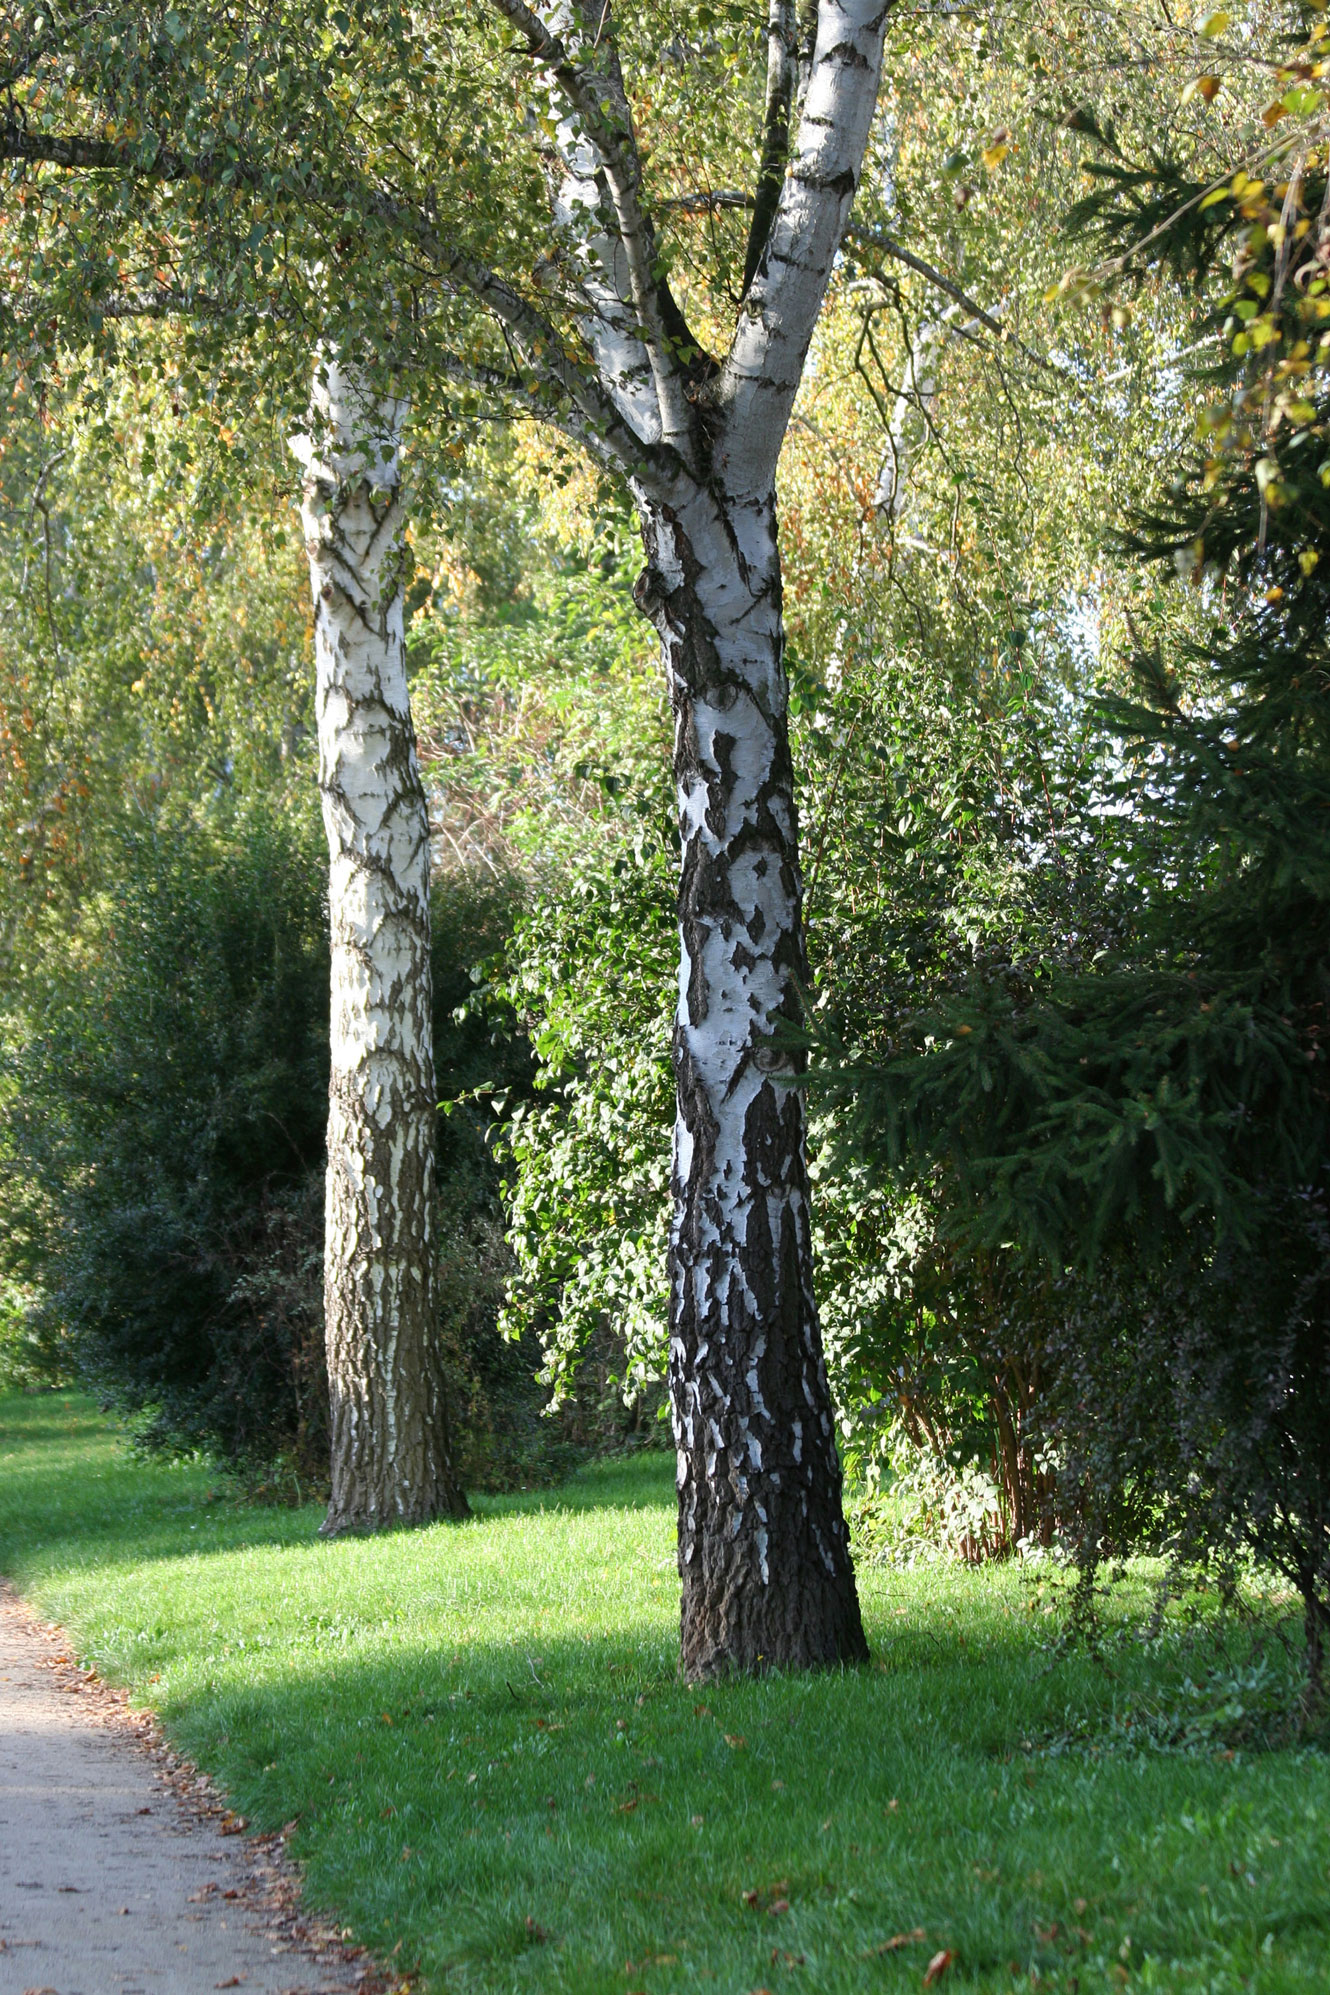
This is the original of the three processed images - photographer:
Silvia Kuhnlein – www.a-dezign.de
Neither do I want to withhold you the actual original image in
order to better judge the operation of the software. Moreover
I will add the same painting style with identical values to this
photo.

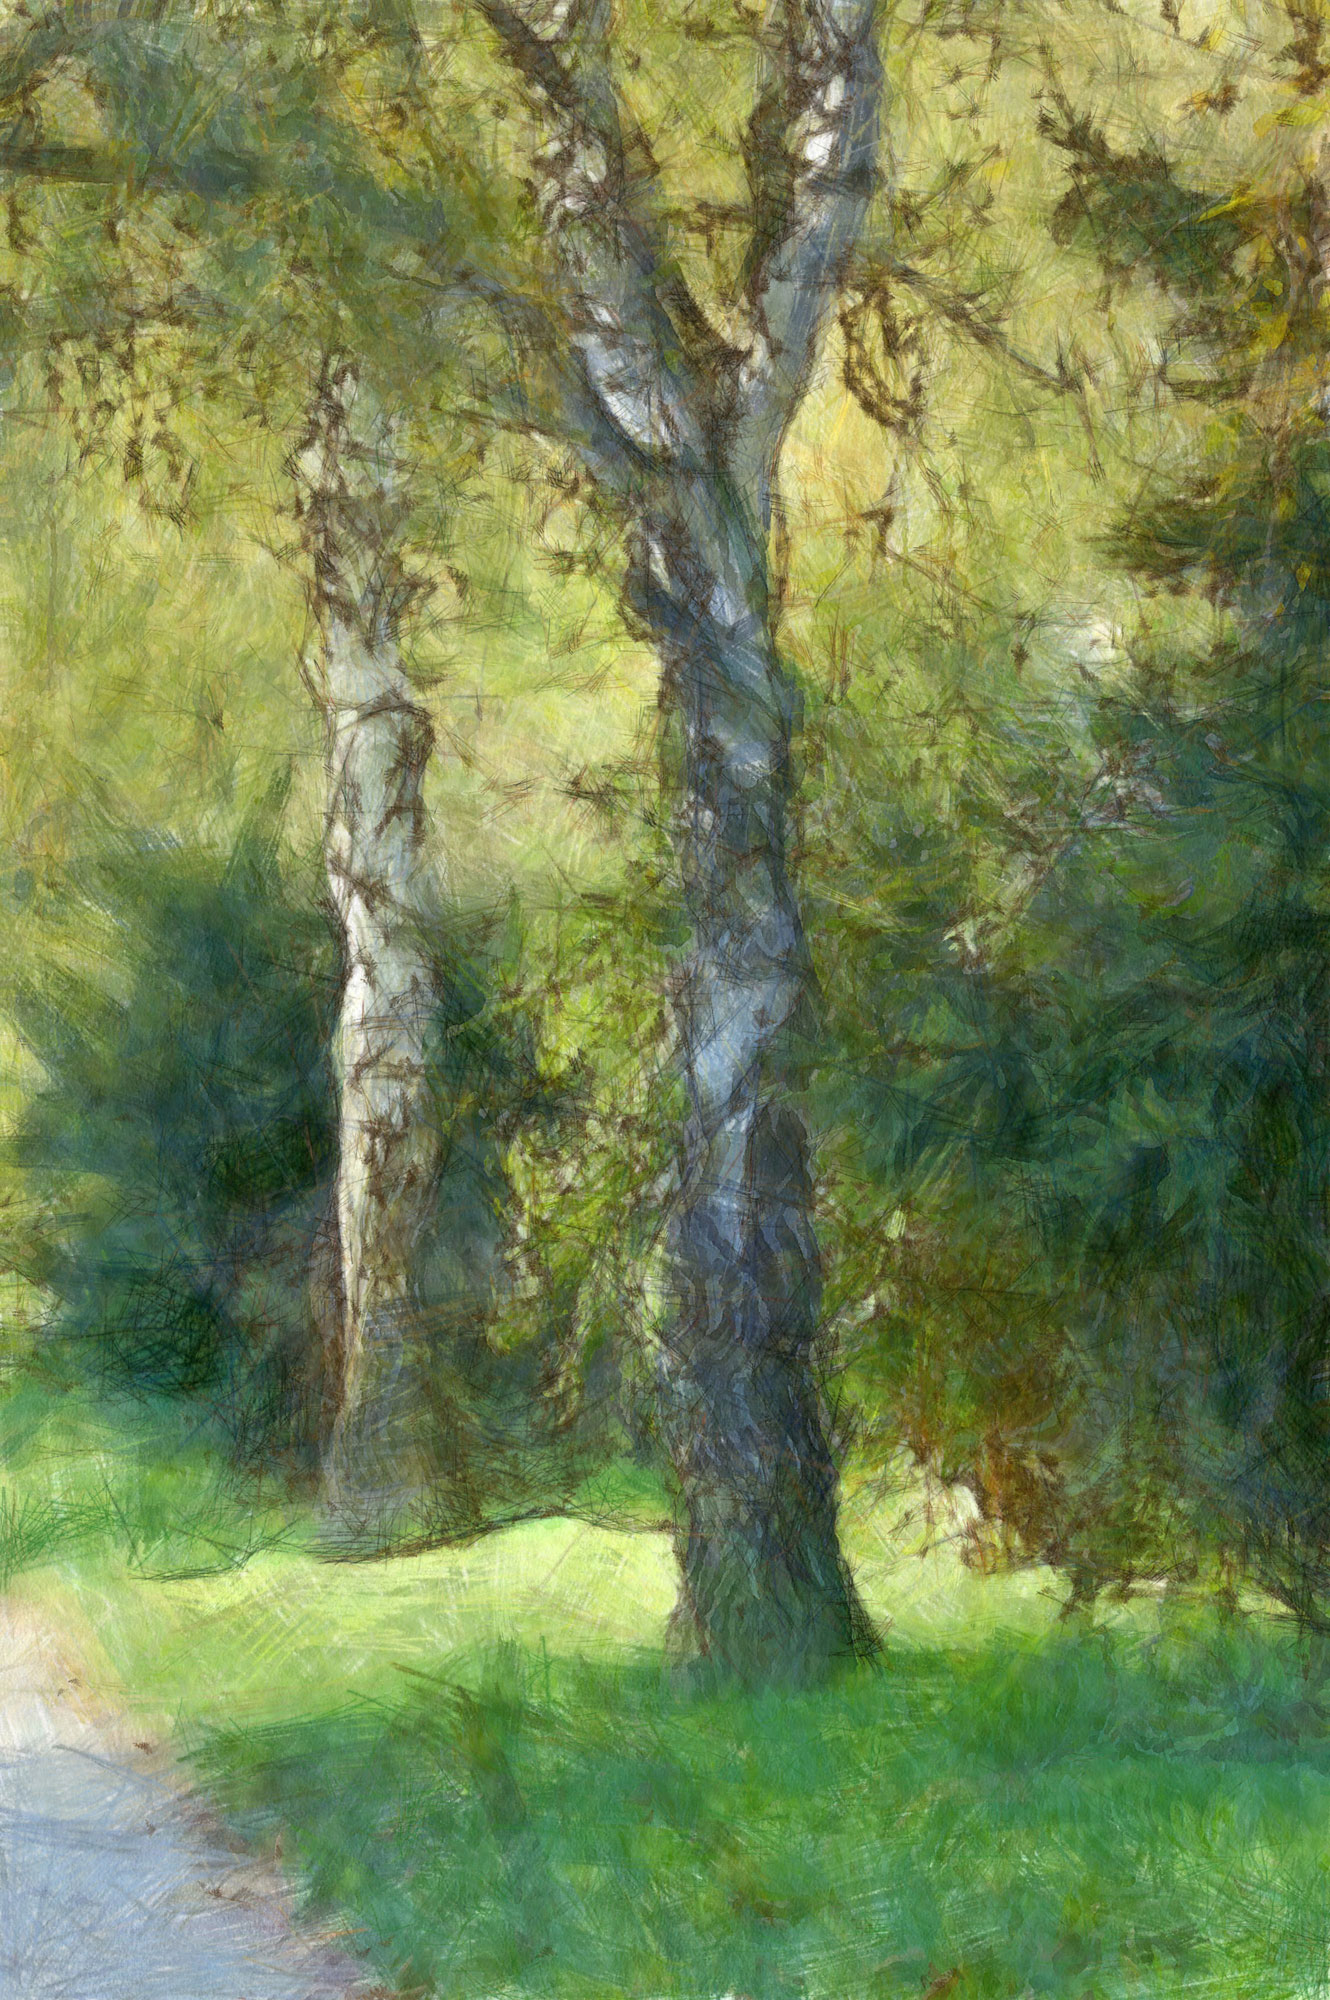
Preset: „Pencil“ with identical parameters on the
original image
With this I prove that my former statement is true: „The
original photo essentially has a large share in the final result.“
At first sight you will already notice the difference. I promise
you that it is a lot of fun to expose already processed images
once again to the painting filter. You will be rewarded with extraordinary
results!
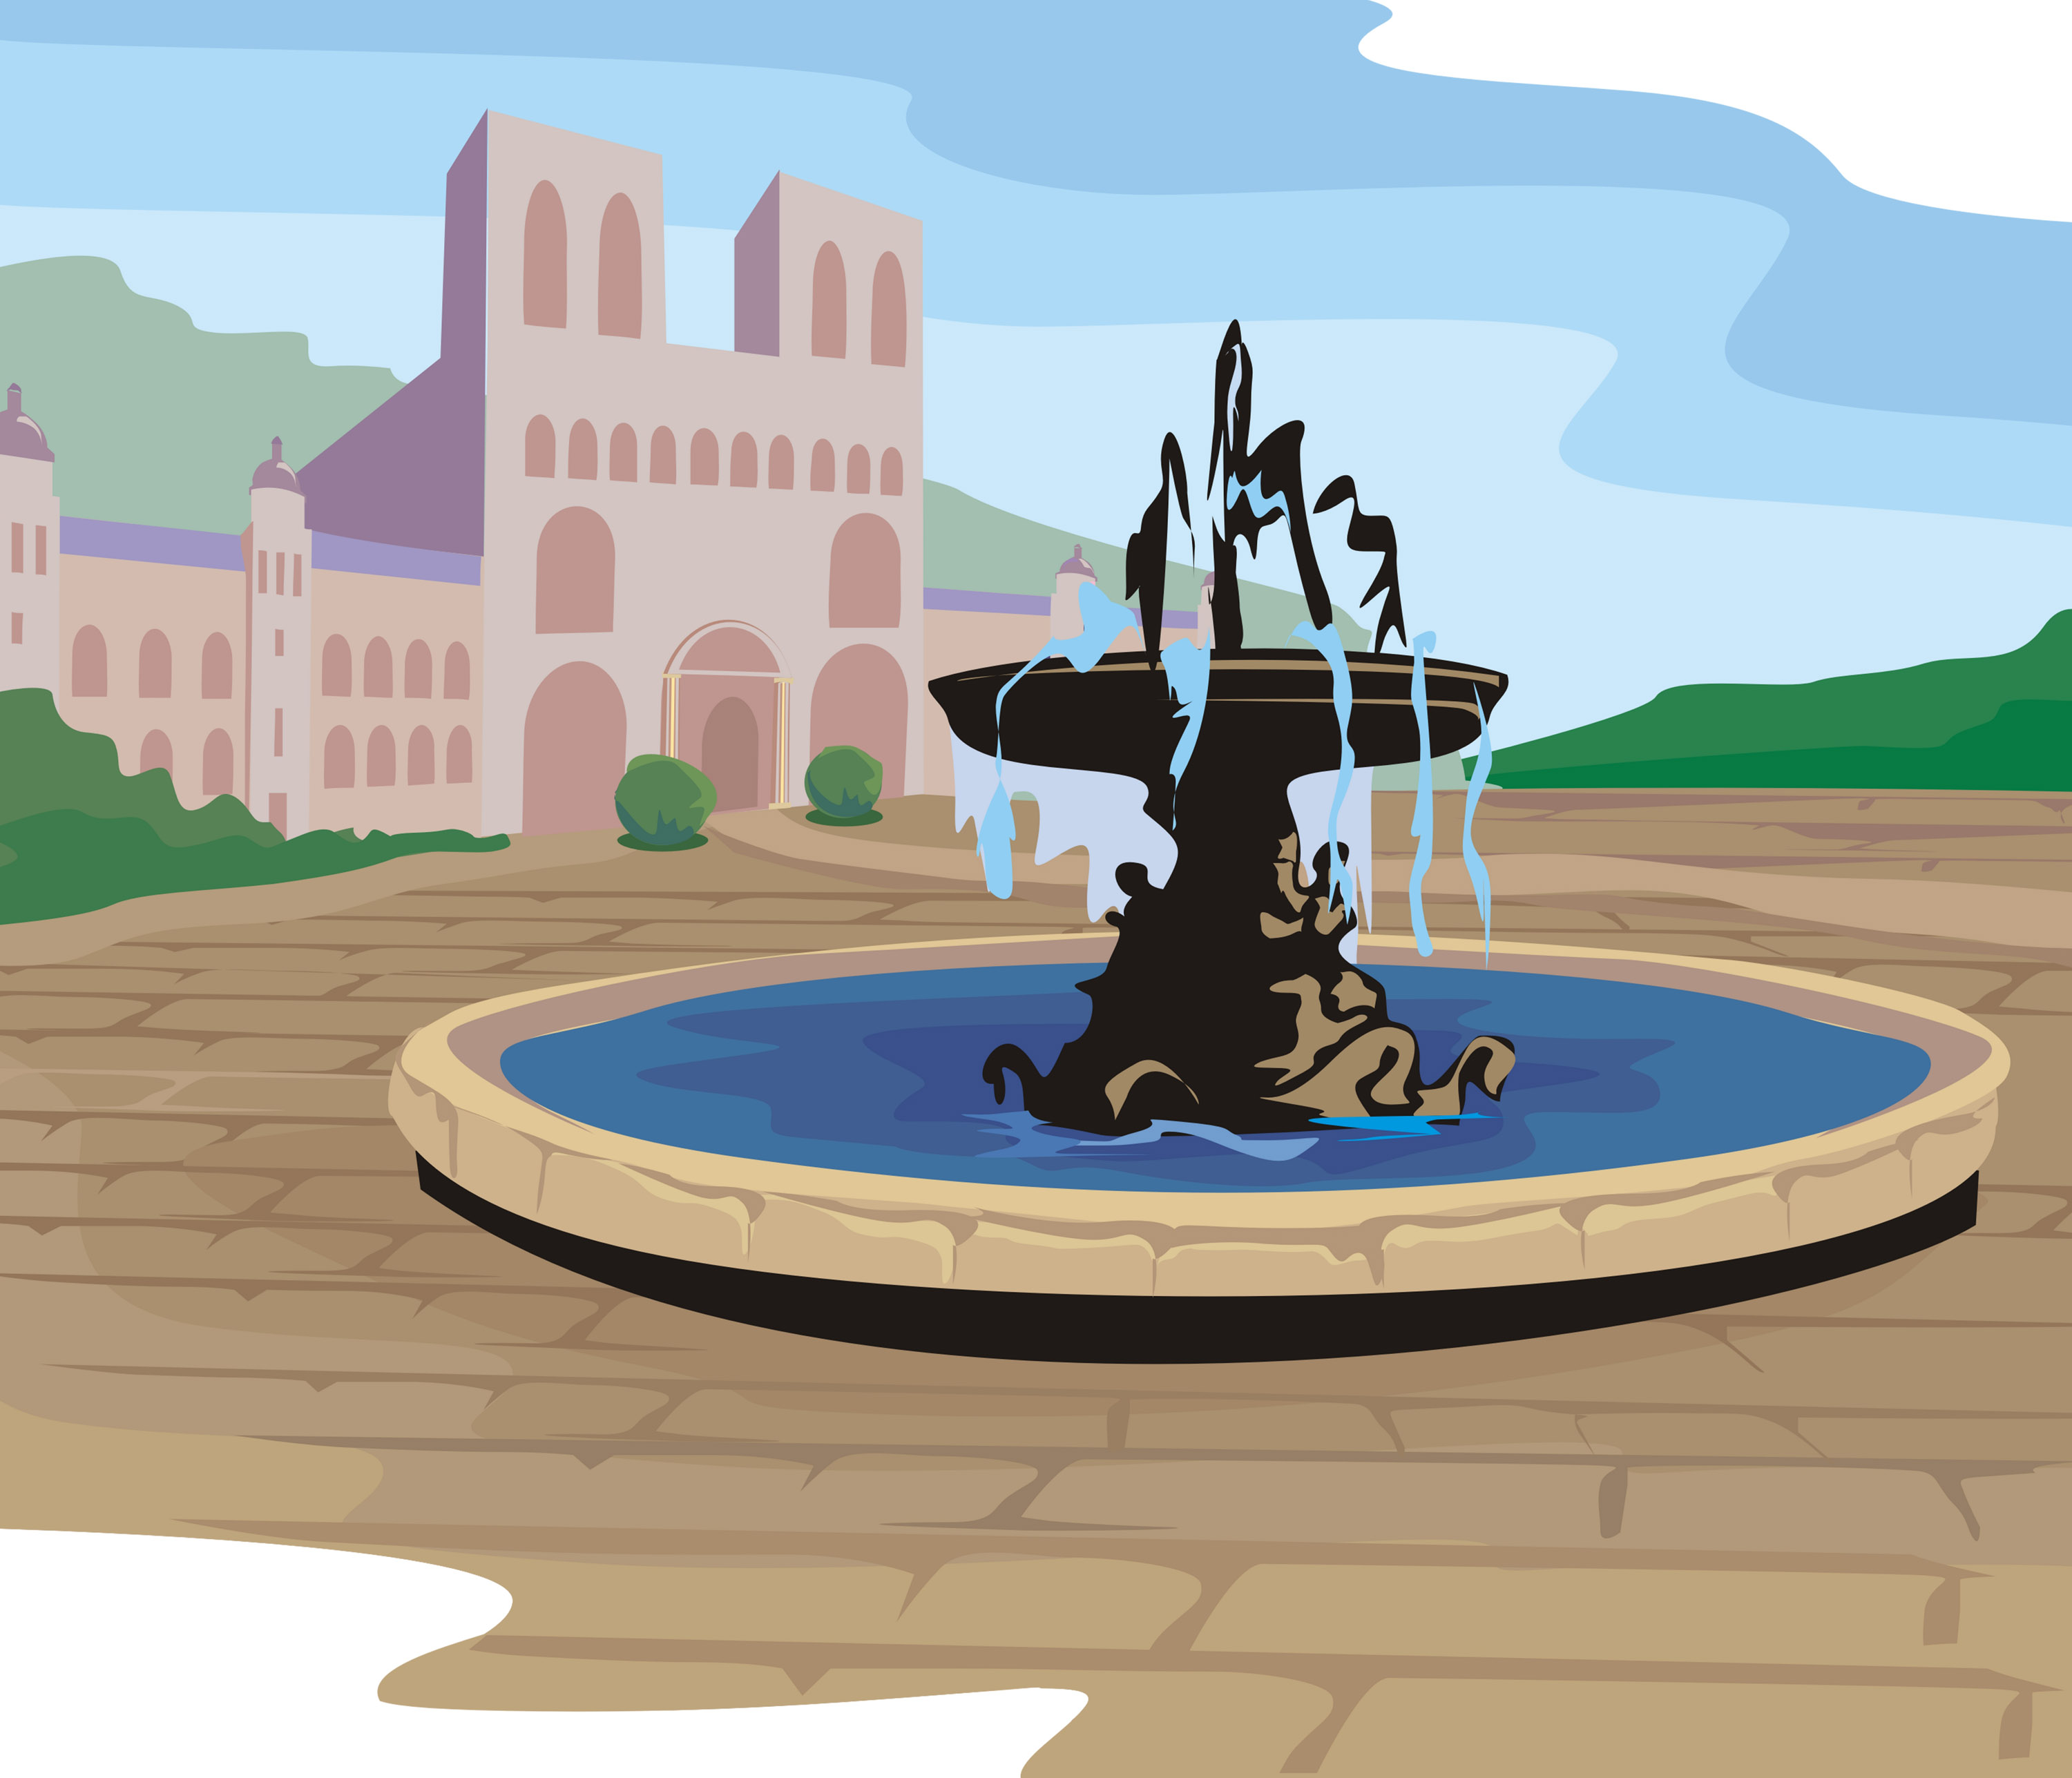
Clipart does also work, doesn´t it?

Unmistakeably a clipart
Whoever has already read some of my former reviews about painting
software knows that I cannot relinquish a test with cliparts.
In most cases the painting styles react quite differently to vector
paintings, even if they were convertet to a pixel format. So here
we go. I decided on an older clipart from Corel Draw 12.

Preset: „Val d’Orcia“ delivers this result,
it cannot necessarily be identified as a clipart
It can be taken for granted that I had tested different presets
first, before I thought that „Val d’Orcia“ is
a suitable choice. I was not disappointed by the result, on the
contrary I do really like it. Great, now you cannot instantly
notice it as a clipart any more. Without the corresponding background
knowledge the spectator states: Someone can paint really well
with digital brushes here.
Individual setting options in abundance
To remind you: DAP PRO 5 is a standalone program. That is why
the developer makes all setting options available that you can
think of and which can be found in Photoshop.
Of course a workflow is thinkable here, where you save your desired
image with the preferred painting style as a JPG and then make
further improvements with any other software of your choice.
NOTE: All examples got their result with the prevailing
original preset, no changed individual settings were used. You
will nevertheless get even better results with personal parameters.

With this you will optimize your artwork
All in all you can find 10 panels at the lower border of the user
interface, which invite you to use them. My recommendation: Work
with them!
You can see that there is already a lot available

Here is the rest to come
As already mentioned, it is thoroughly recommendable to always
start with one of the presets. If you like the automatic result,
then save the image, there is no more to do. Now you are a digital
artist. Whoever is not yet completely satisfied or likes to experiment
somewhat can throw himself at the additional panels. Please investigate
yourself via the demo version which image areas, backgrounds,
colors, focus, layers etc. can be changed with them. A complete
listing would break the mold here.
Where can you learn more?
You can visit the manufacturer´s website via the following
link:
http://www.mediachance.com/dap/
The information on DAP PRO 5 is spot-on. You will get ahead with
the link Read More or alternatively use the menu item „What’s
New“.
As not otherwise expected you will also find a "Download
Free Trail Version" link that enables you to simply test
the performance of this program yourself.
Have a lot of fun and I wish you good luck in doing so as well
as a large number of great painted images!
Kay Michael Kuhnlein
|