|
|
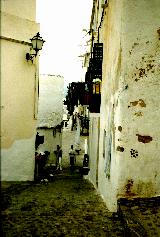
Step
1: Open any
photo you like. The quality of the photo isn't important eighter.
|
|
|
Step
2: Resize
the photo to the size you want the final texture to be e.g. 160x160.
|
|
|
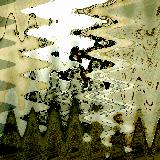
Step
3: Select
the Warp group in Plugin Galaxy and apply a Warp effect
to the photo.
|
|
|
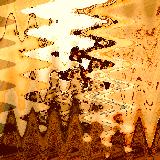
Step
4: To spice
up the colors use one of the Coolorize effects.
|
|
|
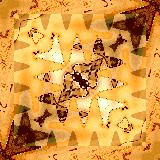
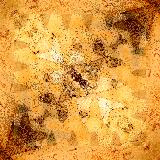
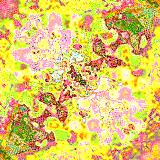
Step
5: Finally
use the Mirror group to create a seamlessly mirrored texture.
For the example picture the Crossing Left effect of Mirror was
used.
Tip:
Right click on several places within the
preview and try different effects until you're satisfied with
the result.
|
|
|
Step
6: To give
the texture a more individual touch, you can further use the Noise
Painting effect from Noiseee.
|
|
|
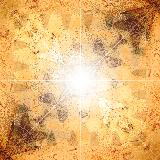
Variation
1:
The Star effect from the Nature group can give the
texture a more special touch.
|
|
|
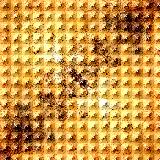
Variation
2:
Use one of the Grid effect to give the texture a grid look.
|
|
|
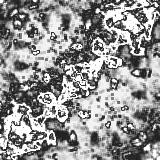
Variation
3:
Use the Metal effect of the Fusion group to create metalic
or grey variations.
|
|
|
Variation
4:
Use the Xenon or Pop Art effect of the Fusion group to
create some colorful variations.
|
| |
|
Back
to the Index
|